


200VW8 LCD
Electronic Instruction
17
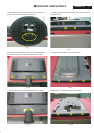
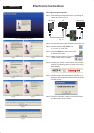
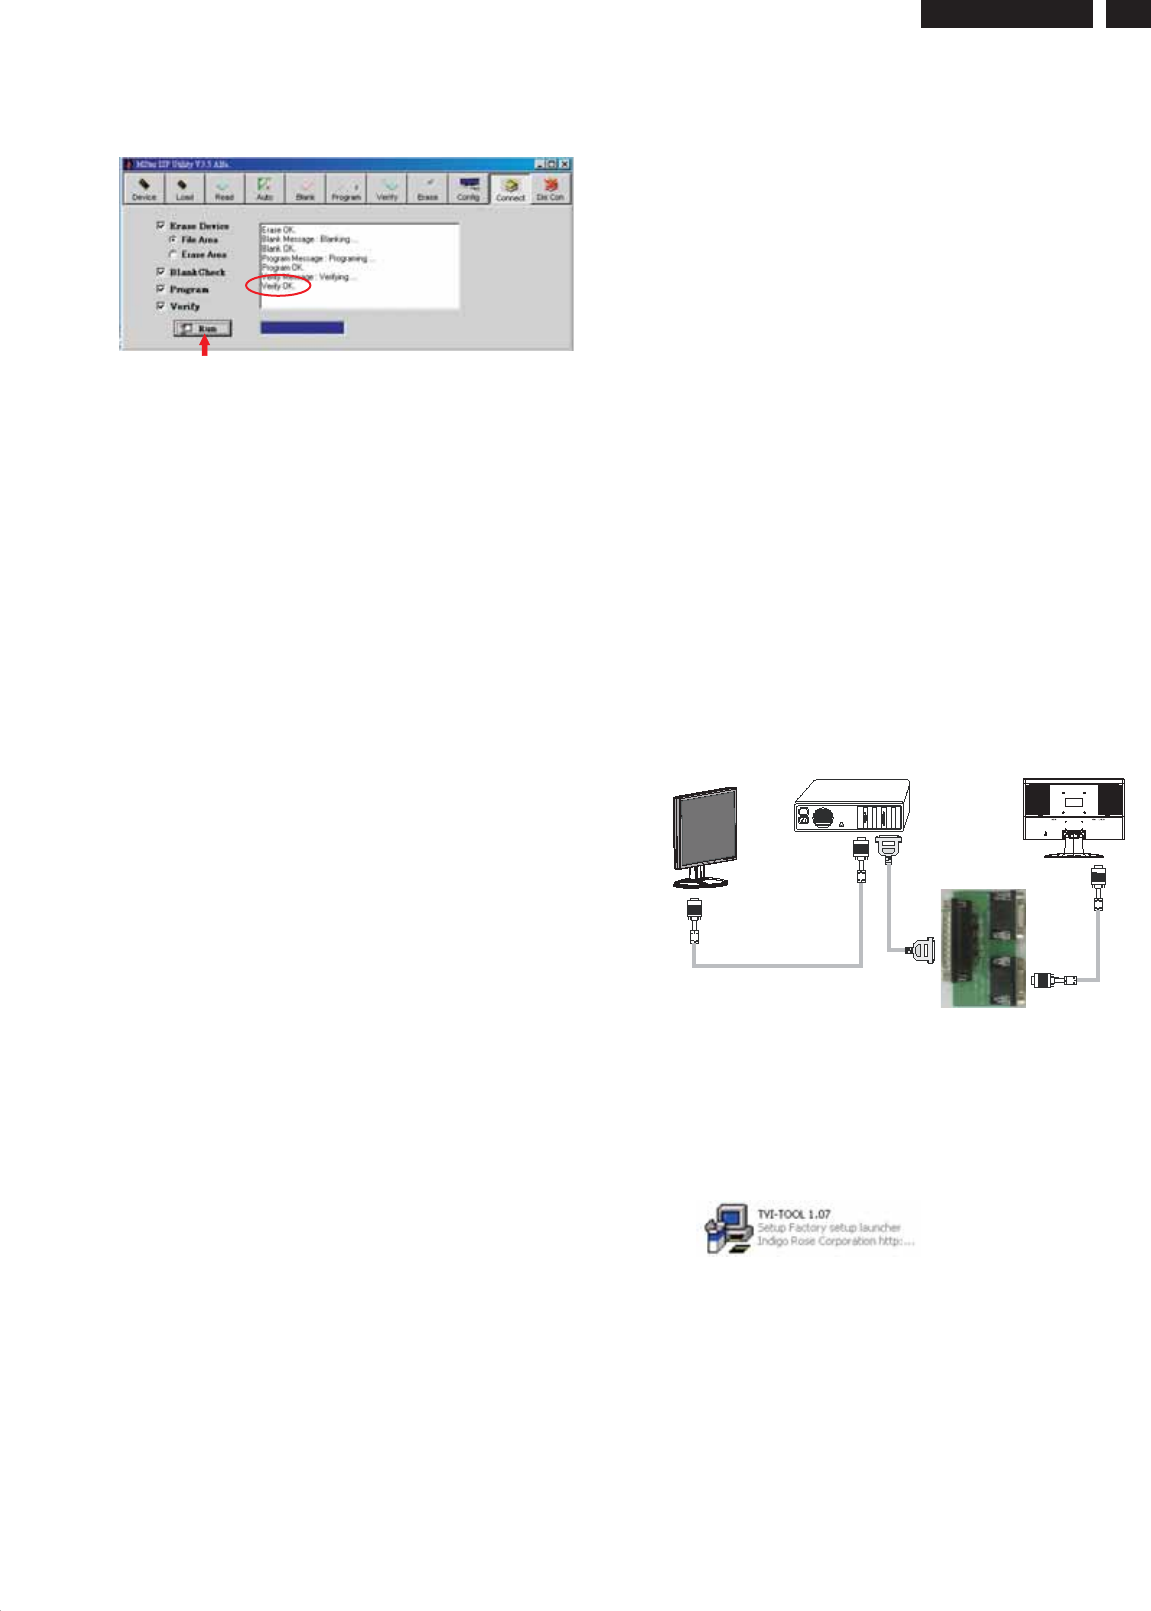
7. Press icon of the toolbox and make sure all of the
setting are fixed, then press the icon. Program will
perform the loading process automatically.
8. When the loading process completed, and the dialog box
appeared the message of verify ok. Press the icon
to disconnect the linkage, LED of monitor will light up.
AUTO
RUN
DIS-CON
DDC instructions
General
DDC Data Re-programming
Additional information
System and equipment requirements
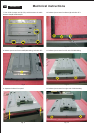
In case the DDC data memory ICwhich storage all factory
settings were replaced due to a defect, the serial numbers
have to be re-programmed.
It is advised to re-soldered DDC IC from the old board onto the
new board if circuit board have been replaced, in this case the
DDC data does not need to be re-programmed.
* According to the design concept of this product, DDC data
will be divided into two parts to deposit in different place:
DDC data of VGA interface are saved in scaler IC.
Additional information about DDC (Display Data Channel) may
be obtained from Video Electronics Standards Association
(VESA). Extended Display Identification Data(EDID)
information may be also obtained from VESA.
1. An i486 (or above) personal computer or compatible.
2. Microsoft operation system Windows 98/2000/XP.
3. Installation software of " TVI Tool ".
4. Executive program " TVI Tool. exe ".
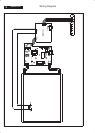
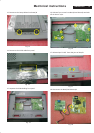
5. ISP tool kit, as shown in Fig1.
Including: a. Alignment fixture x 1
b. Printer cable (LPT type) x 1
c. D-sub to D-sub cable x 1
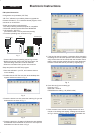
Install and setup programTVI-TOOL
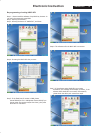
Step 1: Create a folder in your PC, for example : D:\TVI-TOOL.
Step 2: Copy the installation file into the folder.
Step 3: Double click the INSTALL icon as shown in the Fig.2.
Step 4: Following the installation wizard, complete the whole
installing progress.
Step 5: Restart your PC to
(More details are shown in the next page)
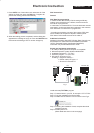
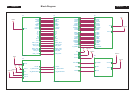
Fig. 1
PC
Monitor(A)
Monitor (B)
To graphics card
To LPT1 port
To monitor
ISP TOOL