20
Using network services
Starting playback
1. Press the NET button.
2. Select “My Favorites” from the network service menu
and press the ENTER button to show the Internet
radio stations.
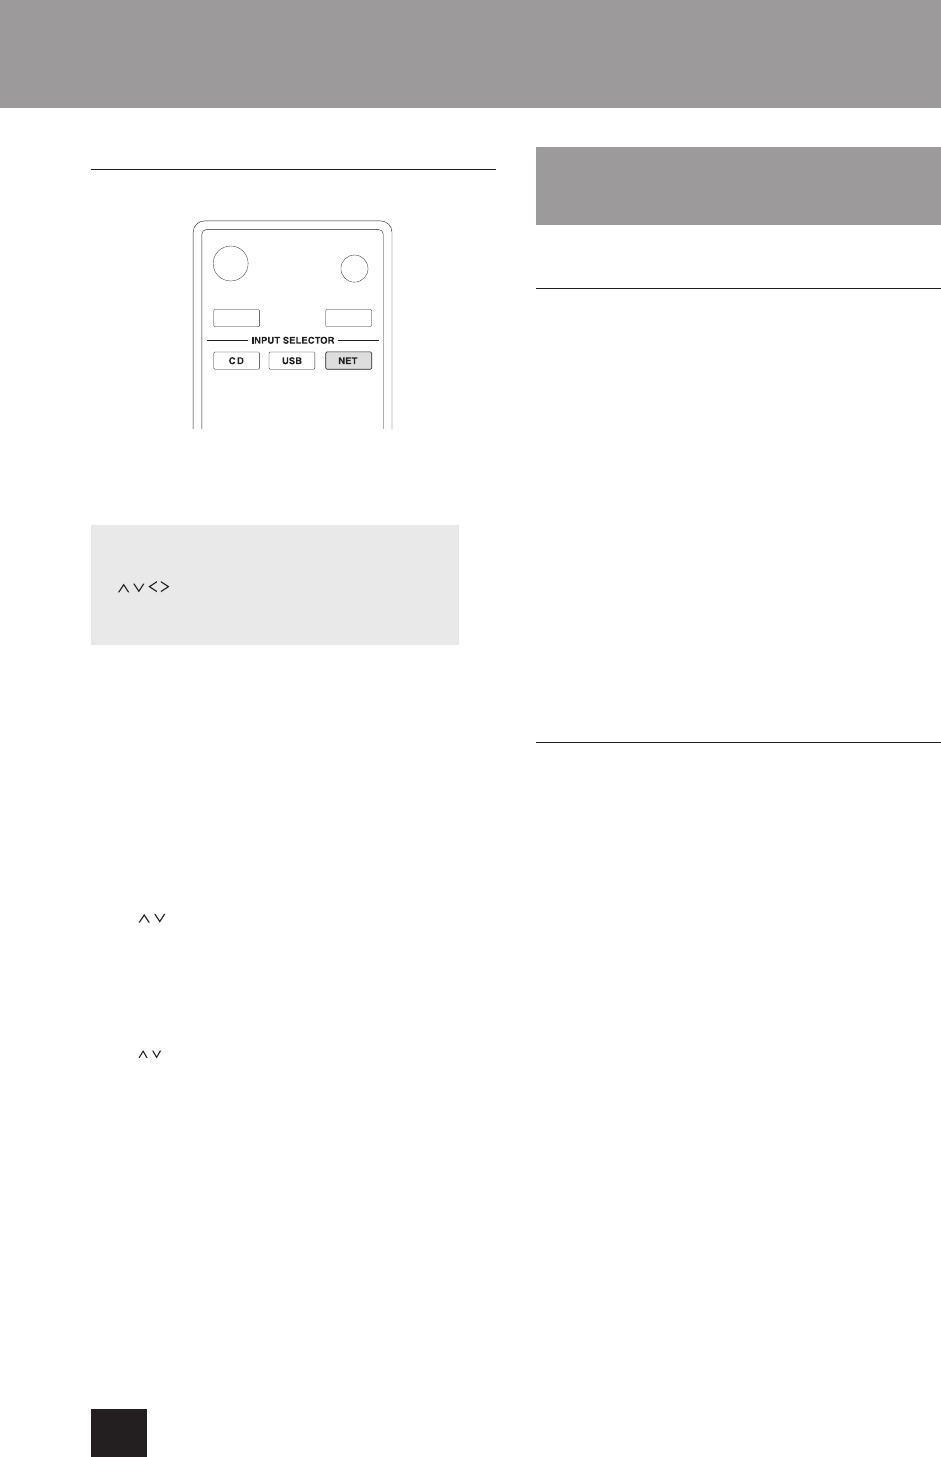
Network service menu
Press the NET button and press the direction
(
/ / / ) buttons to select the menu as follows.
vTuner Internet Radio -> My Favorites -> DLNA ->
Home Media
3. Select the one that you added and press the ENTER
button.
If you want to add a new radio station to the My
Favorites menu, select the blank item in the list
and press and hold the MENU button and use
the ENTER button to select “Create new station”.
Press the ENTER button again to show fields
where characters can be input and input the name
and URL.
To remove a radio station that has been added,
press and hold the MENU button while that station
is playing or select it and use the direction
(
/
) buttons to select “Delete from My Favorites”
and press the ENTER button. You can also remove
stations using the WEB Setup screen (on a
computer).
To change the name of a radio station that has
been added, select the radio station and press and
hold the MENU button. Then, use the direction
( / ) buttons to select “Rename this station” and
press the ENTER button.
You can register up to 40 Internet radio stations.
DLNA
About DLNA
Digital Living Network Alliance (DLNA) can be referred
to as a technology standard or the industry group to
develop the technology standard to interconnect and use
AV components, computers and other devices in a home
network. This unit allows you to use DLNA to play music
files stored on a computer or a hard disk connected to
your home network (NAS device). Make sure this unit
and a computer or NAS device are connected to the
same router.
To play a music file with DLNA, you need a NAS
device or the like with DLNA server functions and
a DLNA player (software) to stream the music. You
can also stream music files using a computer with
Windows Media Player 11 or 12, which has both
DLNA server and player functions. First configure the
Windows Media Player 11 or 12 to enable streaming.
With Windows Media Player 12 Remote Playback
function, you can stream music files stored on your
computer to the unit by operating the computer.
Setting up Windows Media Player
Windows Media Player 11:
1. Turn on your computer and start Windows Media
Player 11.
2. In the "Library" menu, select "Media Sharing" to open
a dialog box.
3. Select the "Share my media" check box and click "OK"
to display the compatible devices.
4. Select this unit and click "Allow".
The icon of this unit is checked when you click it.
5. Click "OK" to close the dialog box.
Windows Media Player 12:
1. Turn on your computer and start Windows Media
Player 12.
2. In the "Stream" menu, select "Turn on media
streaming" to open a dialog box.
If media streaming is already turned on, select
"More streaming options..." in the "Stream" menu
to list players in the network, and then go to step 4.
3. Click "Turn on media streaming" to list players in the
network.
4. Select this unit in "Media streaming options" and
check that it is set to "Allow".
5. Click "OK" to close the dialog box.


