


Black plate (16,1)
<CRB2123-A/U>16
When the AUX (auxiliary input) is set to off
(refer to page 80).
! External unit refers to a Pioneer product (such
as one available in the future) that, although
incompatible as a source, enables control of
basic functions by this unit. Two external units
can be controlled by this unit. When two exter-
nal units are connected, the allocation of
them to external unit 1 or external unit 2 is
automatically set by this unit.
! When this units blue/white lead is connected
to the cars auto-antenna relay control term-
inal, the cars antenna extends when this
units source is turned on. To retract the an-
tenna, turn the source off. (When you con-
nected a Pioneer multi-channel processor
(DEQ-P7650) to this unit, auto-antenna cannot
be controled.)
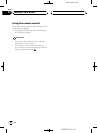
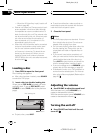
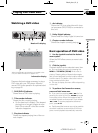
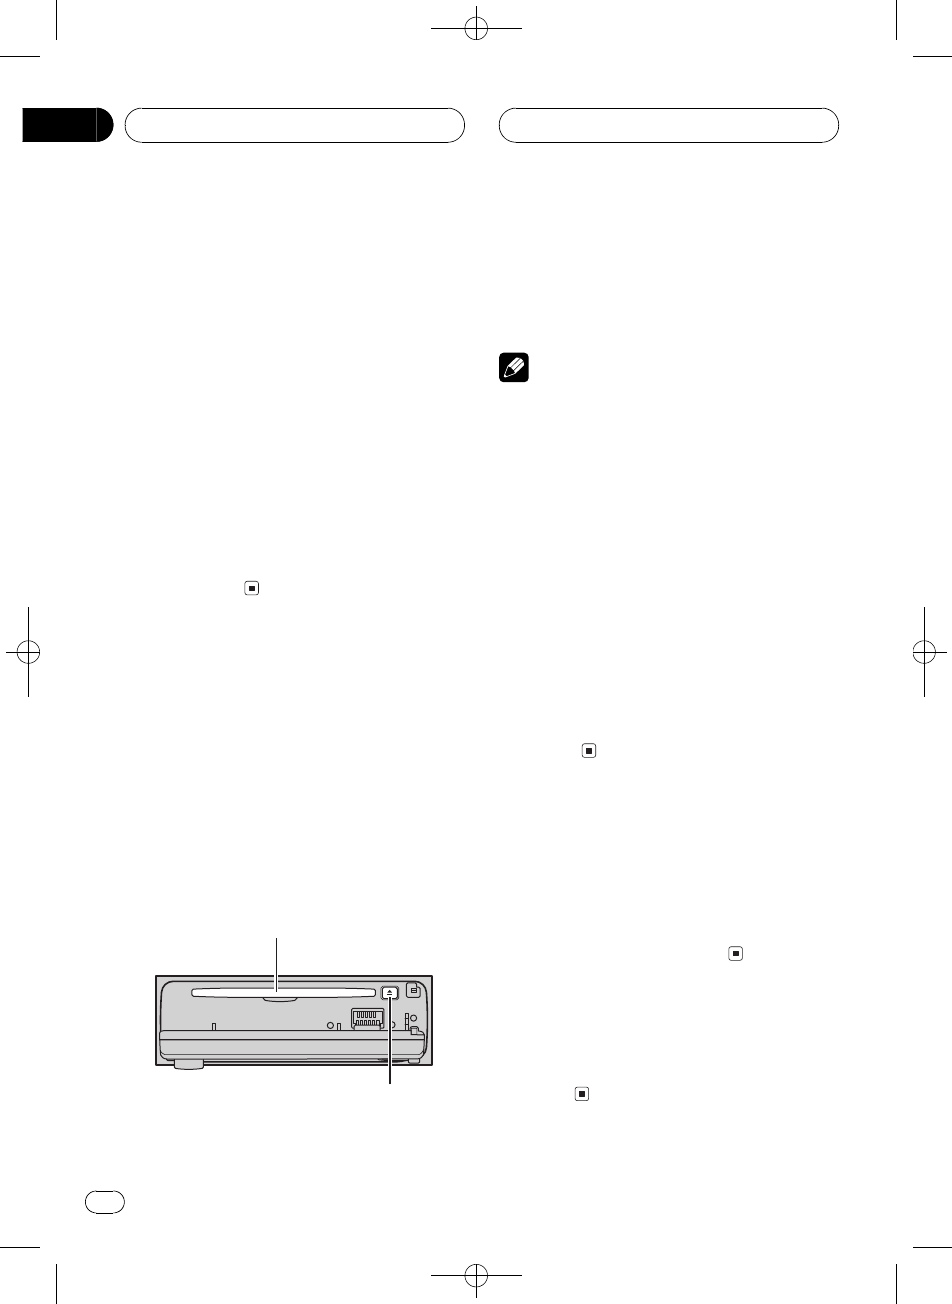
Loading a disc
1 Press OPEN to open the front panel.
Disc loading slot appears.
# After a disc has been inserted, press SOURCE
to select the DVD player.
2 Insert a disc into the disc loading slot.
When you set DSC-A:ON, playback will auto-
matically start. If you set DSC-A:OFF, press
SOURCE to select DVD (refer to the previous
page).
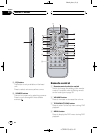
Disc loading slot
EJECT button
# To eject a disc, press EJECT.
# To avoid a malfunction, make sure that no
metal object comes into contact with the term-
inals when the front panel is open.
3 Close the front panel.
Notes
! The DVD player plays one, standard, 12-cm or
8-cm (single) disc at a time. Do not use an
adapter when playing 8-cm discs.
! Do not insert anything other than a disc into
the disc loading slot. Discs which can be
played back are listed on Playable discs on
page 6.
! If you cannot insert a disc completely or if
after you insert a disc the disc does not play,
check that the label side of the disc is up.
Press EJECT to eject the disc, and check the
disc for damage before inserting it again.
! If an error message such as ERROR-02 is dis-
played, refer to Error messages on page 88.
! If bookmark function is on, DVD playback re-
sumes from the selected point. For more de-
tails, refer to Resume playback (Bookmark) on
page 25.
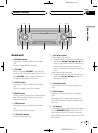
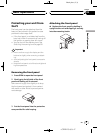
Adjusting the volume
% Use VOLUME to adjust the sound level.
With the head unit, rotate VOLUME to in-
crease or decrease the volume.
With the remote control, press VOLUME to in-
crease or decrease the volume.
Turning the unit off
% Press SOURCE and hold until the unit
turns off.
Basic Operations
En
16
Section
04