-
9
Switching subtitle languages (DVB Subtitle)
Each time you press
[
on the remote control,
the subtitle switches when the broadcast contains
subtitle information.
Set “Hearing impaired” to “On”
(Hearing impaired) 1st language
2nd language
Off
••••••••
Set “Hearing impaired” to “Off”
1st language 2nd language
(Hearing impaired)
Off
••••
NOTE
• This function is valid only if broadcaster is transmitting
multilingual subtitles.
Time zone
This function enables you to select your local time
zone.
1
Press MENU and the MENU screen displays.
2
Press
c
/
d
to select “ ” (Setup).
3
Press
a
/
b
to select “Digital setup”, and then
press ENTER.
4
Press
a
/
b
to select “Time zone”, and then press
ENTER.
5
Press
c
/
d
to select the desired time zone.
NOTE
• This function lets you select the right time zone in case the
time displayed in the EPG does not match the local time of
your area.
• Time zone differ depending on the selected country.
H
Identification
You can check the current version of the software on
the screen.
H
Reset
If complex adjustments are made and the settings
cannot be restored to normal, you can reset the
settings to the factory preset values.
NOTE
• If you execute “Reset”, all the settings such as “Picture”,
“Audio” and “Programme setup” will be reset to the factory
preset values.
Option menu
H
Output volume select
Allows you to select what controls the audio output.
Selected item Description
Fixed
• Sound via speakers is adjusted with
VOL
k
/
l
on the remote control unit
or the TV.
• Sound via the AUDIO OUT terminal is
not adjustable and constantly outputs.
Variable
• Sound via the AUDIO OUT terminal
is adjusted with VOL
k
/
l
on the
remote control unit or the TV.
• Sound via speakers is muted.
NOTE
• When “Output volume select” is set to “Variable”, all Audio
menu item cannot be adjusted.
H
Input select
For setting the signal type of external equipment.
Input source Selectable item
INPUT6
COMPONENT, VIDEO
H
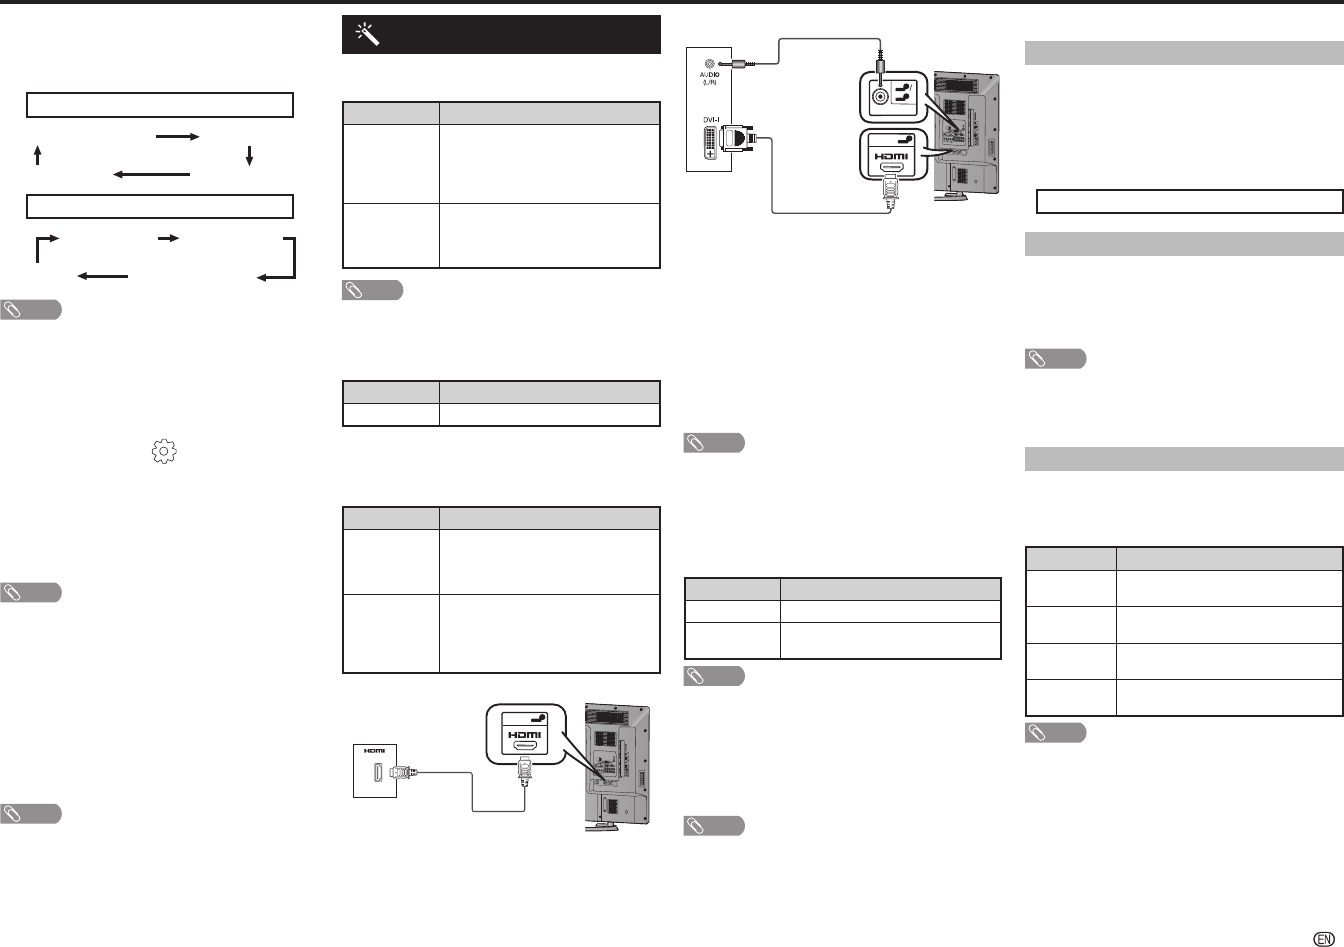
Audio select (HDMI input mode only)
You must select HDMI+Analogue if uses the AUDIO
IN (R/L) jack for analogue audio input when using
INPUT 5 (HDMI) terminal.
Option Description
HDMI (Digital)
Select “HDMI (Digital)” if the Devices
(DVD, Blu ray Player, Set Top Box or
etc.) is connected using HDMI cable to
INPUT 5 (HDMI) terminal.
HDMI+
Analogue
Select “HDMI+Analogue” if the Devices
(PC or etc.) is connected using DVI/
HDMI convert cable to INPUT 5 (HDMI)
terminal and AUDIO IN (R/L) jack is used
to input Analogue Audio Signals.
HDMI (Digital)
I
NPUT 6
V
ID
EO/Y
P
B
(C
B
)
P
R
(C
R
)
COMP
O
NENT/
AV INPU
T
RS-232C IOIOI
4
5
OUTPU
T
DC5
V 1
.5
A
HDM
I 4
HDM
I 5
U
SB
2
DC
5V
0
.5A
5
8
AUDIO
IN
DIGITA
L
AUDIO
OUTP
UT
A
N
ALOGUE
R
G
B
(PC)
AR
C
8
PC
1
HDMI
1
6
7
INPUT
7
AUD
IO OUT
R - A
U
DIO - L
R
- AUDIO -
L
R
- AUDIO -
L
VID
EO
U
S
B
1
D
C5V 1.5A
3
C
.I
.
2
HDMI 2
O
U
T
P
UT
HDMI 3
AUDIO(L/R
)
M
HL
(
DC5V 900m
A)
5
HDMI 5
DVD player/PC
HDMI+Analogue
I
N
PUT 6
V
I
D
E
O/Y
P
B
(C
B
)
P
R
(
C
R
)
C
O
M
PO
NE
NT
/AV INP
U
T
RS-23
2C I
O
IOI
4
5
O
U
T
PUT
D
C
5V
1
.
5
A
HD
M
I
4
HD
M
I
5
USB 2
DC
5
V
0.
5A
5
8
AUDI
O IN
DIG
IT
A
L
AUDIO
OU
TPUT
ANA
LOGUE
R
G
B (
PC)
ARC
8
PC
1
H
D
M
I
1
6
7
INPUT
7
A
U
DIO
OUT
R
- AUDIO -
L
R
-
A
U
DI
O
-
L
R
-
AUDI
O
-
L
V
ID
E
O
USB 1
D
C
5V 1
.5A
3
C
.I.
2
H
D
MI
2
O
UT
PUT
HD
MI 3
A
UDIO(L
/R
)
MHL
(DC
5V
9
00
mA)
5
8
AUDIO IN
5
HDMI 5
PC
H
Auto volume
Different sound sources, fairly often do not have the
same volume level, for example the changing from
movie to the advertisements. Auto volume solves this
problem and equalises the volume levels. (On, Off)
H
Digital audio output
This function allows you to select your favourite audio
output system. (PCM, Auto, Off)
H
Speaker selection
You can choose to listen to the external amplifi er
audio only. (On, Off)
NOTE
• This function only available when “Link operation” is set to
“On”.
• You need to use CEC compatible amplifi er to control
external speaker volume.
H
Audio only
When listening to music from a music programme,
you can set the display off and enjoy audio only.
Selected item Description
On
Audio is output without screen image.
Off
Both screen images and audio are
output.
NOTE
• When you make operations that change the picture on the
TV such as by changing the input source, the “Audio only”
function is set to “Off”.
H
Colour system
You can change the colour system to one that is
compatible with the image on the screen. (Auto,
PAL, SECAM, NTSC 3.58, NTSC 4.43, PAL-60)
NOTE
• If “Auto” is selected, colour system for each channel is
automatically set. If an image does not display clearly,
select another colour system (e.g. PAL, NTSC 4.43).
• “Colour system” is selectable only when inputting a
composite signal.
On-Screen Display Menu
H
Fine sync. (PC input mode only)
Input signal
• Some input signals may have to be registered
manually to display properly.
• The pairs of input signals (resolutions) in the list
below are not distinguishable when received.
In such case, you have to set the correct signal
manually. After setting once, it will display when the
same signal (resolution) is input again.
1280
g
768 1360
g
768
Adjusting the PC image automatically
Auto sync.
This function enables the screen to be automatically
adjusted to its best possible condition when the
analogue terminals of the TV and PC are connected
with a commercially available RGB cable, etc.
NOTE
• Auto sync. is likely to succeed when an input PC image has
wide vertical stripes (e.g. pattern with high contrast stripes,
or cross-hatched).
It may fail when an input PC image is solid (low contrast).
Adjusting the PC image manually
Ordinarily you can
easily adjust the picture as
necessary to change image position using Auto
sync. In some cases, how
ever, manual adjustment is
needed to optimise the image.
Selected item Description
H-Position
Centres the image by moving it to the left
or right.
V-Position
Centres the image by moving it up or
down.
Clock
Adjusts when the image fl ickers with
vertical stripes.
Phase
Adjusts when characters have low
contrast or when the image fl ickers.
NOTE
• For resetting all “Fine sync.” items to the factory preset
values, press
a
/
b
to select “Reset”, press ENTER, press
a
/
b
to select “Yes”, and then press ENTER.
• Images may not be displayed properly depending on the
settings and/or input signals.
H
DivX (R) VOD
Please see USB Media Player on page 15.
LC-60LE360X_EN_G212.indd 9LC-60LE360X_EN_G212.indd 9 7/3/2014 2:57:20 PM7/3/2014 2:57:20 PM


