


1. MOUNTING, WIRING
2
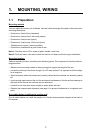
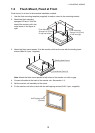
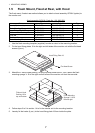
1.2 Flush Mount, Fixed at Front
Flush mount, fix at front is the standard installation method.
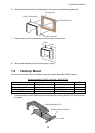
1. Use the flush mounting template (supplied) to make a cutout in the mounting location.
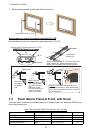
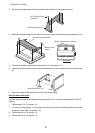
2. Attach the flush mounting
sponges H19 and V19 to the
back of the monitor unit in the
order shown in the figure at
right.
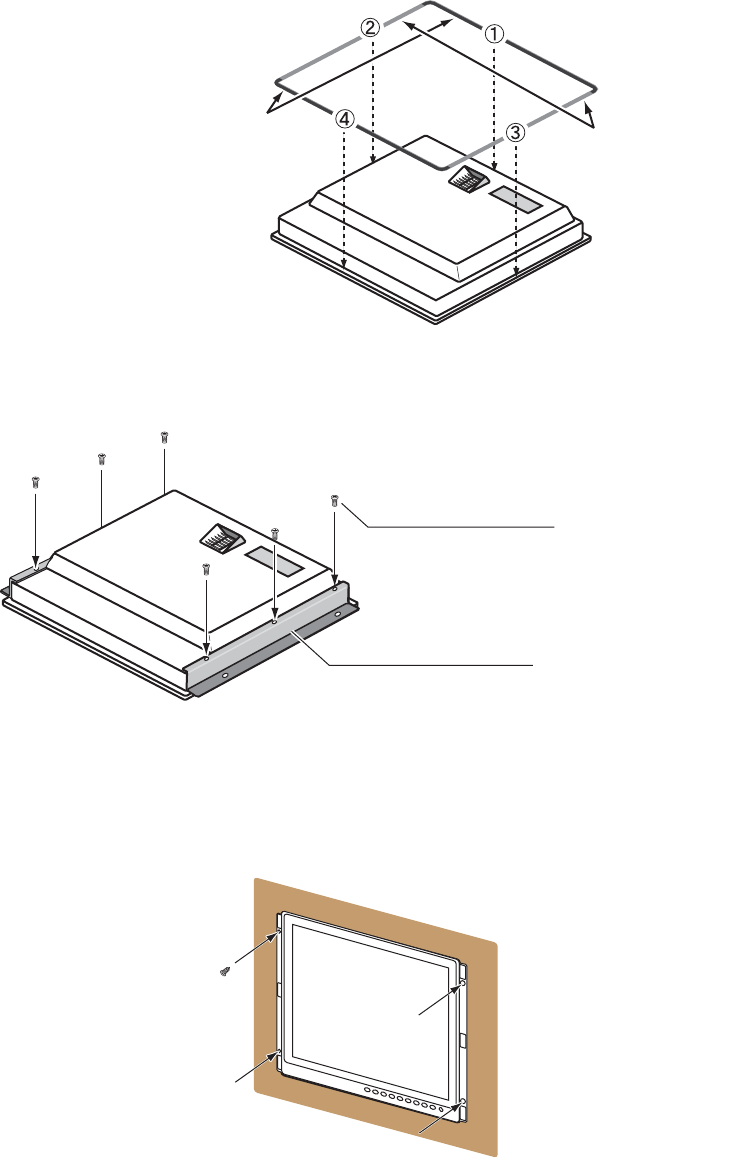
3. Attach the flush mount panels 19 to the monitor unit from the rear with the binding head
screws (M4x10, 6 pcs., supplied).
Note: Attach the flush mount panels to both sides of the monitor unit with no gap.
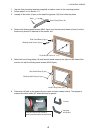
4. Connect all cables at the back of the monitor unit. See section 1.8.
5. Set the monitor unit assembly to the cutout.
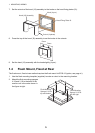
6. Fix the monitor unit to the cutout with the self-tapping screws (5x20, 4 pcs., supplied).
Flush Mounting
Sponge H19 (5 mm)
for top and bottom
Flush Mounting
Sponge V19 (2 mm)
for left and right
Binding Head Screw
Flush Mount Panel 19
Self-Tapping Screw
(4 places)