


72
Customizing the Function Settings
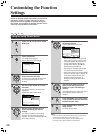
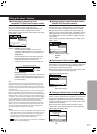
■ Adjusting the picture quality settings
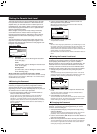
– To create your own setting (1)
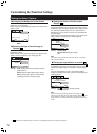
1 Use the cursor button (3) to select [Start] then press
ENTER.
Interlace Video Memory Select
Interlace Video Setup
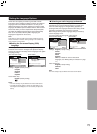
2 Use the cursor button (∞) to select [Video Setup] then
press ENTER.
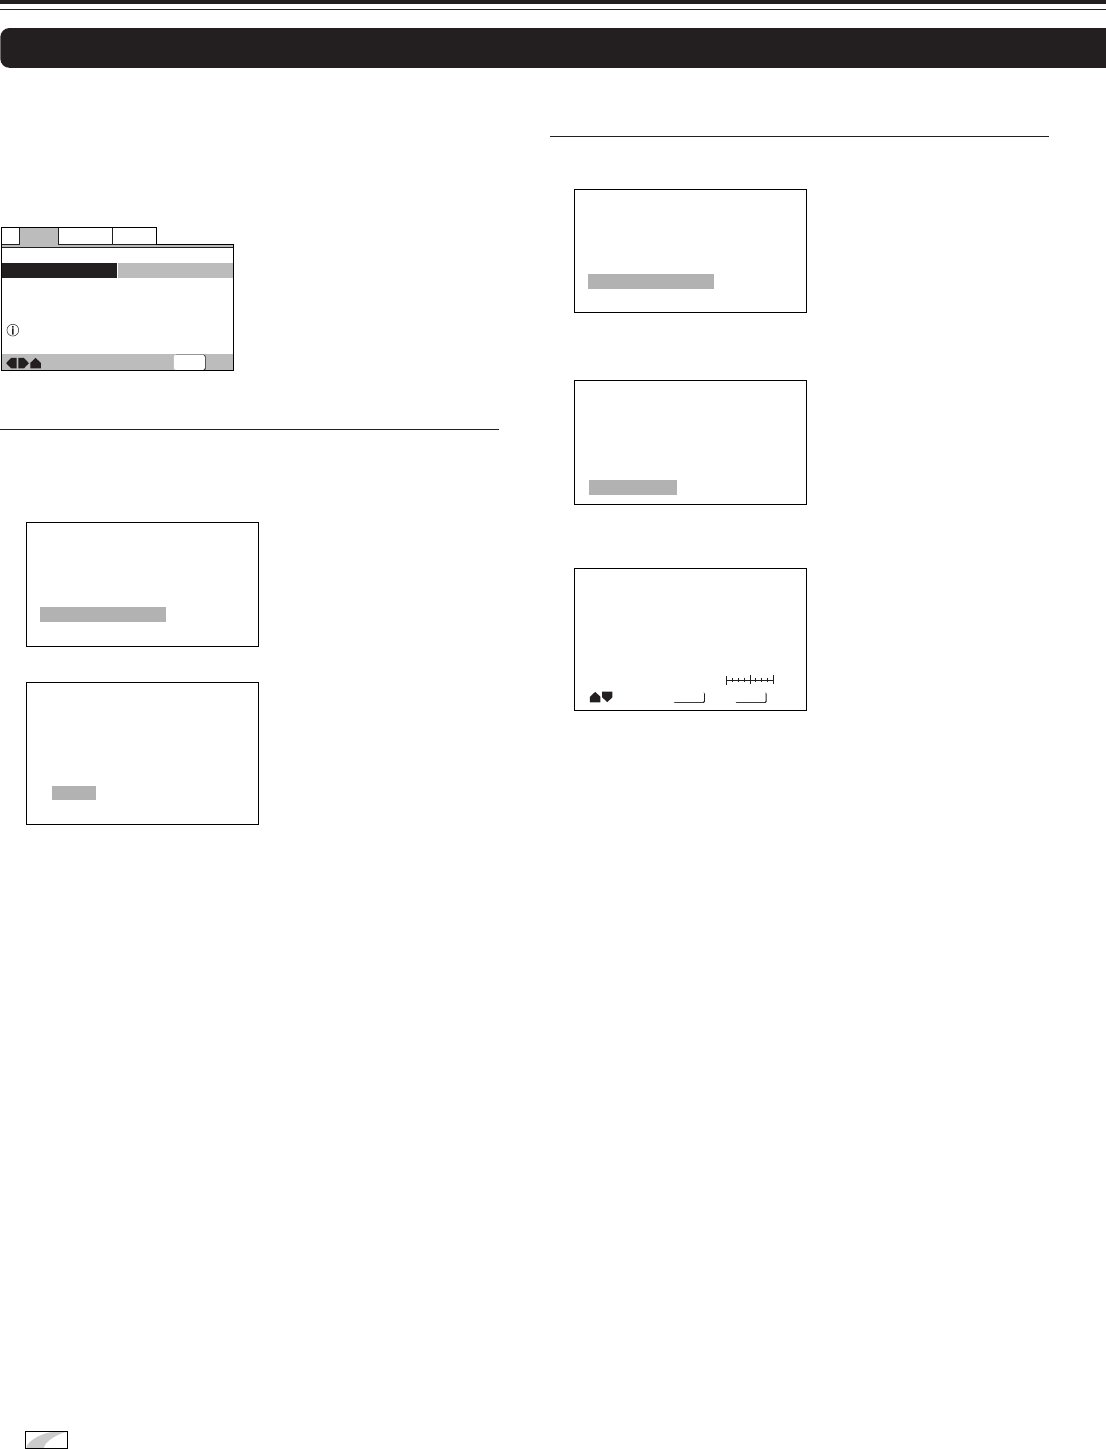
3 Use the cursor buttons (2/3) to select the setting to [On] or
[Off].
DNR
Move
Select
Check
DISPLAY
ENTER
off max
4 Use the cursor buttons (5/∞) to select the setting to adjust.
You can adjust any or all of the following picture quality factors:
<Other than European model when set to [Progressive] or
[Auto Progressive] in the Setup screen Video 1 menu.>
DNR
Controls the amount of signal noise in the luminance component
of the video signal.
Sharpness
Adjusts the sharpness of the mid-frequency (less detailed)
elements in the picture. (This setting is only effective when [Fine
Focus] is [On].)
Detail
Switch on to reveal greater detail (higher resolution) in the
picture.
Chroma Delay
Adjusts how saturated colours appear.
Gamma
Adjusts the brightness of the darker images in the picture.
Prog. Memory
Program the current settings.
You can either select a preprogrammed setting designed to
match certain program types or make adjustments to match
your own preferences and save them in the DVD receiver’s
memory.
Make changes to the [Video Adjust] setting in the Setup
screen Video 2 menu.
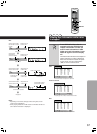
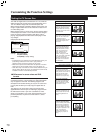
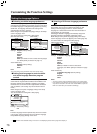
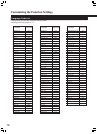
■ Selecting a preprogrammed setting
1 Use the cursor button (3) to select [Start] then press
ENTER.
Setting items vary depending on the settings in the Setup
screen Video 1 menu.
—
—
Video2
Language
General
V1
Exit
Move
Background
Video Adjust
Gray
Start
Picture Quality Controls
SETUP
P.Memory 1
P.Memory 2
P.Memory 3
Cinema AnimationStandard
Interlace Video Memory Select
Interlace Video Setup
2 Press ENTER.
Standard (Factory Setting)
Presents the video with no effect added.
Cinema
Delivers a cinema-like picture.
Animation
Provides images with bright clear colors.
Memory 1, Memory 2, and Memory 3
(P.Memory 1, P.Memory 2, and P.Memory 3)
These are user programmable settings. See “Adjusting the
picture quality settings” on this page and page 73 for more
information.
3 Use the cursor buttons (2/3/5/∞) to select one of the
preprogrammed picture quality settings.
If there is a DVD or Video CD playing, the effects of each setting
can be viewed while it is highlighted on the screen. This may be
useful in selecting an appropriate setting.
4 Press ENTER.
The new selection is set.
Notes
• Each picture quality setting is defined by a number of individual
settings, described in “Adjusting the picture quality settings” on
this page and page 73.
• Depending on the disc and the TV/monitor, you may not see the
effect clearly.
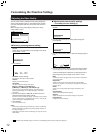
Adjusting the Video Quality
Interlace Video Memory Select
Interlace Video Setup
*
Expert
denotes more detailed settings. If the item is not displayed, please refer to page 69 to display it.