


73
DISPLAY
ENTER
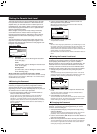
Prog. Memory
Move
Select
Off 1 2 3
Check
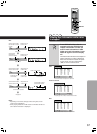
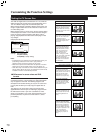
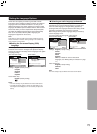
■ Adjusting the picture quality settings
– To create your own setting (2)
1 Use the cursor button (3) to select [Start] then press
ENTER.
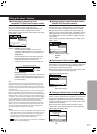
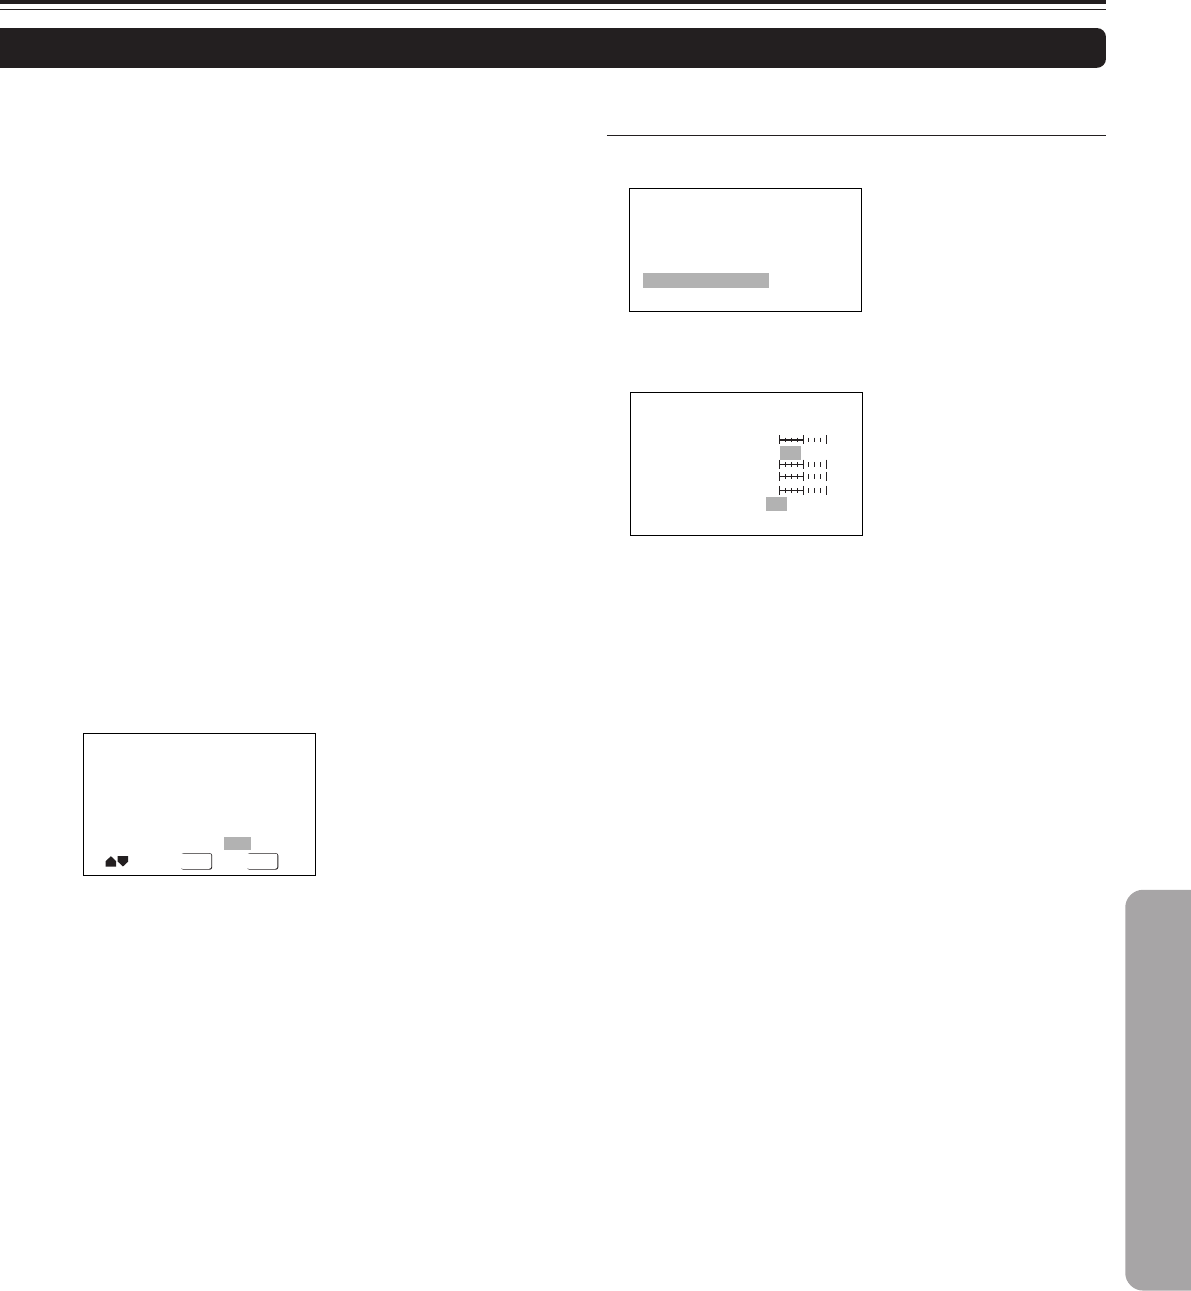
Memory
DNR
Sharpness
Detail
Chroma Delay
Gamma
min max
min max
off max
green red
Off
On Off
123
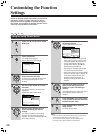
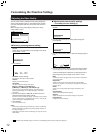
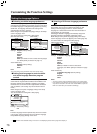
Interlace Video Memory Select
Interlace Video Setup
<Other than European model when set to [Interlace] setting
in the Setup screen Video 1 menu and European model>
Fine Focus
Switch [On] to reveal greater detail (higher resolution) in the
picture.
Contrast
Adjusts the contrast of the elements in the picture.
Sharpness
Adjusts the sharpness of the high-frequency (detailed) elements
in the picture. (This setting is only effective when [Fine Focus] is
[On].)
Chroma Level
Adjusts how saturated colours appear.
Hue
Adjusts the overall colour balance between red and green. (This
is only effective when the DVD receiver is connected using the
VIDEO OUT or S-VIDEO OUT jacks.)
Memory (Interlace Memory)
Programs the current settings.
5 Use the cursor buttons (2/3) to adjust the settings.
Adjust these while a disc is playing to see the effect of changes
immediately.
6 Repeat steps 4 and 5 to make adjustments to other
settings.
If you would like to save the settings in the DVD receiver’s
memory, be sure to select either [1], [2], or [3] in the [Prog.
Memory] or [Memory (Interlace Memory)] setting to establish
which memory location to save the new settings in. Please note
that if you select a location where settings have already been
saved, the old settings will be replaced by the new ones.
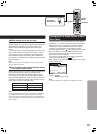
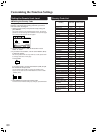
2 Use the cursor button (∞) to select [Video Setup] and press
ENTER.
3 Press DISPLAY.
4 Use the cursor buttons (5/∞) to select the setting and use
the cursor buttons (2/3) to adjust the settings.
Adjust these while a disc is playing to see the effect of changes
immediately.
5 To memorize the setting, select Memory 1, 2, 3, then press
ENTER.
The previous setting will be erased.
7 When you are finished making adjustments, press ENTER
to establish the new settings.
Tip
Progressive scan video has a greater scanning line density than
standard interlace video. Graininess is minimized and you can enjoy
a soft picture even with a big screen. *1
Progressive-scan compatible TVs also have on board progressive
circuits. If you prefer, choose “Interlace” in this unit’s setup screen to
view progressive-scan video adjusted by the TV’s on board circuits.
If the TV is incompatible with this unit’s progressive output, picture
disturbance occurs. For this type of problem, switch this unit’s output
to Interlace.
*1 When using a progresive-scan compatible TV.