


3
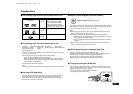
■ Dirt, dust, scratches and warpage cause sound skips
during playback and deterioration of sound and/or
picture quality. How to take care of your discs:
■ Fingerprints and dust should be carefully wiped from the disc’s signal surface
(glossy side) with a soft cloth. Unlike conventional records, the disc has no
grooves to collect dust and microscopic debris, so gently wiping with a soft cloth
should remove most particles. Wipe in a straight motion from the inside to the
outside of the disc. Small dust particles or light stains will have no effect on
reproduction quality.
■ Never use such chemicals as record sprays, antistatic sprays or fluids, benzene
or thinner to clean discs. Such chemicals would irreparably damage the disc’s
plastic surface.
■ Disc should be put back in their cases after use to avoid serious scratches that
could cause the sound to skip.
■ Do not expose discs to direct sunlight, high humidity, or high temperatures for
extended periods of time. Long exposure to high temperatures can warp the
disc.
■ Do not apply paper or write anything on either side of the disc. Sharp writing
instruments, or the inks used in some felt-tipped pens, may damage the
surfaces of the disc.
■ Never use the discs with unordinary shape, such as heart-shape, octagonal
shape, etc.. The use of such discs will result in malfunction.
■ Although protective film is being marketed as Disc accessories, use of these
products will result in malfunctions and should absolutely be avoided.
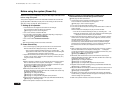
■ With new discs
The symptoms described below sometimes
occur when new discs are used.
■ The disc is not played even when it is
loaded.
■ Operation changes to the next disc before
the first disc has a chance to be played.
■ The same disc is played over and over
again.
■ The designated disc is not played.
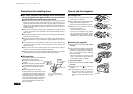
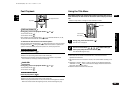
These symptoms occur when there are burrs
on the center hole or outside circumference
of the disc and, as a result, the disc has not
been loaded properly or the disc catches on
something inside the magazine. In cases like
these, remove the burrs using a ball-point
pen or similar implement, as shown in the
figure on the right.
Center
hole
Burrs
Burrs
Outside
circumference
Remove all plastic particles of burr
from surfaces of disc before loading
in magazine.
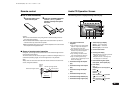
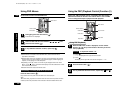
■ Loading a disc
1 Pick the tab on the magazine’s disc tray and
pull out only one of the trays.
2 Place the disc on the tray with its play surface
facing up (label surface facing down).
* Each tray can accommodate only one disc.
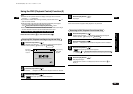
3 Press the tab on the disc tray to store the
tray back in the magazine.
* Up to ten discs can be loaded.
* This unit is not designed to play 3”(8cm)
discs. Inserting a 3”(8cm) disc into the
magazine, either with or without a 3”(8cm)
disc adapter, can damage the unit and disc.
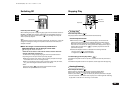
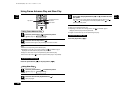
■ Installing the magazine
1 Slide the door toward the right until it locks
into place.
2 First check that the magazine with the discs
inside has its top side facing up and that it is
pointed in the right direction for installation.
Push it in until it clicks into place, indicating
that it is now locked.
* When the magazine is used for the first
time, it will not lock into place unless the
power supply has been connected.
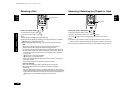
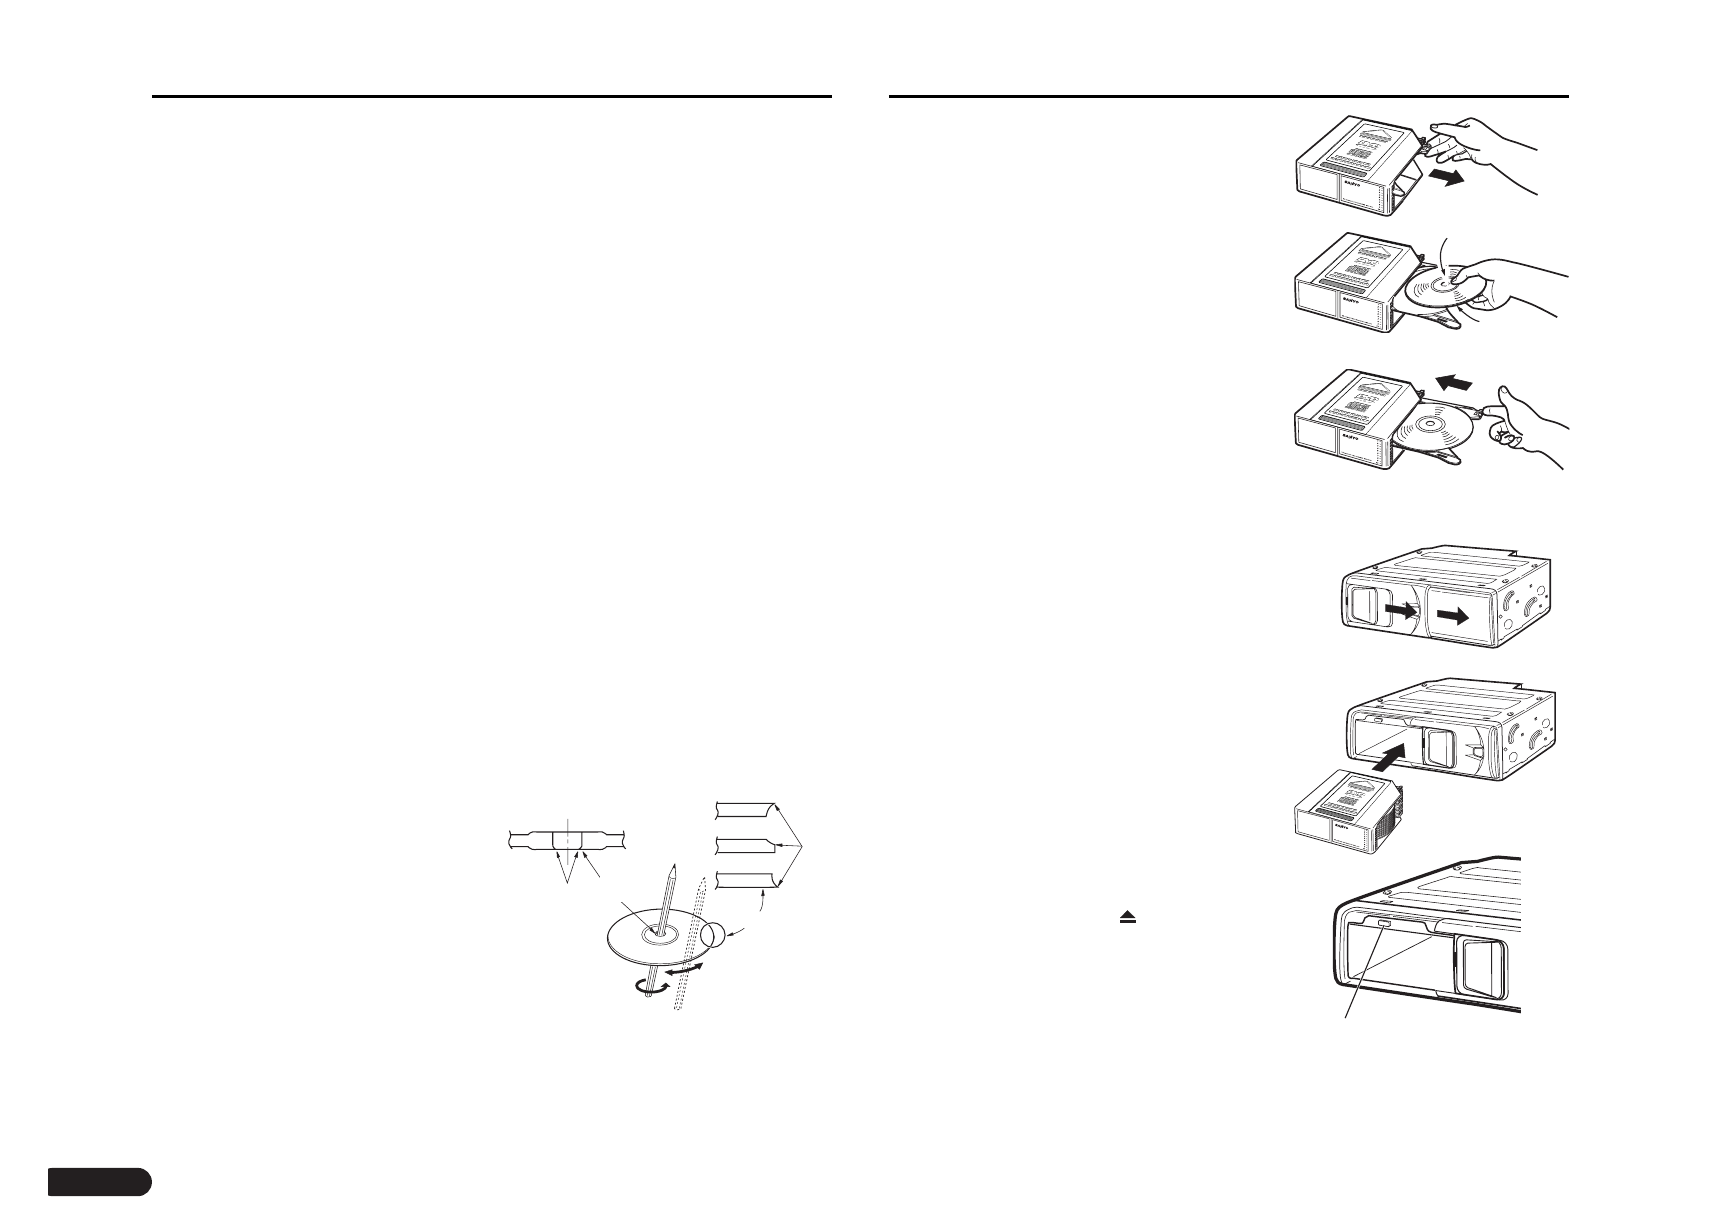
¡ Ejecting the magazine
1 Slide the door toward the right until it locks
into place.
2 Press the eject button ( ) to remove the
magazine.
Notes: Be absolutely sure to close the door
after having inserted or ejected the
magazine. Dust or dirt finding its way
inside may cause malfunctioning of the
unit.
A
U
DI
O
Play side up
Eject button
Label side
down
Precautions for handling discs How to use the magazine
DV-S100/ZA(GB) 03.11.28 1:19 PM ページ3