13
ENGLISH
• This section describes surround-related setup operations.
For DVD-related setup operations, see page 41.
• The setup operations cannot be performed while discs are playing. Set the stop mode first.
(2) Before setting up the system
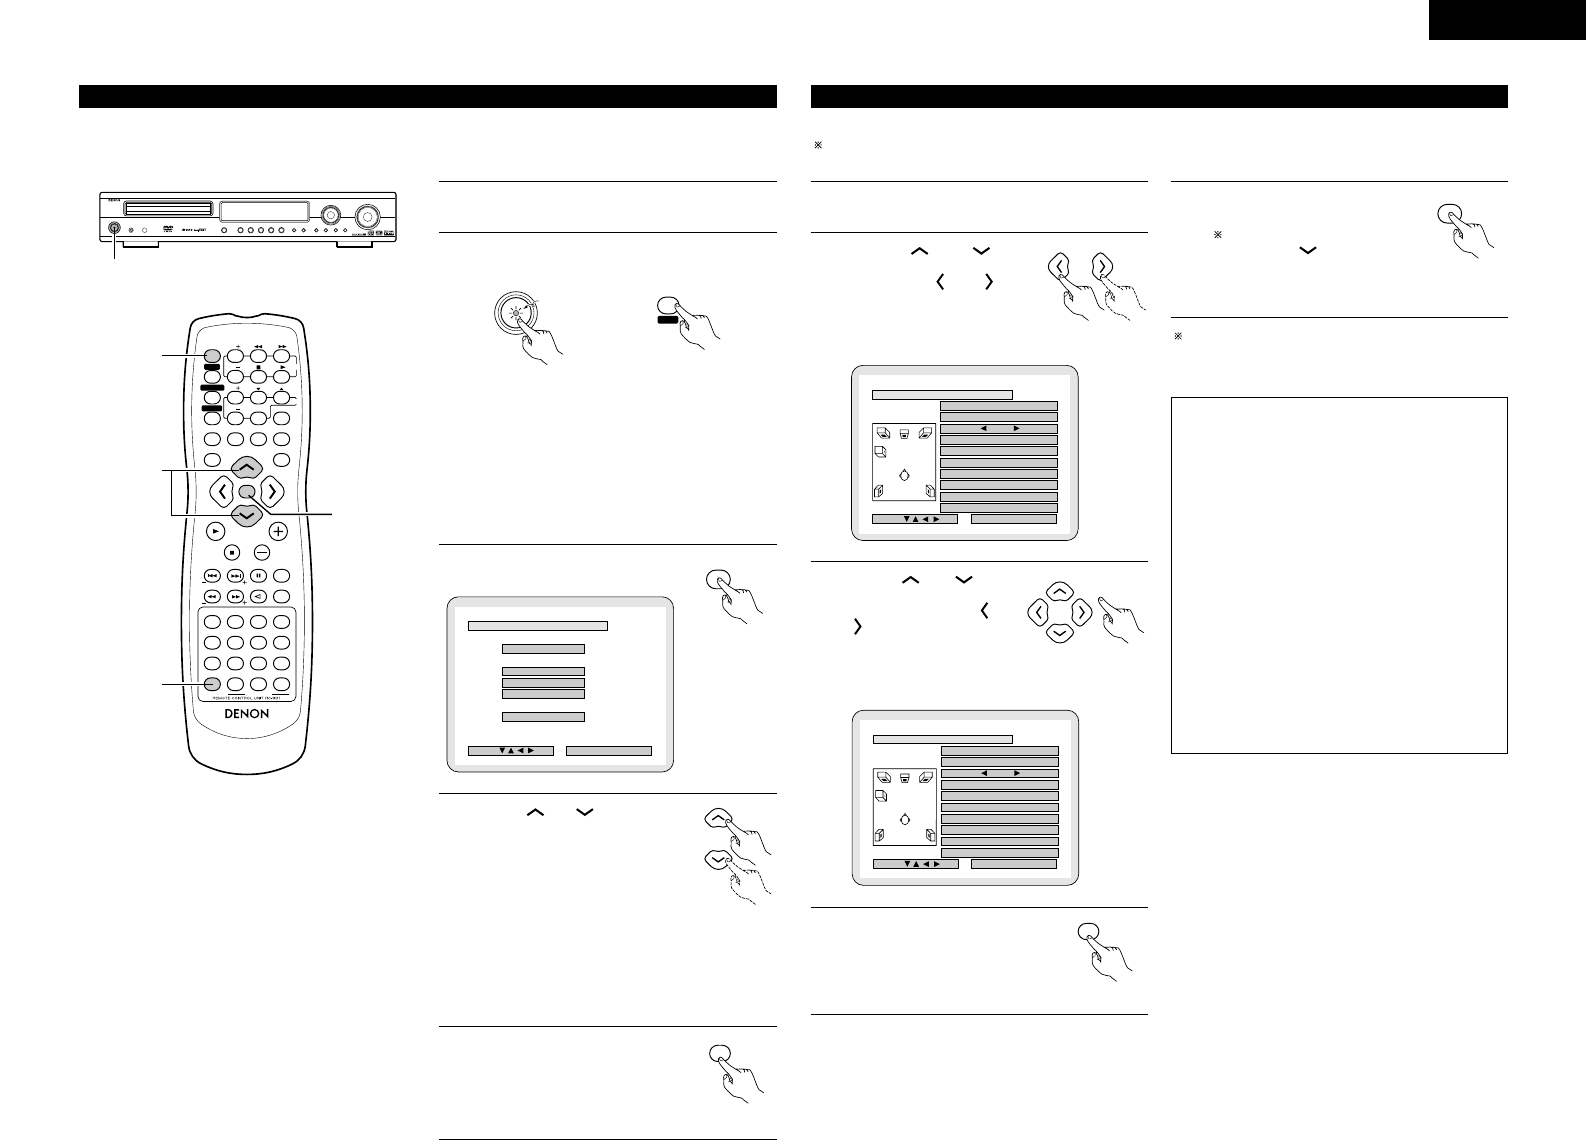
VOLUME
ENTER
BAND
MODE
MENU
FUNCTION
DISPLAY RETURN INPUT MODE SURROUND
TOP MENU
SETUP
SDB/TONE
MUTE
SURR.PARA
SUB TITLE ANGLE
AUDIO
RTRDS CT
PTY
SHIFT
CH.SELECT
CH
T.TONE
TU
PROG/DIRECT
REPEAT A-B
REPEAT RANDOM
DVD
TV/VCR
CH
VOL
SLEEP
ON
OFF
REMOCON MODE
2
3
4
56
8
9
CLEAR
CALL
0
+10
7
1
STATUS
CDR/MD/TAPE
TUNER/TV/VCR
VCR POWERVCR POWER
TV POWERTV POWER
TV
VCR
NTSC/PAL
MEMO
POWERPOWER
CH
CH
CH
5
3
2
4
1
2
Refer to “CONNECTIONS” (pages 5 to 8) and check
that all connections are correct.
Turn on the power.
Press the POWER switch (button).
Light
(green)
Main unit Remote control unit
When pressed, the power turns on and the display lights. The
sound is muted for several seconds, after which the unit
operates normally. When pressed again, the power turns off,
the standby mode is set and the display turns off.
Whenever the ON/STANDBY button is in the STANDBY state,
the apparatus is still connected on AC line voltage. Please be
sure to unplug the cord when you leave home for, say, a
vacation.
3
Press the SETUP button.
B
QUICK SETUP
<
ADVANCED SETUPADVANCED SETUP
>
SYSTEM SETUPSYSTEM SETUP
DVD SETUPDVD SETUP
>
EXIT SETUPEXIT SETUP
DEC IS ION: ENTER BUTTON
SETUP MENU
SELECT :
4
Use the and cursor buttons
on the remote control unit to select
the setting menu.
• There are three types of setup
menus.
Remote control unit
B QUICK SETUP: Select “ROOM SPACE” and
“SEATING POSITION”.
B SYSTEM SETUP: Detailed settings of the AV
system function
B DVD SETUP: Detailed settings of the DVD function
5
Press the ENTER button to display
the setting screen of the respective
menu.
Remote control unit
• The ADV-1000 is preset with Quick System settings for a 5.1-channel surround system using five small speakers.
See “(4) System setting changes” (pages 14 to 16 when using speaker systems other than the ones described below or if you
wish to change the settings.
(3) Quick system settings (to switch between the 2- and 5.1-channel modes)
1
2
At the setup screen, select “QUICK SETUP”, then press
the ENTER button. (See page 13.)
Use the and cursor
buttons to select “Room Space”,
then use the and cursor
buttons to set the size of the room.
• The set size is displayed in
yellow.
Remote control unit
B
ROOM SPACEROOM SPACE: (4.2X4.2m)
EXIT
SMALL MED. LARGESMALL MED. LARGE
SEATING POSITION
CENTER BACK
<
SETUP VALUES
>
FRONT SMALLSMALL 2.7m
CENTER SMALLSMALL 2.4m
SURROUND SMALL SMALL 2.1m
SUBWOOFERSUBWOOFER YES 2.7m
DEC IS ION:ENTER BUTTON
QUICK SETUP MENU
SELECT :
4
Press the ENTER button to enter the
setting.
• The setup screen reappears.
Remote control unit
5
Press the SETUP button to quit the
setup mode.
You can also quit the setup mode
by using the cursor button at
the setup screen to display “Quit
setup” in yellow then pressing
the ENTER button.
Remote control
unit
To change the settings
At the setup screen, select “SYSTEM SETUP” from
“<ADVANCED SETUP>”.
3
Use the and cursor
buttons to select “Seating
Position”, then use the and
cursor buttons to
set the size of the position.
• The set position is displayed in yellow.
Remote control unit
B
ROOM SPACEROOM SPACE: (4.2X4.2m)(4.2X4.2m)
EXIT
SMALL SMALL MED.MED. LARGE
SEATING POSITIONSEATING POSITION
CENTER BACK
<
SETUP VALUESSETUP VALUES
>
FRONT SMALLSMALL 2.4m
CENTER SMALL 1.8m
SURROUND SMALL SMALL 2.4m
SUBWOOFERSUBWOOFER YES 2.4m
DEC IS ION:ENTER BUTTON
QUICK SETUP MENU
SELECT :
About the quick system settings
ROOM SPACE:
Set the size of the room in which you are using the
product.
SMALL: 10 ft x 10 ft (3.0 m x 3.0 m)
MED.: 12 ft x 12 ft (4.2 m x 4.2 m)
LARGE: 30 ft x 30 ft (6.0 m x 6.0 m)
SEATING POSITION:
Set whether the seating position is near the center of the
room or towards the back.
CENTER
BACK
Settings:
When “ROOM SPACE” or “SEATING POSITION” is
selected, the distance from the listening position to the
different speakers is displayed automatically.
If the relative distance is very different from the actual
distance (for example if a shorter distance is displayed
for the front speakers than for the center speaker but
actually the opposite is true), set the distance as
described in “ADVANCED SETUP” (page 14).


