


4443
44 45
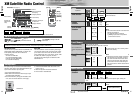
CQ-VD7001U CQ-VD7001U
Settings (continued)
English
English
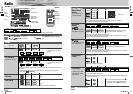
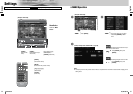
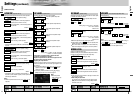
[MENU]
[MODE]
[]] [[] [}] [{]
[ENTER]
: Previous menu
: Previous menu
: Quit
: Quit
: Select/adjust
: Select/adjust : Determine
[MENU]
[MODE]
[]] [[] [}] [{]
[ENTER]
: Previous menu
: Previous menu
: Quit
: Quit
: Select/adjust
: Select/adjust : Determine
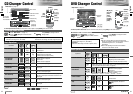
LPF/HPF
(Low Pass Filter/High Pass Filter)
Cut off frequency
: down, : up
Setting range: - (in 5 Hz step)
default:
: down, : up
Setting range: , - (in 5 Hz step)
default:
Note:
¡
This setting is not available if
(SRS setting) is
set to (on).
¡
(High pass filter) is enabled only on the
front speakers (R/L) and rear speakers (L/R).
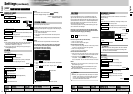
HPF CUT OFF
ON
CS Auto
OFF
225 Hz90 HzOFF
[
]
(High Pass Filter)
HPF CUT OFF
100 Hz
160 Hz60 Hz
[
]
(Sub-woofer Low Pass Filter)
LPF CUT OFF
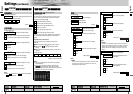
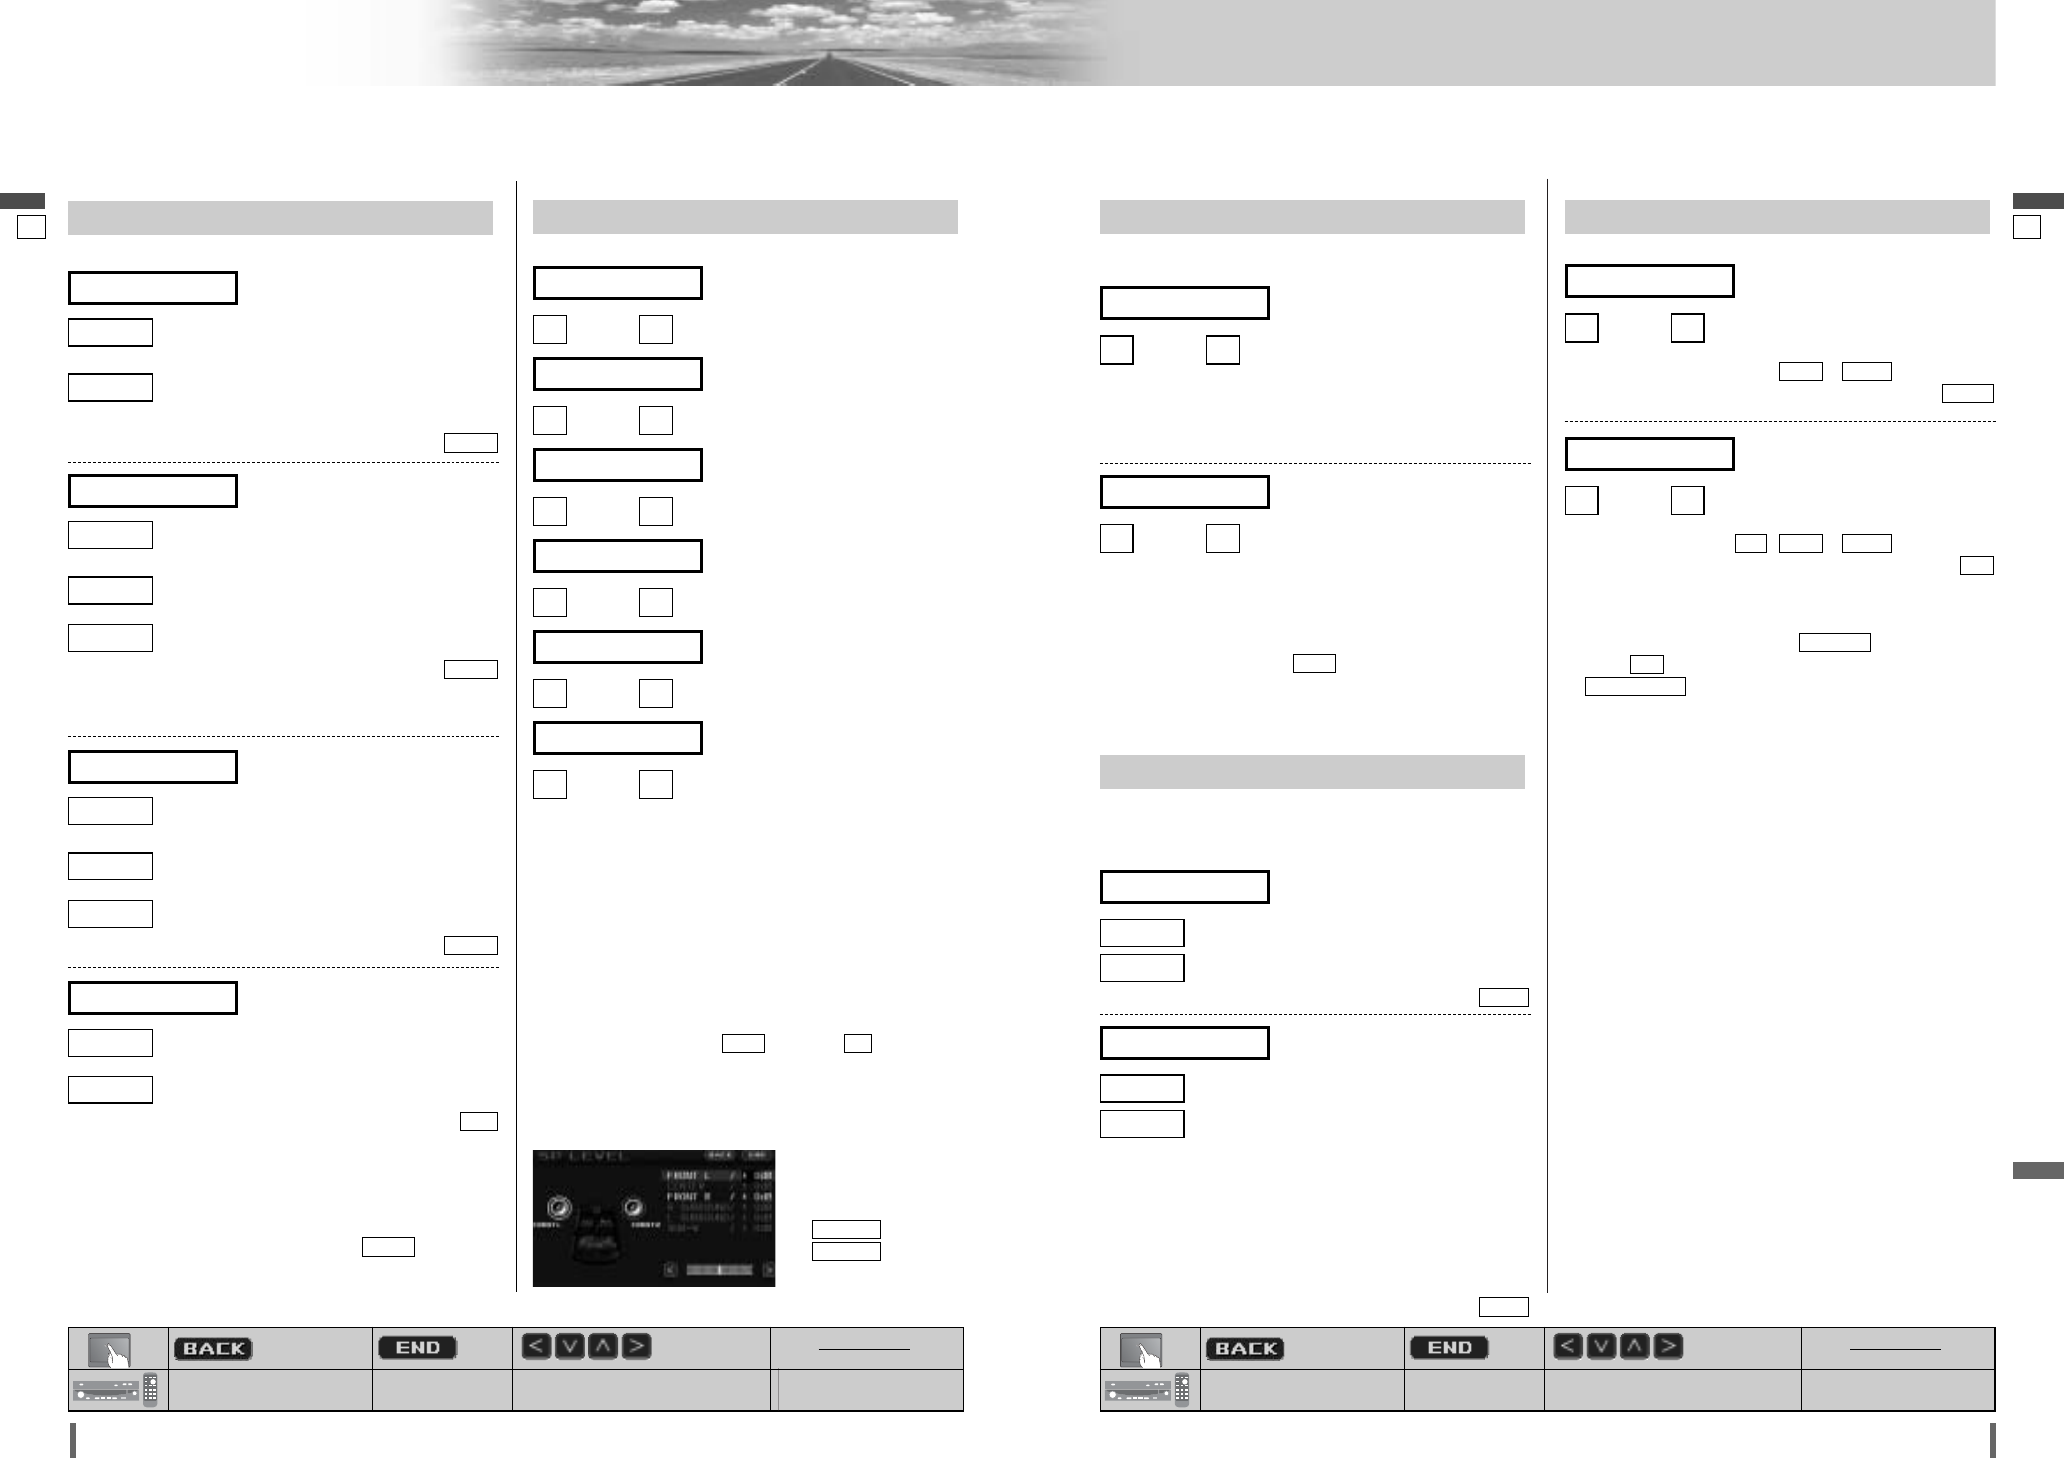
SP LEVEL
(Speaker level)
Adjusting the output balance of each speaker
: down, : up
: down, : up
: down, : up
: down, : up
: down, : up
: down, : up
Setting range: –10 dB to +10 dB (1 dB steps)
Default: ± 0 dB for all speakers
A test signal (a continuous tone) is output from each
speaker for approximately 2 seconds.
Adjust the output balance so that the tone appears to have
the same volume from each speaker.
Adjusting the output balance:
Adjust the volume of all of the other speakers to the volume
level of the speaker from which the test signal appears to be
the quietest.
¡
If the speaker setting is (none) or (no) for a
speaker, the test signal is not output and that speaker
cannot be selected.
¡
Turn rotary volume controller or
press
[
}
]
or
[
{
]
(
VOL
)
to adjust the volume of the test signal.
NONONE
[
]
(Subwoofer speaker output bal-
ance)
SUB - W
[
]
(Left surround speaker output
balance)
L
¡
SURROUND
[
]
(Right surround speaker output
balance)
R
¡
SURROUND
[
]
(Right front speaker output bal-
ance)
FRONT R
[
]
(Center speaker output balance)
CENTER
[
]
(Left front speaker output bal-
ance)
FRONT L
SP SETUP
(Speaker set up)
Setting the absence/presence and size of each speaker
: for large speakers, when bass playback is
possible (at least 100 Hz or lower)
: for small speakers, or when bass playback is
not possible
default:
LARGE
SMALL
LARGE
(Front speaker setting)
FRONT
: when using a subwoofer
: when not using a subwoofer
default:
* A subwoofer (option, CJ-HD302 recommended) is
required. A power amplifier (option) is also required for
connecting a subwoofer.
NO
NO
YES
(Subwoofer speaker setting)
SUB - W
: for large speakers, when bass playback is
possible (at least 100 Hz or lower)
: for small speakers, or when bass playback is
not possible
: when not using a center speaker
default:
* A center speaker (option, EAB-CF2 recommended) is
required.
NONE
NONE
SMALL
LARGE
(Center speaker setting)
CENTER
: for large speakers, when bass playback is
possible (at least 100 Hz or lower)
: for small speakers, or when bass playback is
not possible
: when not using a surround speaker
default:
LARGE
NONE
SMALL
LARGE
(Surround speaker setting)
SURROUND
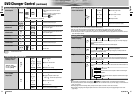
(AUDIO continued)
Note:
¡
While the private mode is active, only
can be
adjusted.
FRONT
Note:
¡
While the private
mode is active, only
and
can be
adjusted.
FRONT R
FRONT L
SP DELAY
(Speaker delay)
Adjusting the timing with which the audio from each speak-
er reaches the listener’s position
: down, : up
Setting range: 0 ms to 5 ms (1 ms steps)
1 ms = 0.001 seconds
default: 0 ms
: down, : up
Setting range: 0 ms to 15 ms (1 ms steps)
1 ms = 0.001 seconds
default: 0 ms
¡
Make this adjustment while listening to sound.
¡
If the speaker setting is
(none)
for a speaker, that
speaker cannot be selected.
¡
When “PRO LOGIC” is displayed, 15 ms are automatically
added to the delay time setting for the surround speakers.
NONE
[
]
(Surround speaker delay time
setting)
SURROUND
[
]
(Center speaker delay time set-
ting)
CENTER
MODE LEVEL
Setting the VTR/AUX input level
Make this setting if it is not possible to adjust the volume
through the connected device (on the output side).
: sets the level low/sound volume increases
: sets the level high/sound volume decreases
default:
: sets the level low/sound volume increases
: sets the level high/sound volume decreases
Note:
¡
If the input level from VTR/AUX is too high, the audio will
not be output normally.
¡
After setting the input level
The volume can be adjusted by pressing
[
}
]
or
[
{
]
(VOL) on the remote control or turning rotary volume
controller on the unit.
default:
HIGH
HIGH
LOW
(Setting for AUX)
AUX LEVEL
HIGH
HIGH
LOW
(Setting for VTR)
VTR LEVEL