


2-4 C1510M-A (2/03) SECTION 2
SECTION 2 PROGRAMMING AND CONFIGURATION
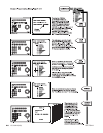
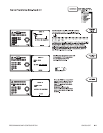
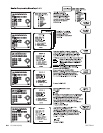
1.0 SAT MENU PROGRAMMING
Prior to programming the SAT, check to ensure that the bulleted items in the two lists below are either taken care of or that the required
information is readily at hand**. All items in the first list are required.
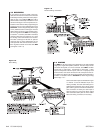
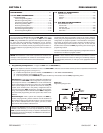
• The SAT-9760 communication interface is in place and correctly wired (see Section 1,
Physical Installation, 1.0
Com Connection
).
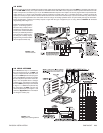
• Identify and make a list of the monitor-out connections on the SAT that are going to be used as tie lines to the CM9760-CC1.
• Make sure you have a monitor attached to the SAT that you can use as your local programming monitor.
• Ensure that a KBD200 or KBD300 (with satellite software) is attached to the local keyboard port on the SAT.
It is important to have the information for the following items before programming the attributes of the item in question. Programming menus for
devices that connect to the SAT can take place before the device is attached, but all devices configured and referenced in the menus should
be connected prior to system operation. Once the system is operational, programming menus for the SAT can be accessed and edited for
currently attached equipment. Care must be taken, however, when making these changes or when attaching additional equipment. If you make
menu choices or device additions that affect the 9760 SIDE of the 9760-SAT interface, remember that you may also have to change existing
configuration files because of these changes. These, in turn, might require interruption of the 9760-SAT communication link and anything else
connected to the 9760 system while new configuration files are loaded.
• Ensure that video inputs to the SAT (link or satellite cameras) are identified as to type (fixed or PTZ). If the receiver is PTZ capable, the
receiver control type should be known (coaxitron or “P” type [RS-422] ).
• Hard-wired alarm and aux configurations.
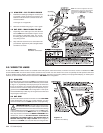
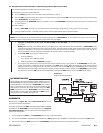
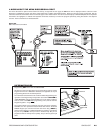
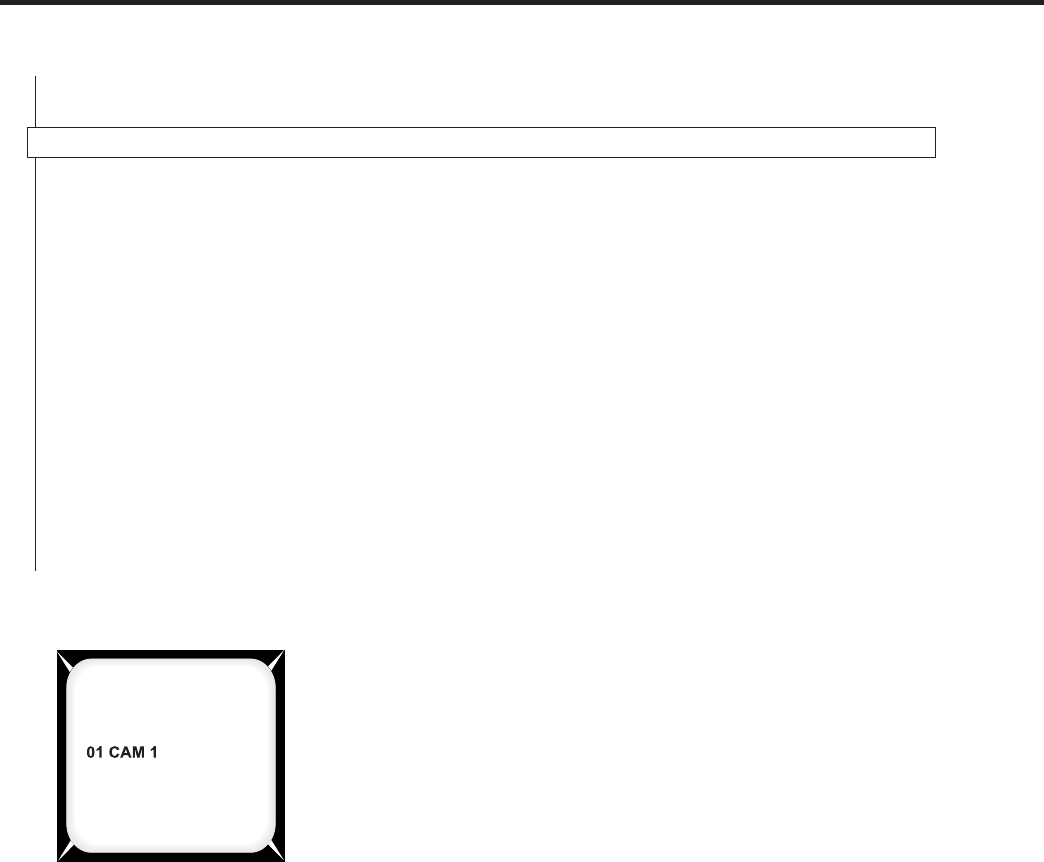
Figure 2-4
Initialization Screen
LOCAL KEYBOARD INITIALIZATION
Initialization is necessary after power is first applied to the keyboard (SAT SIDE), or if power is cycled on
the unit or if an operator-induced reset is invoked (see Section 5, Appendix V,
Default Reset Assign-
ment)
. When power is applied, the LCD display flashes momentarily, and then goes blank. Initialization
consists of entering the # of the local monitor in the keypad and pressing the MON key. You can do this
immediately after power is applied or you can wait five seconds and then enter the # and press the MON
key. In either case, the result is a 5 second delay before the display of camera input 1 (by default) appears
on the monitor along with other character display information (see Figure 2-4).
The 01 is the camera number. CAM1 is the default camera title. Other information that might appear (time/
date information, for example) does not appear now (the first time through) because of program menu
defaults.
If you have a local monitor attached, but do not yet have any cameras attached, this will not prevent you
from programming the unit. Your programming screens will appear on the local monitor as soon as the
PGM key is pressed, as you will soon see. Programming SAT menus can now proceed.
**The checklist below is based on “
Programming Configuration I
” located in
Section 2’s
preliminary discussion.