OPERATION CM9760-SAT 3-1
SECTION 3 OPERATION
1.0 LOCAL SAT OPERATIONS
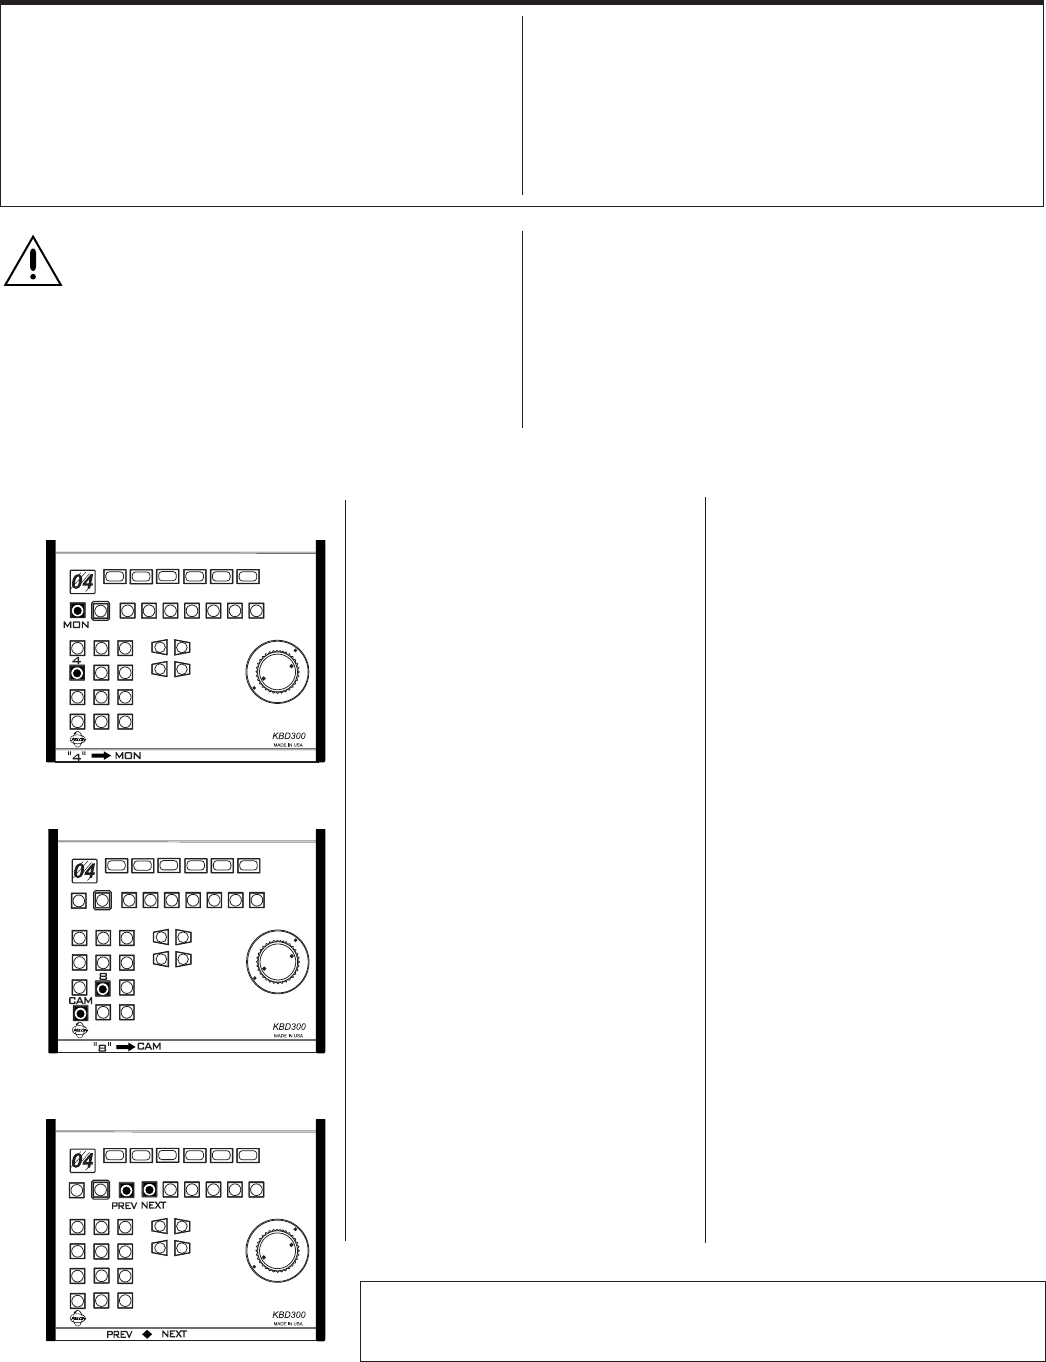
1.1 SELECTING MONITORS
1. Enter the monitor number (1-4) you want
to view.
2 Press the MON button. The monitor num-
ber entered should match that appearing
in the keyboard LED display
1.2 SELECTING CAMERAS
1. Enter the camera number (1-16) you want
to view.
2. Press the CAM button. The camera view
appears on the selected monitor.
1.3 CONTROLLING CAMERAS
1.3.1 Multi-Speed PAN and TILT
Control, KBD200
Use the KBD200’s “Touch Speed” feature to op-
erate pan and tilts equipped with variable-
speed.
Enter a number between 1 (slowest) and 9 (fast-
est) followed by one of the pan and tilt buttons.
The selected speed remains in the switcher’s
memory until it is changed. Entering zero re-
sets the pan and tilt speed to about 20 degrees
per second.
1.3.2 Variable-Speed PAN and TILT
Control, KBD300/KBD300V
Use the joystick to operate variable-speed pan
and tilt control from the KBD300/KBD300V.
Pan and tilt response increases as the joystick
is deflected from its normal position. Slight de-
flection causes slow pan and tilt response while
full deflection causes rapid response.
1.3.3 Step Through System Camera
Use the PREV (backward) and NEXT (for-
ward) buttons to step through the system cam-
eras, or those cameras partitioned for your key-
board location. The displayed camera order
does
NOT
follow that set up in the CAMERA
SEQUENCE sub-menu of the monitor pro-
gramming menu (see the Monitor Program-
ming Menu-Page 2 of 3). Those settings
effect sequence operations only. Instead, at
each press of the button, the SAT will stop, in
turn, at each video input on the unit. What you
see displayed is influenced by the following
items:
1. If any SAT input lacks a display source,
you will only see a blank screen. For ex-
ample, if the unit is supplied with input
video on 1 and 16 only and no other in-
puts, then pressing NEXT or PREV while
between these end-points will result in a
blank screen display. Moreover, you will
have to press the key 14 times to navi-
gate from either end to the other.
2. The situation in (1) can be avoided if the
MON to CAMERA sub-menu, located
in Section 2’s,
Access Programming
Menu
, is configured to bypass those un-
used (or perhaps, unallocated) video in-
puts. Now, when the NEXT or PREV
button is pressed, you navigate directly
from input 1 to 16, if the NEXT button is
pressed and from input 16 to 1 if the
PREV button is pressed.
NOTE:
There is no indication on the keyboard display that you are actually viewing the
camera you chose. This can be rectified by entering appropriate camera titles for each cam-
era view when programming local
SAT
menus.
Figure 3-1
Monitor Selection
Figure 3-2
Camera Selection
Figure 3-3
Camera Step-Through
1.0 LOCAL SAT OPERATIONS ........................................... 3-1
Selecting Monitors ............................................................ 3-1
Selecting Cameras ........................................................... 3-1
Controlling Cameras ......................................................... 3-1
Operating Sequences ....................................................... 3-3
Controlling Auxiliaries ....................................................... 3-4
IMPORTANT: Initializing keyboards.
For
SAT SIDE
,
local operation, keyboards must be initialized (1) after any
power cycle or (2), after the first time power is applied to a
keyboard or (3), after an operator initiated reset (see
Ap-
pendix 5
, Default Menu reset Assignments). To initialize a keyboard,
enter the number (1-4) of the monitor from which you are going to view
displays, then press the
MON
key. You must wait five seconds (before
or after you enter the number and press the
MON
key) to allow for power
up configuration to take place, after which the number of the selected
monitor appears on the keyboard’s
LED
display.
Up to 16 cameras and four monitors (minus those used as tie-lines) are
available for user access and control via keyboards connected to the SAT.
Access is limited by the following constraints:
1. Physical: a monitor must be available at your location.
2. Software: programmed access (local SAT programming menus)
for monitor/camera use must have been partitioned for access by
the user in question.
2.0 9760 SAT OPERATIONS ............................................... 3-4
Selecting Link (Satellite) Cameras.…... ............................ 3-4
Controlling Link Cameras…………….. ............................. 3-5
Operating Suggestions………………................................ 3-5
3.0 ALARM OPERATIONS ................................................... 3-6
Local SAT Alarm Response……….... ............................... 3-6
9760 System-SAT Alarm Response…. ............................. 3-7
SAT and SAT-Alarm Unit configurations ........................... 3-9


