


38
Controlling the Projector
Control the projector
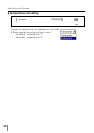
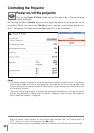
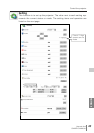
Click on the Control linked text on the main menu. The control menu will be displayed
on the lower side of the page. When you click each control icon, the control page is
displayed according to the control menu you selected.
✐ Please see the owner's manual of the projector to have the further information of each con-
trol item.
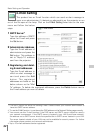
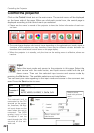
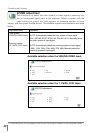
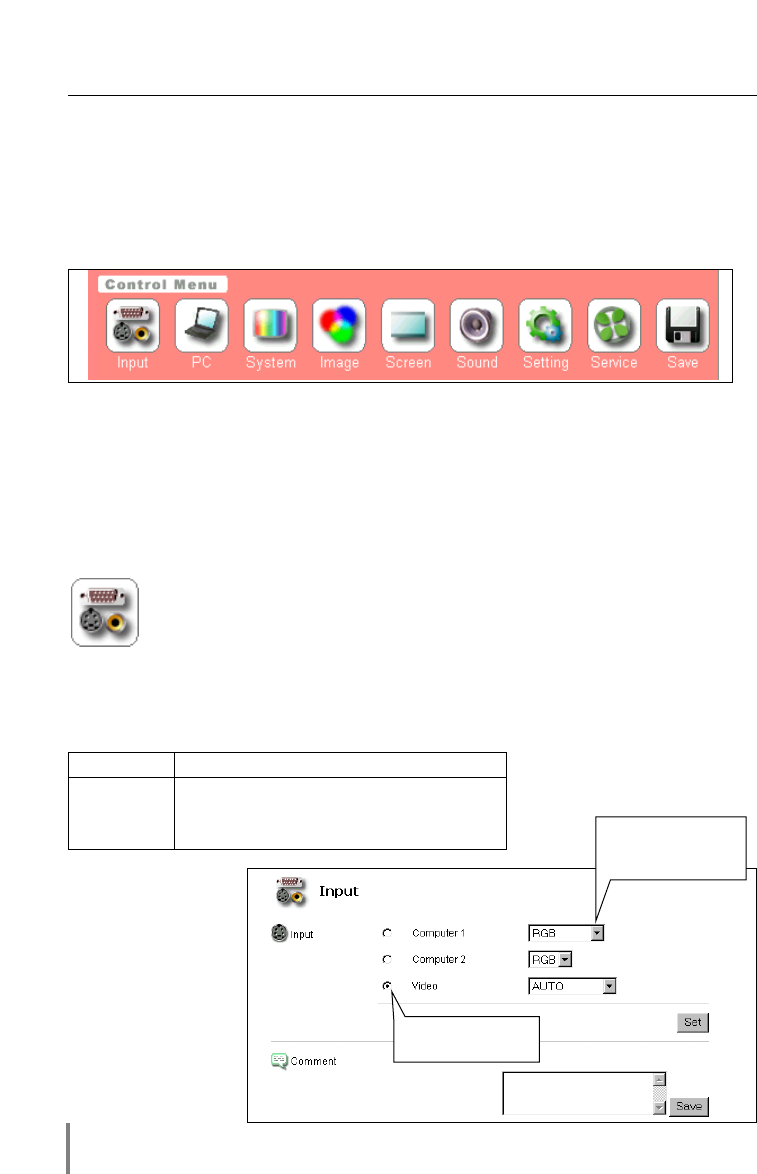
Input
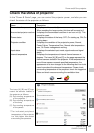
Select the input mode and source to the projector in this page. Select the
input source with the radio button, and input source mode with the pull
down menu. Then set the selected input source and source mode by
pressing the Set button. The available selections are listed below.
You can save your note regarding to the input mode and source in the comment text
area. Press the Save button to save.
Input Input Signal
Computer 1 RGB, RGB(Scrat)
Computer 2 RGB
Video AUTO, VIDEO, S-VIDEO, Y, Cb/Pb, Cr/Pr
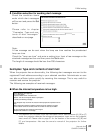
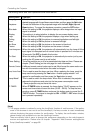
✐ The control page displays valid control items depending on the selected input mode, signal or
functions of the projector you use, therefore, there may be different controls between the
described items and actual control items on the page display.
✐ When the projector is in standby, only the timer on the setting menu is effective; others are
inactive.
Select a source
mode with pull down
menu.
Note:
This network unit is
connected to the DVI
terminal on the projec-
tor, therefore, the digi-
tal input does not be
used when this unit is
mounted. The RGB
analog input of the
Computer 2 can be
used through the VGA
terminal on the net-
work unit.
Select a source with
radio buttons.