


28
Main menu (continued)
29
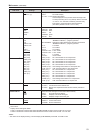
Sub menu Settings Description
POWER ON SETUP
LAST
FACTORY
USER1
USER2
USER3
USER4
USER5
Selects the settings used when the power is turned on.
<LAST> Starts in the mode used when the power was last turned off.
<FACTORY> Starts up using the factory defaults.
<USER1 - 5> Starts up using USER registered settings.
COLOR SPACE
SMPTE-C
*
4
EBU
*
5
ITU-709
*
6
Sets the studio standard color space.
POWER DOWN
OFF
ON
Determines whether or not the power will be turned off (power down) when there is no
signal input and the unit has been idle for a certain period of time.
<OFF> The unit is not powered down.
<ON> The unit is powered down.
POWER SAVE
MODE
OFF
ON
Sets the power save mode.
<OFF> POWER SAVE MODE is not engaged.
<ON> The backlight dims when no signal (NO SIGNAL) is input for 60 seconds or longer.
Signal input or menu operation will return the backlight to its normal brightness.
CALIBRATION ▼ Connect Display Color Analyzer CA-310 and then perform calibration. This also allows you
to restore the calibration data to the factory preset setting values. (→pages 28 to 30)
*
4
Factory default setting for the BT-LH1850P.
*
5
Factory default setting for the BT-LH1850E.
*
6
ITU-709 indicates the ITU-R BT.709 standard.
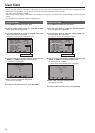
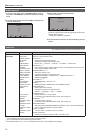
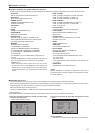
INPUT NAME SETUP
The “INPUT NAME SETUP” function allows you to change the names of the input lines (VIDEO, SDI1, SDI2, HDMI, DVI-I (YP
BPR/
RGB-COMP./DVI-VIDEO/DVI-COMP.), INT-SG) that are displayed in status or other indications.
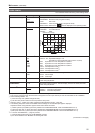
1. Turn the rotary knob in the “SYSTEM CONFIG” menu to
select the “INPUT NAME SETUP” submenu and press the
rotary knob.
2. Turn the rotary knob to select the name of the input line
you want to change and press the rotary knob.
MENUEXIT
RETURN
RETURNSEL. ENTER
[INPUT NAME SETUP]
VIDEO
SDI1
SDI2
HDMI
YPBPR
RGB-COMP.
DVI-VIDEO
DVI-COMP.
INT-SG
VIDEO
SDI1
SDI2
HDMI
YPBPR
RGB-COMP.
DVI-VIDEO
DVI-COMP.
INT-SG
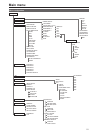
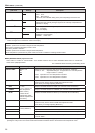
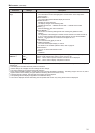
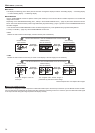
3. Turn the rotary knob to select the characters you want to
change
*
7
and press the rotary knob to enter them.
• The selected characters are highlighted and change to italics
when entered.
MENUEXIT
RETURN
RETURNSEL. ENTER
[INPUT NAME SETUP]
VIDEO
SDI1
SDI2
HDMI
YPBPR
RGB-COMP.
DVI-VIDEO
DVI-COMP.
INT-SG
VIDEO
SDI1
S
DI2
HDMI
YPBPR
RGB-COMP.
DVI-VIDEO
DVI-COMP.
INT-SG
re
set
*
7
The “B” and “R” in YPBPR cannot be selected.
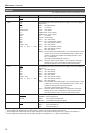
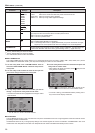
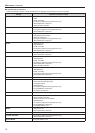
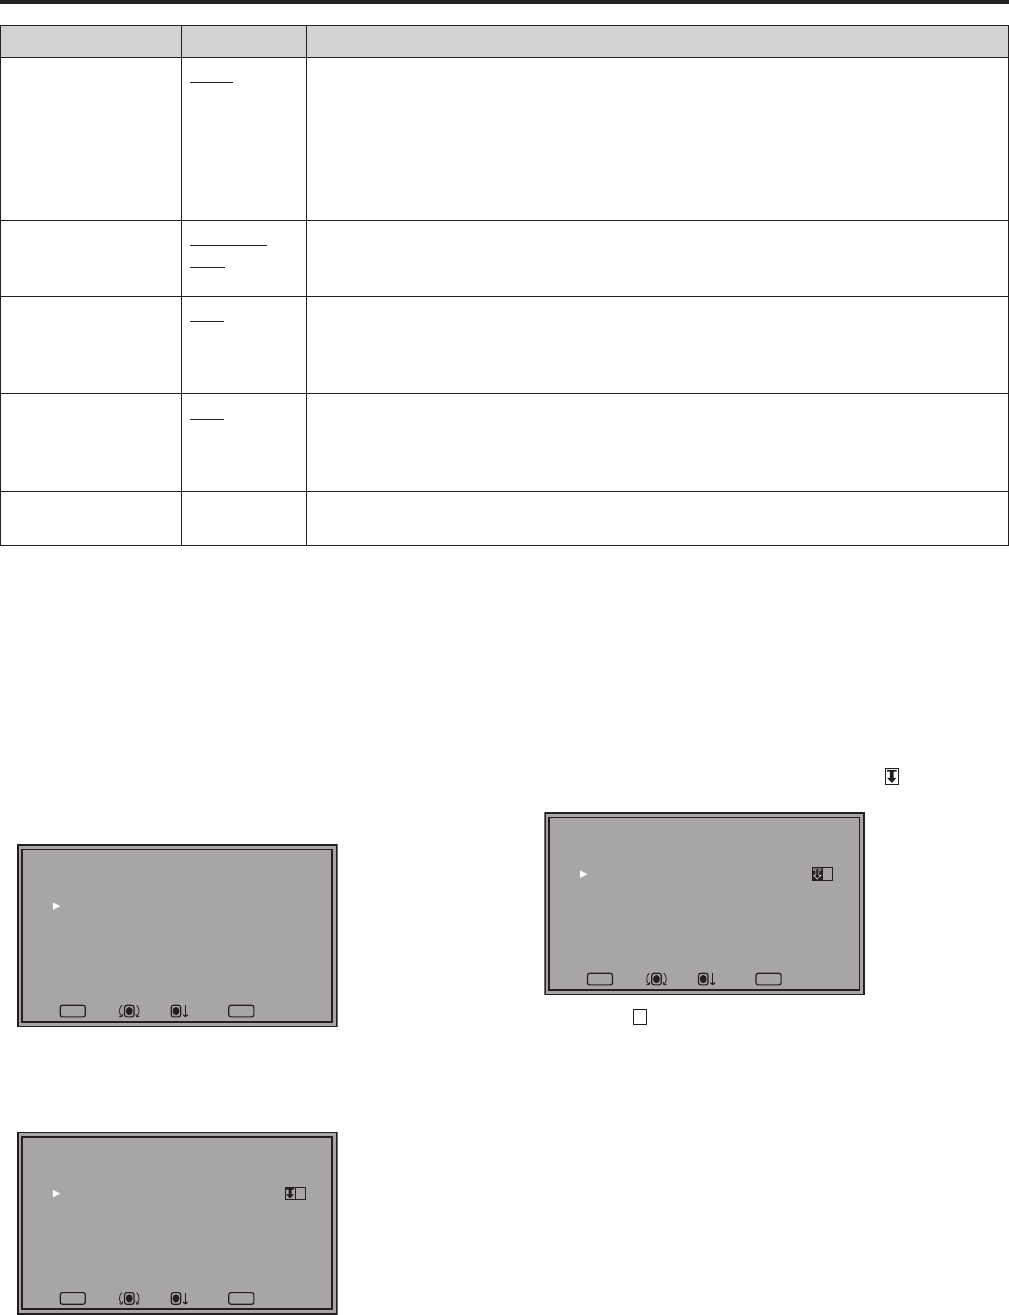
4. Turn the rotary knob to enter the characters and press the
rotary knob to confirm them.
• After entering all display characters, select
and press the
rotary knob to confirm them.
MENUEXIT
RETURN
RETURNSEL. ENTER
[INPUT NAME SETUP]
VIDEO
SDI1
SDI2
HDMI
YPBPR
RGB-COMP.
DVI-VIDEO
DVI-COMP.
INT-SG
VIDEO
SDI1
AAAA
HDMI
YPBPR
RGB-COMP.
DVI-VIDEO
DVI-COMP.
INT-SG
re
set
• Selecting
re
set
and pressing the rotary knob cancels the en-
tered characters and returns them to their default values.
• To cancel a setting, press RETURN before pressing the ro-
tary knob to set the display characters.
CALIBRATION
The CALIBRATION function in this unit measures LCD panel characteristics from low to high brightness values and internal monitor
processing handles CALIBRATION.
CALIBRATION does not rely on image quality settings since internal signals are used for a calibration. CALIBRATION in this unit is
made at D65 color temperature and other color temperatures are results calculated automatically from this value.