


36
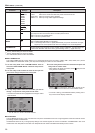
Main menu (continued)
37
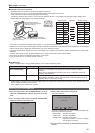
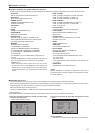
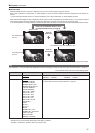
PIXEL TO PIXEL and PIXEL POSITION
The PIXEL TO PIXEL function allows you to check images at their actual pixel resolution (HD signals only).
Press the button ([FUNCTION1] to [FUNCTION5] (→page 11)) to which the PIXEL TO PIXEL function has been assigned to turn the
function on. Then press the button ([FUNCTION1] to [FUNCTION5] (→page 11)) to which the “PIXEL POSITION” function has been
assigned to position the display of signals.
• This assumes that the “PIXEL TO PIXEL” and “PIXEL POSITION” functions have been assigned to any of the [FUNCTION1] to
[FUNCTION3] buttons.
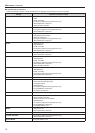
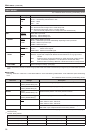
The underlined values are factory preset setting values.
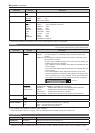
Item Settings Description
PIXEL TO PIXEL
*
10
*
11
OFF
ON
Sets whether to display the screen display size at the input signal size.
<OFF> Not displayed. <ON> Displayed.
Compatible formats
1080/60i, 1080/59.94i, 1080/50i, 1080/60p, 1080/59.94p, 1080/50p, 1080/30p,
1080/29.97p, 1080/25p, 1080/24p, 1080/23.98p, 1080/25PsF, 1080/24PsF,
1080/23.98PsF, 720/60p, 720/59.94p, 720/50p
PIXEL POSITION
C
LT
RT
RB
LB
Positions the display of signals in PIXEL TO PIXEL mode.
<C> Center of the screen
<LT> Left Top
<RT> Right Top
<RB> Right Bottom
<LB> Left Bottom
• When the input signal is 720/60p, 720/59.94p or 720/50p, the number of pixels of the
monitor panel is greater than the number of samples of the input signal. Although the im-
age can be set, it will be displayed at C (screen center) and cannot be displayed at any
other position.
*
10
The following settings are disabled in “PIXEL TO PIXEL” mode.
• Setting “ANAMO” to “ON”, and setting “SCAN” to “UNDER” in “VIDEO CONFIG”
• Any “HV DELAY” setting in “FUNCTION”
• “MARKER” display
*
11
Enabled during “SDI1”, “SDI2”, “HDMI”, “YPBPR” and “DVI-VIDEO” input.
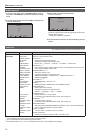
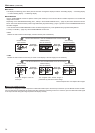
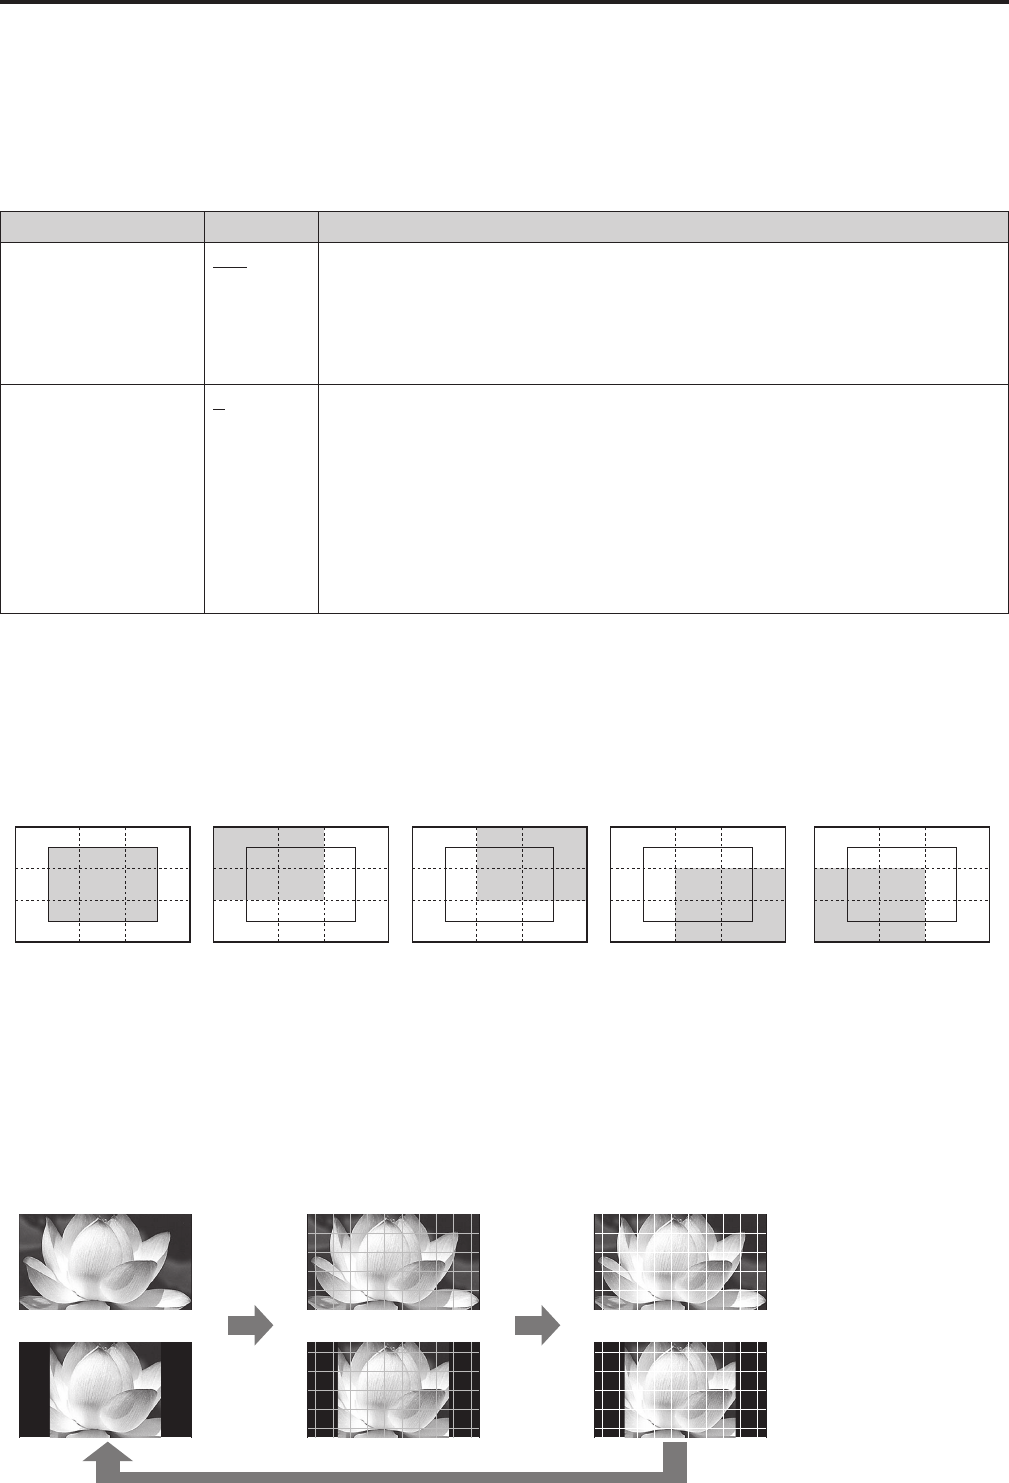
“PIXEL POSITION” display position sequence
PIXEL POSITION: → → → → → .....
C (CENTER) LT (LEFT TOP) RT (RIGHT TOP) RB
(RIGHT BOTTOM)
LB
(LEFT BOTTOM)
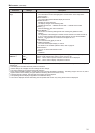
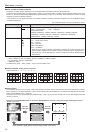
CROSS HATCH
If the CROSS HATCH function is used, markers are displayed at regular vertical and horizontal intervals to facilitate, for example,
easy composition. The marker line width is 1 dot /1 line and the interval is 86 dots/86 lines or 43 dots/43 lines depending on the “SIZE”
setting in the MARKER menu (→page 22).
Each press of the button ([FUNCTION1] to [FUNCTION5] (→page 11)) to which the CROSS HATCH has been assigned turns the
function on and off.
Each press of the FUNCTION button to which the “CROSS HATCH” function is assigned changes the display as shown.
Press the button again (back to original image without cross hatch)
HD/SD (16:9) mode
SD (4:3) mode
Press the
button again
Press the
button again
Dim cross hatch
Bright cross hatch