14
206-4261
Installer Menu Wizard
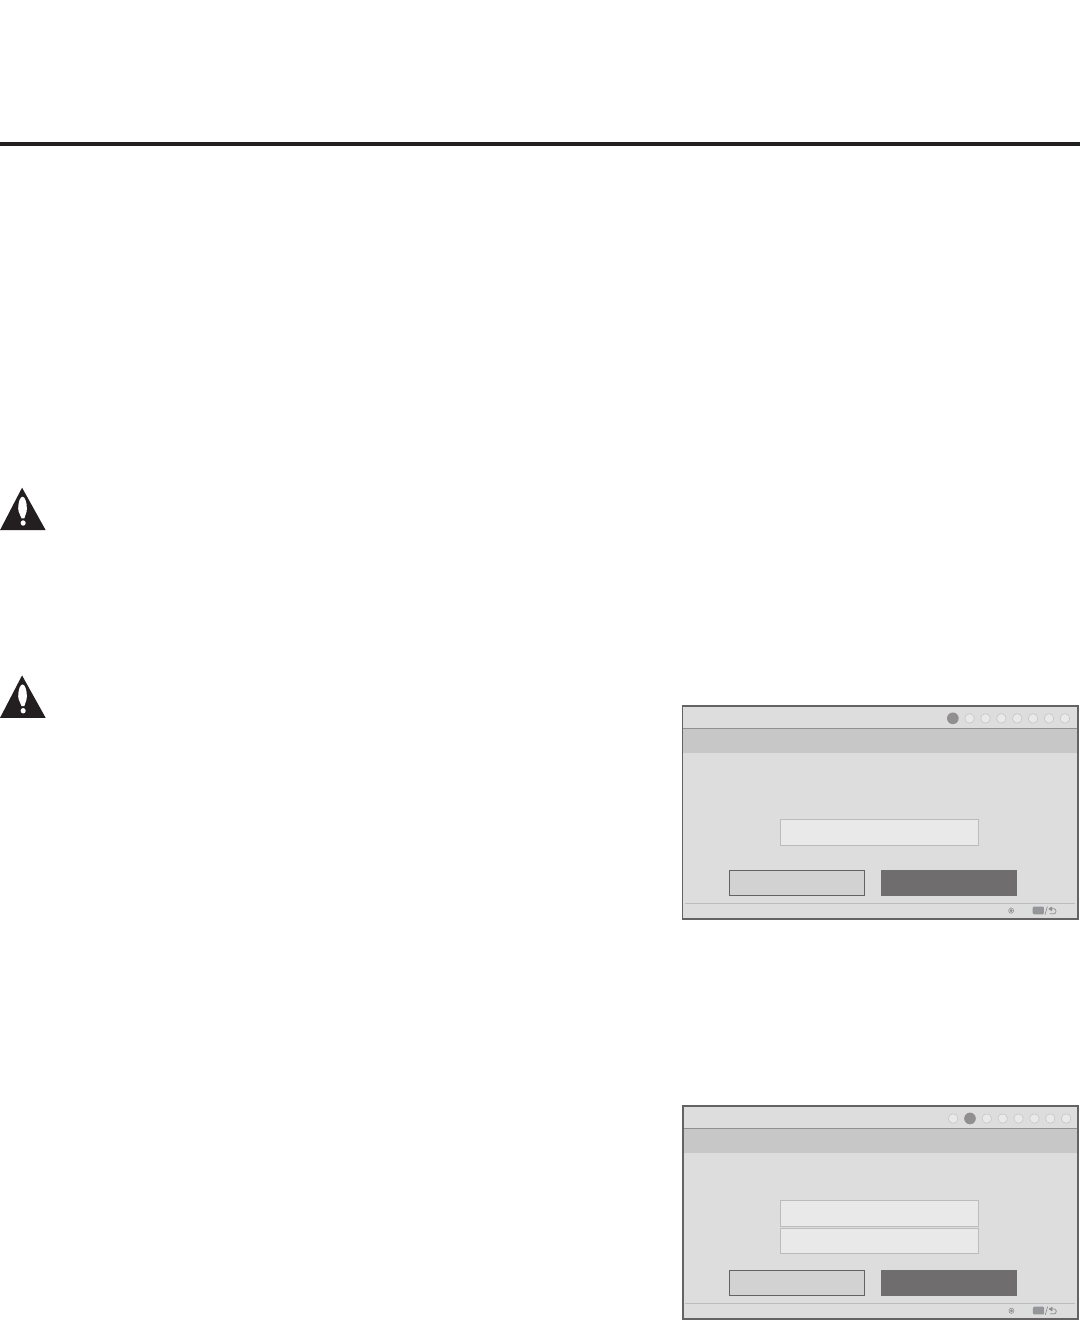
Step 1. Tuning Band
Cable Standard
PTC: V1.00.020 CPU: V03.11.00.01 ASIC: D279
Back
Next
OK
Exit
CC
1
►
2
►
3
►
4
►
5
►
6
►
7
►
8
Which tuning band would you like to use?
Installer Menu Wizard
Step 2. Aux Input
Customize Inputs
PTC: V1.00.020 CPU: V03.11.00.01 ASIC: D279
Back
Next
OK
Exit
CC
1
►
2
►
3
►
4
►
5
►
6
►
7
►
8
Which inputs will you be using?
Use Default Values
Note: Typically, if you do not modify the default
settings, the “Next” option is automatically selected
when you proceed forward within the wizard.
Where appropriate, you can simply press OK on
the Installer Remote to proceed to the next step
if the default value(s) for the TV parameter(s) in
question are applicable for your installation.
(Continued from previous page)
2. In the Pro:Centric Mode eld, use the Left/Right arrow keys on the Installer Remote to select
the appropriate Pro:Centric Application Mode—GEM, FLASH, or Conguration Only.
3. Once the elds are completed as required, you have two options:
• To proceed with TV conguration via the wizard, select Next and press OK on the Installer
Remote. See also “Complete the TV Conguration” below.
• To save the data entered and exit the wizard, select Done and press OK on the Installer
Remote. Remember, however, that if you bypass the Express Script, pillow speaker
functionality will not be enabled unless you set Installer Menu item 027 HOSPITAL MODE
appropriately. See the “Installer Menu” section of this document for further information.
Note: If you intend to use a TLX le for cloning or FTG Mode conguration purposes,
exit the Express Script at this time.
Express Script Installer Menu Wizard (Cont.)
Complete the TV Conguration
The following procedure describes the remaining Express Script
Installer Menu Wizard steps. You can select the “Back” button, where
available, to check previous settings, as necessary.
Note: If you choose to exit the Express Script from this
point on, any settings made will not be retained.
1. Select the tuning band.
Use the Up/Down arrow keys on the Installer Remote to select the
tuning band eld, and then use the Left/Right arrow keys to select
the appropriate tuning band: Cable Standard (default), Cable HRC,
Cable IRC, or Air. When you have made your selection, use the
arrow keys to select Next, and then press OK.
2. Select the Aux inputs.
If you simply select Next and press OK in this step, default values
will be used, i.e., all Aux inputs will be enabled. Otherwise, use the
Up/Down arrow keys on the Installer Remote to select the desired
Aux input option(s).
Note: If an Aux input will not be used, it is advisable to disable it.
After the TV setup is transferred to the PTC (see step 8), the only
way to remove Aux inputs from the channel lineup, is to go to the
Channel Preview/Banks Setup Menu and select Normal-Deleted.
• To customize settings, select Customize Inputs and press OK.
Aux input options are displayed in a pop-up window. Use the
arrow keys to select the input(s) to enable or disable. When you
are nished, press OK on the Installer Remote. Then, continue
with step 3.
Note: If you would like to return to the Aux Input screen, press
MENU to close the pop-up window.
• To use default values, select Use Default Values and press OK.
Then, continue with step 3.
(Continued on next page)


