Introduction of setup
adjustments
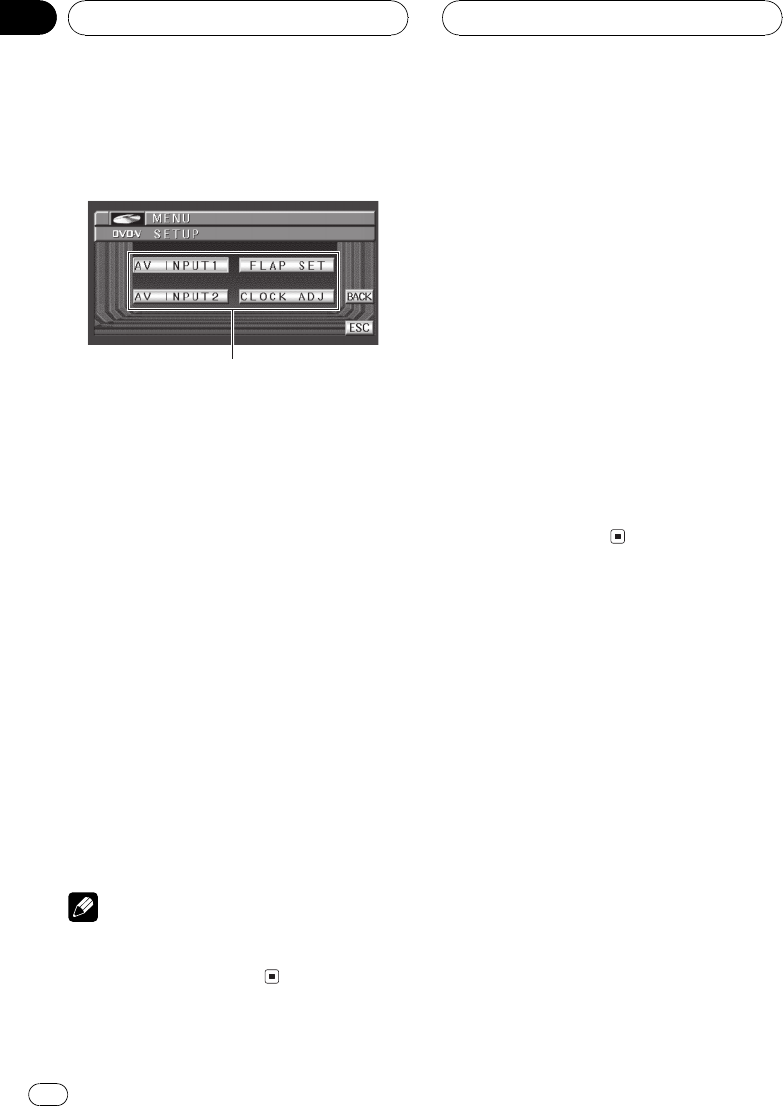
1 Setup menu display
Shows the setup function names.
1 Click the joystick to display MENU.
FUNCTION and SETUP appear on the display.
2 Use the joystick to select SETUP.
Move to change the menu option; click to se-
lect.
The menu option selected with the joystick is
displayed with a frame.
The function names are displayed and oper-
able ones are highlighted.
3 Use the joystick to select the desired
function.
Move to change the function; click to select.
The function selected with the joystick is dis-
played with a frame.
# To return to the previousdisplay, press BACK.
# To return to the displayof each source, press
BAND/ESC.
Note
If you do not operate the setup function within
about 30 seconds, the display is automatically re-
turned to the source display.
Setting the video input 1
You can switch the setting according to the
connected component.
! Select VIDEO to watch video of a con-
nected component as AV-1 source.
! Select DVD to watch video of a connected
Pioneer DVD head unit.
1 Use the joystick to select AV INPUT1.
2 Move the joystick left or right to select
the video input 1 setting.
Move the joystick left or right until the desired
setting appears in the display.
! OFF Novideo component is connected
! VIDEO External video component
! DVD Pioneer DVD head unit (e.g., DVH-
P5650MP)
# Only when using this unit with IP-BUS mode
(S), you can select DVD.
Setting the video input 2
You can switch the setting according to the
connected component.
! Select VIDEO to watch video of a con-
nected component as AV-2 source.
! Select B. CAMERA when a rear view cam-
era is installed on your vehicle.
1 Use the joystick to select AV INPUT2.
2 Move the joystick left or right to select
the video input 2 setting.
Move the joystick left or right until the desired
setting appears in the display.
! OFF Novideo component is connected
! VIDEO External video component
! B. CAMERA Rear view camera
Other Functions
En
60
Section
13