61
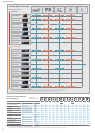
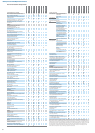
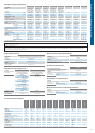
Comparison & Specifications
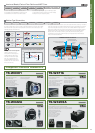
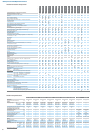
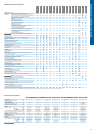
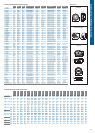
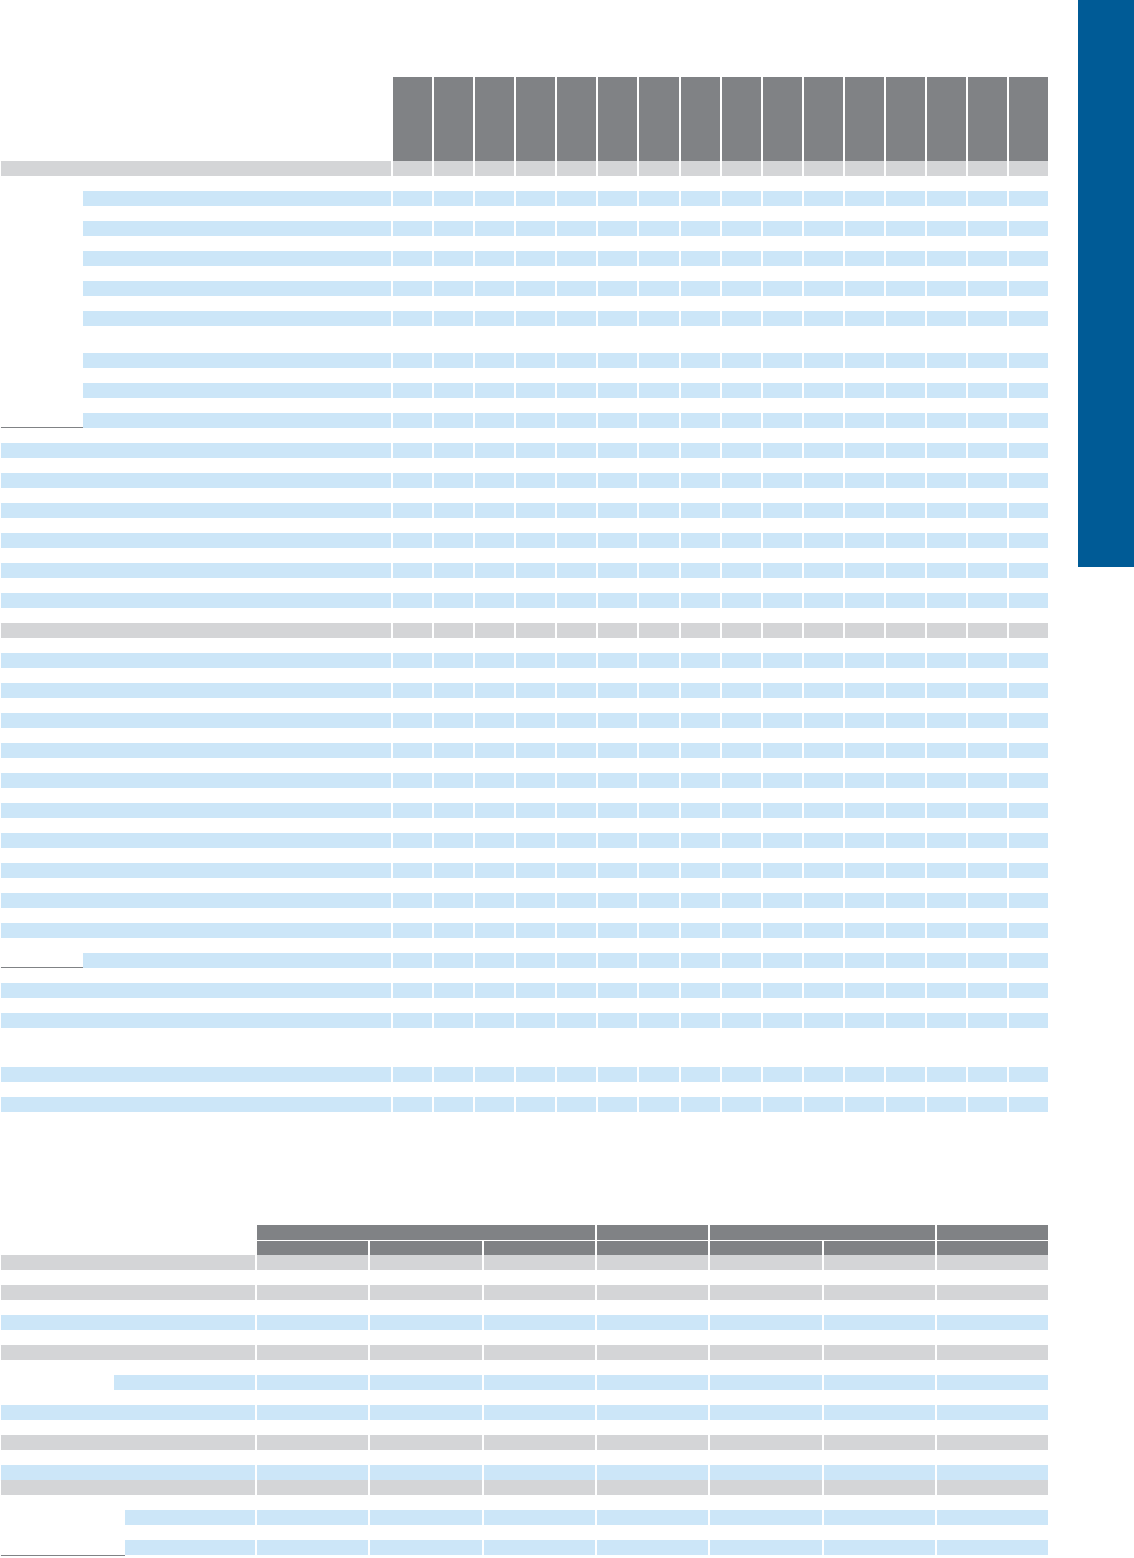
Headunits Features Comparison
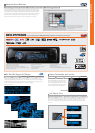
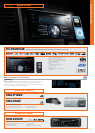
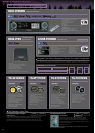
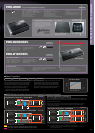
DEH-P7150UB
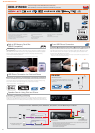
DEH-6150BT
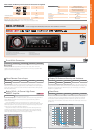
DEH-P5150UB
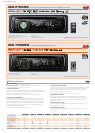
DEH-4150SD
DEH-3150UB
DEH-2150UBG
DEH-1150MPG
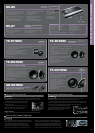
FH-P6050UB
CDX-P1280
CDX-P680
KEH-P2035
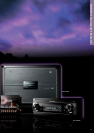
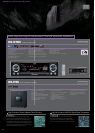
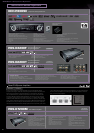
RS-D7RII
DEX-P90RS
DEH-P80RSII
RS-P90
DEQ-P90
AUDIO (continued)
DSP/EEQ Advanced Segment 24-bit D/A Converter
•
(continued)
High-performance 32-bit floating binary point type DSP
•
High-performance 8× oversampling digital filter
•
•
5-mode equalizer <P = Preset> P P P P P P P P P
•
P
Auto EQ
•
Auto EQ for 3-way network
•
BBE® digital sound processing
(5)
•
Digital listening position selector
•
•
•
Time alignment <A = Auto> A
•
•
BMX (Bitmetric Equalizer)
•
Digital graphic equalizer <31 = 31-band, 16 = 16-band,
7
7
7
16, L/R
31, L/R
7 = 7-band> <L/R = L/R independent>
31-band L/R independent equalizer
•
3-band parametric equalizer <L/R = L/R independent>
•
•
L/R
L/R independent 3-way crossover: high/mid/low
•
3-way digital network
•
Parametric bass/treble controls
•
•
4-way independent L/R crossover network (high/mid/low/subwoofer)
•
•
Direct Sub Drive
•
•
•
•
•
Subwoofer control
•
•
•
•
•
•
Loudness <H = High, M = Mid, L = Low, 2 = 2-mode selectable> H/M/L H/M/L H/M/L H/M/L H/L H/L H/L H/M/L 2
•
BTB (Bass/Treble Booster)
•
Fader
•
•
•
•
•
•
•
•
•
•
•
•
Electronic volume/balance controls
•
•
•
•
•
•
•
•
•
•
•
•
•
•
Electronic bass/treble controls
•
•
Tone control <B = Bass, M = Mid, T = Treble> B/M/T B/M/T B/M/T
•
SLA (Source level adjuster)
•
•
•
•
•
•
•
•
•
•
•
•
Spectrum analyzer
•
•
•
Level indicator <L/R = L/R independent>
•
•
L/R
Cellular mute
•
•
•
•
•
•
GENERAL
Rotary Commander
•
•
•
•
•
•
Rotary volume
•
•
•
•
•
Wireless remote controller <10 = 10-key direct access remote, C = Card> 10 10 C C C C C C
•
•
10
Wired remote control input
•
•
•
•
•
•
Face type <A = Auto-slide, F = Flap-type, P = Pop-up> A P P P F P P A A A
High-quality hairline aluminum front panel
•
Detachable Face Security
TM
•
•
•
•
•
•
•
•
•
•
•
Clock <E = Entertainment> E
•
•
•
•
•
•
•
•
•
•
E
Full Dot OEL (Organic EL) display <W = White> W
•
W W W
3-line segmented OEL (Organic EL) display
•
LCD display (White)
•
•
•
•
•
Dual illumination (white or red selectable)
•
Adjustment <B = Brightness, C = Contrast> B B C C B
System control terminal
•
•
•
•
•
•
•
•
•
•
•
•
Multi-language guide (English/Spanish/Portuguese)
•
•
•
Display off security
•
•
•
•
•
•
•
•
Source CD control (External unit control)
•
•
•
•
Source TV control (Analog tuner control)
•
•
•
•
•
•
Source DVD control
•
•
•
•
•
•
External unit control via IP-Bus 2 2 2 1
•
2 2
Direct AUX-in AUX-1 <F = Front, R = Rear, 20 = CD-RB20 only> R F F F F F F R 20 20
•
AUX-2
(6)
•
•
•
•
Gold-plated screw-type power/ground terminals
•
•
One-sided terminals and square aluminum bonnet
•
Copper-plated chassis
•
•
OFC power/ground cable included
•
•
Versatile horizontal/vertical mounting: 0° to 90° (5 steps switchable)
•
IP-Bus
output for direct headunit connection
•
Entire chassis anti-vibration system
•
•
•
Voice recognition with CD-VC60
6m IP-Bus cable included
•
•
Uses 12-disc magazine JD-1212S (one included)
•
Uses 6-disc magazine JD-612V (one included)
•
(1) Please use CD-U50E USB extension cable if a direct connection causes a USB device to protrude from the headunit in a way that can interfere with driving. (2) CD-IU50 required (3) Artist only (4) With CD-ROM and CD-R/RW discs.
(5) BBE: Licensed by BBE Sound, Inc. under USP4638258 and 4482866. BBE and BBE symbol are registered trademarks of BBE Sound Inc. (6) IP-Bus with CD-RB10 or CD-RB20.
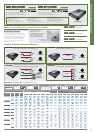
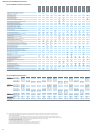
Headunits Specifications
Component Single-CD Players 2-DIN Player Multi-CD Players Cassette Player
RS-D7RII DEX-P90RS DEH-P80RSII FH-P6050UB CDX-P1280 CDX-P680 KEH-P2035
CD PLAYER
S/N ratio [1 kHz, IEC-A network] dB — 107 105 94 92 92 —
CASSETTE PLAYER
Wow & flutter [WRMS] % — — — — — — 0.13
Tape frequency response [±3 dB] Hz — — — — — — 30 to 16 000
Tape S/N ratio [IEC-A network] dB — — — — — — 52
TUNER
Frequency range FM MHz 87.5 to 108 87.5 to 108 87.5 to 108 87.5 to 108 — — 87.5 to 108
AM [10 kHz] kHz — — 530 to 1640 530 to 1640 — — 530 to 1640
[9 kHz] kHz 531 to 1602 531 to 1 602 531 to 1602 531 to 1 602 — — 531 to 1602
FM usable sensitivity [75 Ω, mono, S/N: 30 dB] dBf 9 [0.8 μV] 9 [0.8 μV] 8 [0.7 μV] 8 [0.7 μV] — — 11 [1.1 μV]
AM usable sensitivity [S/N: 20 dB] μV 18 18 18 18 — — 20
AUDIO
Max. power output* — — 50 W × 4 50 W × 4 — — 45W × 4
Continuous power output — — 22 W × 4 22 W × 4 — — 22 W × 4
GENERAL
Dimensions [W × H × D] DIN—Chassis mm 178 × 50 × 160 178 × 50 × 160 178 × 50 × 159 — 257 × 94 × 170** 248 × 66 × 168** 178 × 50 × 155
Nose mm 188 × 58 × 20 188 × 58 × 20 188 × 58 × 30 — — — 188 × 58 × 20
D—Chassis mm 178 × 50 × 165 178 × 50 × 165 178 × 50 × 164 178 × 100 × 160 — — 178 × 50 × 160
Nose mm 170 × 45 × 15 170 × 45 × 15 170 × 45 × 25 170 × 94 × 8 — — 170 × 48 × 15
*Peak momentary power output **Chassis dimensions only