Maintenance
Troubleshooting
4
4-21
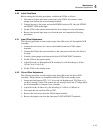
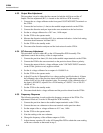
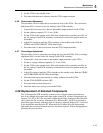
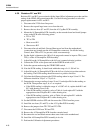
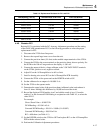
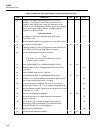
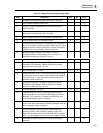
Table 4-6. Mainframe and Digital Section Troubleshooting Guide
Step Instruction Yes No Go to
1 Set the 5220A POWER switch to OFF and disconnect the unit from line
power.
2
2 Remove the top cover and the large inner cover from the 5220A. 3
3 Visually inspect the internal fuses (F2 through F7) and replace as
required.
4
4 Connect a shorting jumper between the front panel VOLTAGE INPUT
terminals.
5
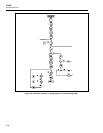
5 Check to ensure that all PCB assemblies are securely installed in the
correct locations. See Figure 4-1.
6
6 Determine the enabled output terminals by visually identifying the
position of the front/rear output jumper screws. Tighten these screws if
they are loose.
7
7 Connect a shorting jumper between the enabled output terminals. 8
8 Connect the 5220A to line power and set the POWER switch to ON. 9
9 Is the fan running? 13 10
10 Are any of the front panel LEDs lit? 11 12
11 Loose fan connections or defective fan. Repair as required. 8
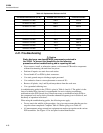
12 Check the line power fuse and replace if necessary. If fuse continues to
blow, locate short in input power circuit/transformer assembly. Check
the position of the line voltage switches on the transformer assembly.
Using a dc voltmeter, verify the presence of all power supply voltages
at the A4 Regulator PCB and the A3 Cap Bus. Test points are provided
on the A4 Regulator PCB. Measure the A3 Cap Bus outputs (±12 V dc)
at the bus bar terminals on that assembly with respect to COM 2 (the
ground plane on top of the A3 Cap Bus PCB).
Voltage Test Points Limits
Hi Lo
A4 Regulator
+15 V 3 5 +14.4 V to +15.6 V dc
-15 V 7 5 -15.6 V to –14.4 V dc
+5 V ISO 1 2 +4.8 V to +5.2 V dc
+5 V 6 4 +4.8 V to +5.2 V dc
A3 Cap Bus
+12 V - - +10.5 V to +13.5 V dc
13
- 12 V - - -12.5 V to –10.5 V dc
14 Are all voltages within limits? 16 15


