


28
29
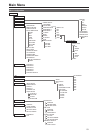
Main Menu (continued)
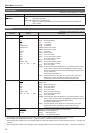
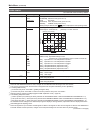
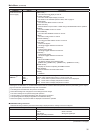
WB (WHITE BALANCE) adjustment mode
Select [VAR1] to [VAR3] for [COLOR TEMP.] in the [VIDEO CONFIG] menu to make WHITE BALANCE VAR1
to WHITE BALANCE
VAR3 adjustments.
Underlined values indicate factory defaults.
Submenu Setting Description
COLOR TEMP.
*
10
USER 0 to 63
D93
D65
D56
Selects the color temperature that will become the basis for adjustment.
[USER 0 to 63] Adjustable settings 0 to 63
(equivalent to a color temperature range of 3,000 K to 9,300 K)
[D93] Equivalent to a color temperature of 9,300 K
[D65] Equivalent to a color temperature of 6,500K
[D56] Equivalent to a color temperature of 5,600 K
GAIN ▼ Adjusts the GAIN elements
Press the rotary knob <PICTURE> to switch to RGB direct adjustment mode.
(This allows you to begin adjusting GAIN first.)
RED 0 to 1023
(A color temperature
of [D65] is the factory
default value.)
• This is a factory
default adjustment.
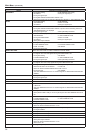
Displays the GAIN elements for RED. (For numerical value confirmation)
GREEN Displays the GAIN elements for GREEN. (For numerical value confirmation)
BLUE Displays the GAIN elements for BLUE. (For numerical value confirmation)
BIAS ▼ Adjusts the BIAS elements
Press the rotary knob <PICTURE> to switch to RGB direct adjustment mode.
(This allows you to begin adjusting BIAS first.)
RED
- 512 to 511
(Factory default setting:
0)
Displays the BIAS elements for RED. (For numerical value confirmation)
GREEN Displays the BIAS elements for GREEN. (For numerical value confirmation)
BLUE Displays the BIAS elements for BLUE. (For numerical value confirmation)
RESET ▼ Resets [GAIN] (RED/GREEN/BLUE) and [BIAS] (RED/GREEN/BLUE) set values
to color temperature values selected under [COLOR TEMP.].
*
10
Selecting [COLOR TEMP.] and pressing the rotary knob <PICTURE> after selecting an item, opens a confirmation screen. When
you select [YES] and press the rotary knob <PICTURE> in this screen, the selected GAIN and BIAS values are reset to the se-
lected color temperature values.
Direct adjustment mode
Press the rotary knob <PICTURE> when a [GAIN], [BIAS] or ZEBRA LEVEL item is selected in the WHITE BALANCE VAR (1 to 3)
menu, to switch to the adjusting screen and use the rotary knob <PICTURE> to directly adjust the picture while checking the screen.
When [WHITE BALANCE] and [ZEBRA LEVEL] are assigned to FUNCTION1 to FUNCTION5, you can access them using the
<FUNCTION> buttons or the [FUNCTION] menu.
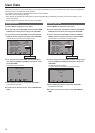
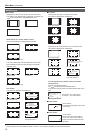
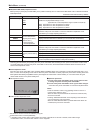
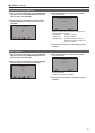
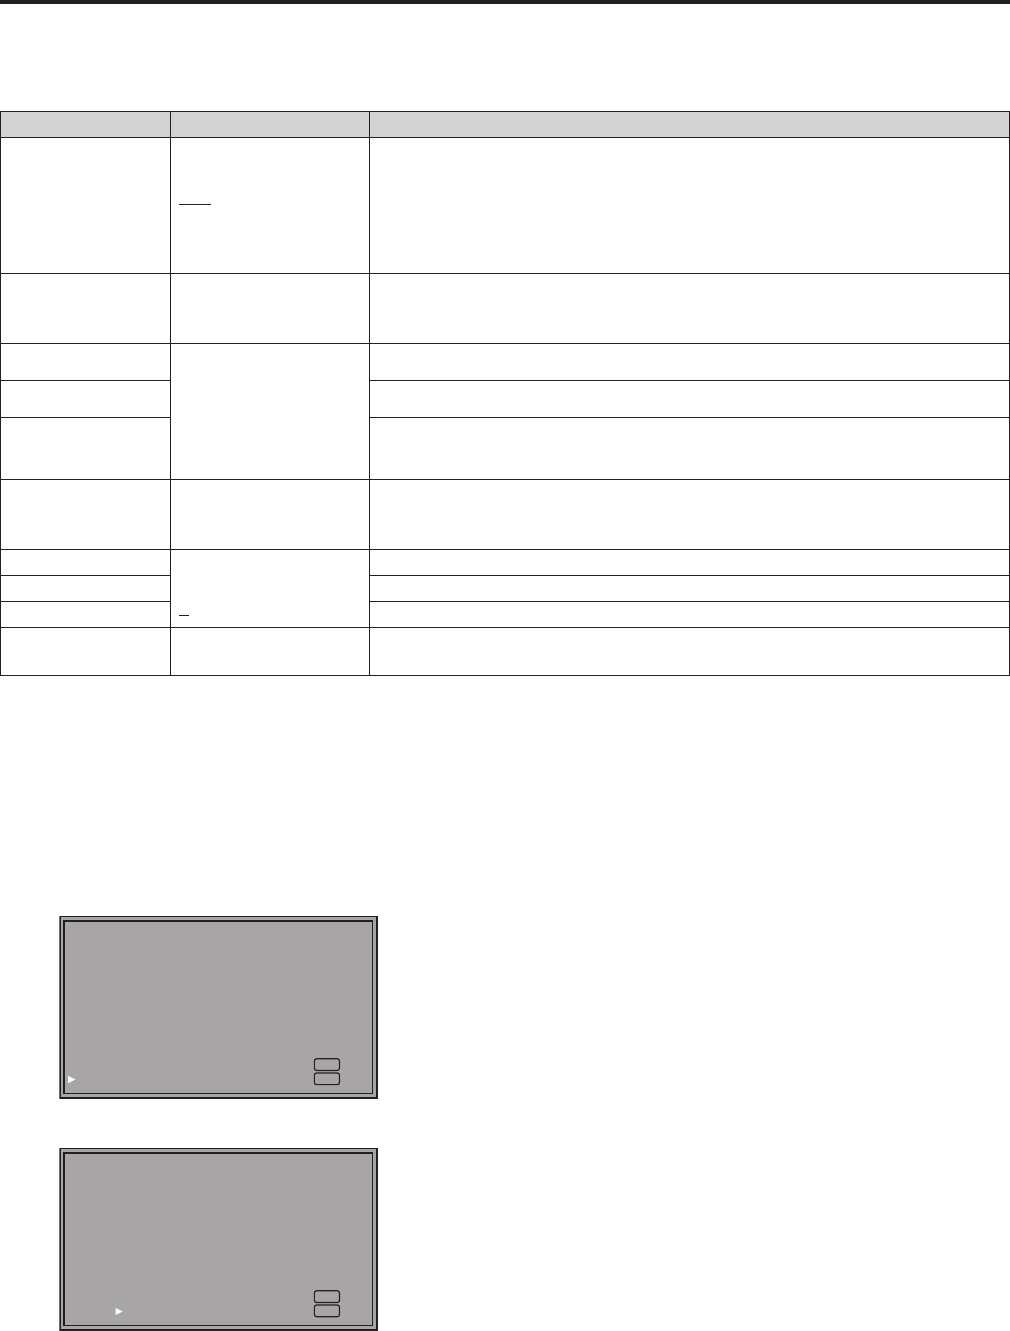
●WB adjustment screen
R.GAIN G.GAIN B.GAIN R.BIAS G.BIAS B.BIAS
995 1012 1023 0 0 0
MENU
EXIT
RETURN
RETURN
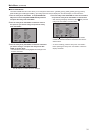
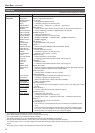
●ZEBRA LEVEL adjustment screen
[INT. ] MIN. MAX. [EXT. ] MIN. MAX.
70% 85% 5% 100%
MENU
EXIT
RETURN
RETURN
• The above two screens cannot be recalled by using the
<FUNCTION> button to access [RETURN].
●Operation procedure
1. Turn the rotary knob <PICTURE> left or right to select an item
to change and press the rotary knob <PICTURE>.
2. Turn the rotary knob <PICTURE> left or right to make changes.
• Press the rotary knob <PICTURE> to confirm the adjusted values.
<Note>
• Press the <MENU> button in this adjusting screen to return to a
normal screen without a menu.
*
11
When the button is pressed before the values are confirmed, they
will not be confirmed.
• Pressing <RETURN/VOLUME> in this adjusting screen will return
you to the previous cusor and screen.
When the <RETURN/VOLUME> is pressed before the values are
confirmed, they will not be confirmed.
*
11
A transition to the previous menu is also made if the monitor is left idle for 10 seconds. However, when called using a
<FUNCTION> button, a normal screen without a menu reappears.