43
Basic adjustment
Buttons for “Manual adjust” operation
Lock
Press R button.
When the service is locked, you must enter your password
whenever you tune to the service.
CH skip
Press G button.
Services with a ✔ mark are passed over when pressing
CHr/s on the TV or remote control unit.
Delete
Press Y button.
The selected service is deleted. If you want to watch the
service you deleted once again, perform “Auto installation”,
“Additional search”, or “Manual search”.
Sort
Press B button.
The item position of services can be sorted.
1
Press a/b to select the service whose item position
you want to move, and then press ?.
2
Press a/b to move it to the desired position, and then
press ?.
3
Repeat steps 1 and 2 until all desired service items are
sorted.
Analogue setting
1
Go to “HOME” > “TV Menu” > “Setup” > “View
setting” > “Channel settings” > “Programme
setup”.
2 If you have already set the password, enter it here.
• See page 45 for setting a password.
3 The “Analogue setting” screen displays, and then
press ?.
4 Repeat steps 4 and 5 in Digital setting.
NOTE
• The “Analogue setting” menu is available only for watching TV
in ATV mode.
Additional search
Use this menu to add new services automatically after
“Analogue Search” in the “Auto installation” menu has
been completed.
• Start searching channels after selecting the colour system
and sound system.
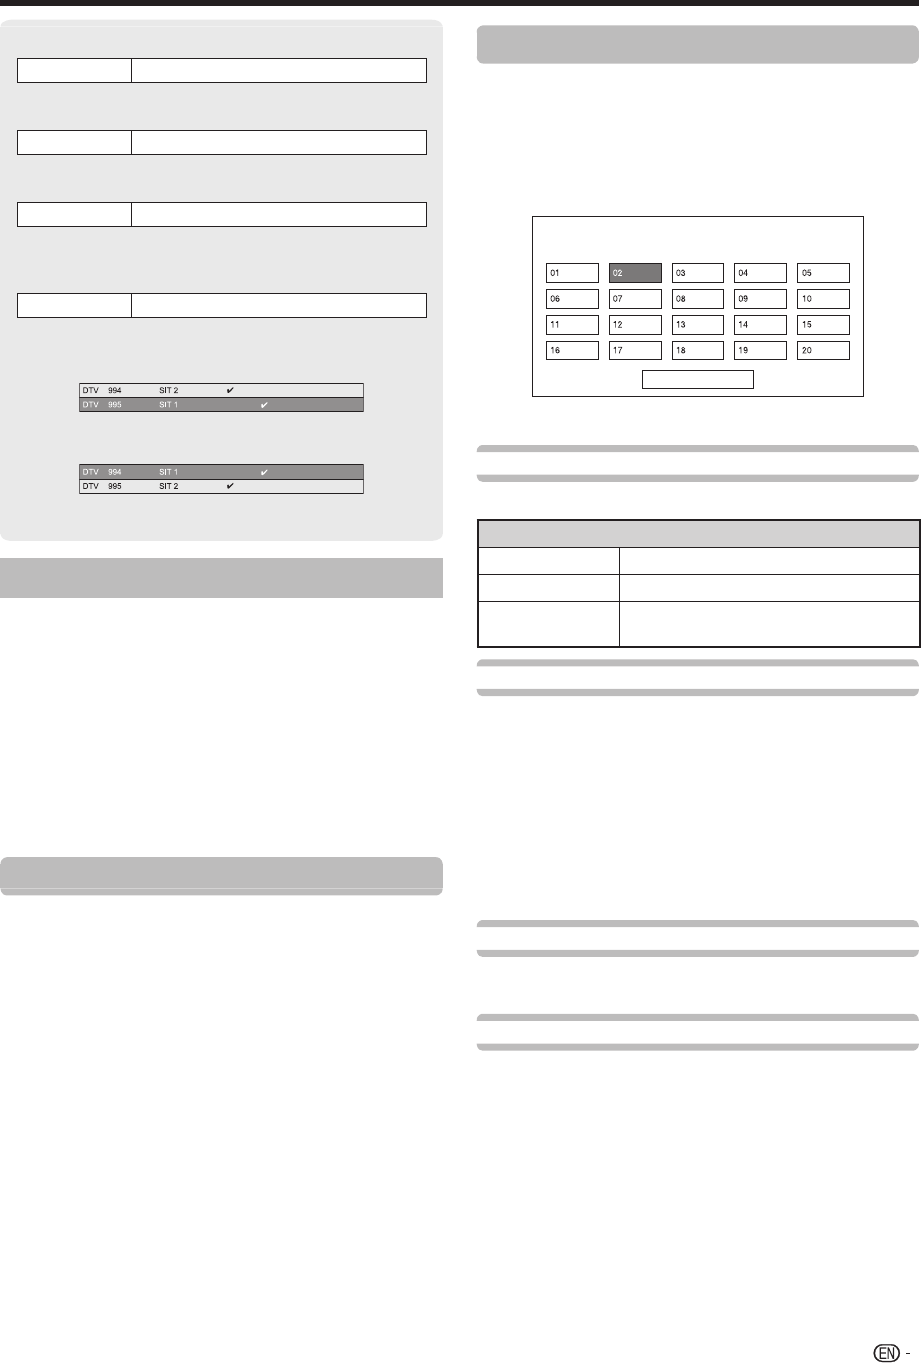
Manual adjust
You can reconfigure the analogue TV channels settings
automatically or manually.
After selecting “Yes” on the screen, press a/b/
c/d to select the channel you want to set and
then press ?.
Programme Setup “Manual adjust” menu
Next
You can select one of the following settings.
Search
You can add a new channel within a specified frequency band.
Item
Next
Search the next channel.
Store
Memorise the current display channel.
Cancel
Return to the previous screen (the search
result will not be stored).
Fine
You can adjust the frequency to the desired position.
1 You can set by directly entering the frequency
number of the channel with 0–9 numeric buttons.
EXAMPLE
• 179.25 MHz: Press 1 > 7 > 9 > 2 > 5.
• 49.25 MHz: Press 4 > 9 > 2 > 5 > ?.
NOTE
• Adjust while checking the background picture as a reference.
• When setting a frequency on the “Fine” screen, the last figure
of the frequency needs to be “0” or “5”.
Colour sys.
Select the optimum colour system to receive (“Auto”,
“PAL”, “SECAM”, “NTSC3.58”).
Sound sys.
Select the optimum sound systems (broadcasting
systems) to receive (“B/G”, “D/K”, “I”, “M”).
NOTE
• Check the sound system if the sound output were not
correct.
LC90LE760X_EN_book.indb 43LC90LE760X_EN_book.indb 43 4/4/2014 3:10:07 PM4/4/2014 3:10:07 PM


