Controls and Their Functions
(continued)
Functions in 3D assist mode
Knob1
MIRROR (MIRROR) / HORIZONTAL (SHIFT) / MODE (CONVERGENCE) /
SIZE (COLOR) / ZOOM (ZOOM FOCUS) / EXPAND (VERTICAL) /
OVERLAY (OVERLAY)
Knob2
VERTICAL (SHIFT) / MANUAL (CONVERGENCE) /
FOCUS-IN-RED (ZOOM FOCUS) / MARKER1 (VERTICAL) / MARKER (OVERLAY)
Knob3 SPEED (CONVERGENCE) / MARKER2 (VERTICAL)
Knob4 ASSIST FUNCTION (All Functions)
( ): Selected assist function
These are rotary push knobs. You can press one of the four knobs to display the corresponding •
assigned function and image adjusting knob status, and then make adjustments.
The setting value is saved and the indication disappears when you press [ENTER] or when 10 •
seconds elapses after the setting value is changed.
If you want to change the function assigned to a knob, press the knob and change the function. The •
selected function is displayed in green.
When values are changed from the factory defaults, the LED above the knob (amber) lights.•
Settings are loaded when the monitor is turned on. However, operating changes cannot be made in •
the following conditions.
When the control lock is on, the key mark appears and setting values cannot be changed (page •
51).
When the MONO function is ON (page 31), [PHASE] and [CHROMA] operations are disabled.•
F-IN-R is enabled during operation of the FOCUS-IN-RED function.•
While operating HV DELAY (page 41) (when set to any other setting than OFF), [BRIGHT] •
operation is disabled.
The “CONTRAST” and “BACK LIGHT” operations are disabled in BLACK MODE.•
*
For the operating procedures of adjusting knobs in 3D assist mode, refer to “3D Assist Mode”
(page 52).
6
Tally Lamps (Red and Green)
Can be lit by a control signal (red tally and green tally) from a GPI/camera.
If the red tally and green tally light at the same time, the tally color will become amber.
7
Protection Panel
This panel is for protecting the liquid crystal.
The protection panel can be removed by removing the four screws. When attaching the panel, note •
that there is no distinction between the back and front and the top and bottom.
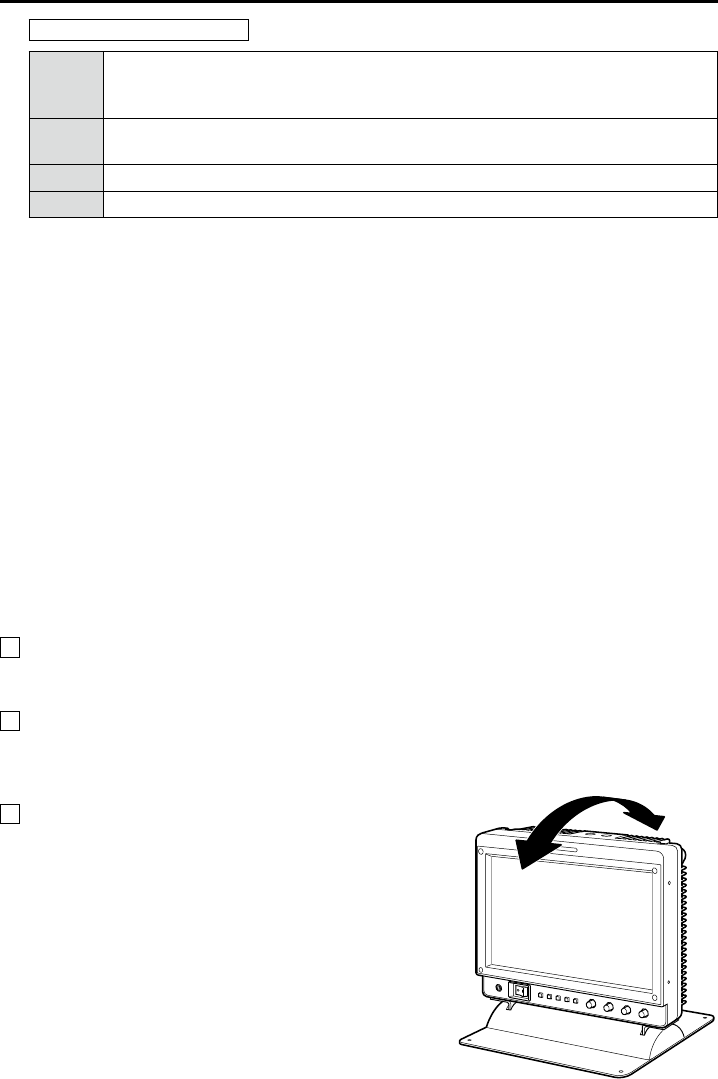
8
Tilt Stand
The tilt stand allows you tilt the unit 15° forward or 20°
backward.
When tilting the unit, firmly hold the bottom of the stand
and move the top of the unit.
If you want to remove the tilt stand, refer to “How to
Remove the Tilt Stand” on page 17.
<Note>
When tilting the monitor, be careful not to trap a hand
between the monitor and stand.


