Installation
81
—
—
Wall-mounting Kit (KX-B063)
Before attempting installation of this wall-mounting kit, we strongly recommend consulting with the building facility nor
manager, engineer, or architect. The installer needs to know the type of construction used for the wall intended for this
installation and the location of wall studs. Selection of hardware is critical for safe wall-mounting, and dependent upon
the nature of wall construction, installation should not occur until this consultation takes place.
Procedure for KX-B063 Wall-mounting Kit Installation
.Tools required:
One (1) KX-B063 kit
A minimum of eight (8) pieces of appropriate wall-support hardware (molley, toggle, etc.)
NOTE :THIS HARDWARE MUST BE LOCALLY PROCURED, IT IS NOT INCLUDED IN THE KIT.
Drill (and drill bit of correct size) for hardware installation
Screw driver (Both phillips (+) and slotted (-) will be required.)
Tape measure
Tape or thumb-tacks (2pcs)
Bubble type level
.Pre-requisites
1. Before installation, make sure that the wall intended for installation is capable of supporting
flush-mounted.
[ KX-BP800 is 103 kgf (227 Ibs). ]
2. The position of the intended installation is of adequate size for the selected Panaboard.
[ KX-BP800 is 1,575 mm X 1,524 mm (5'2"✕5').]
3. An outlet is within 3 m (9'10
4
/
32
"), and it is not located directly behind the Panaboard.
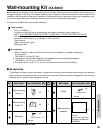
■ Accessories
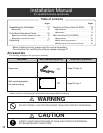
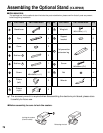
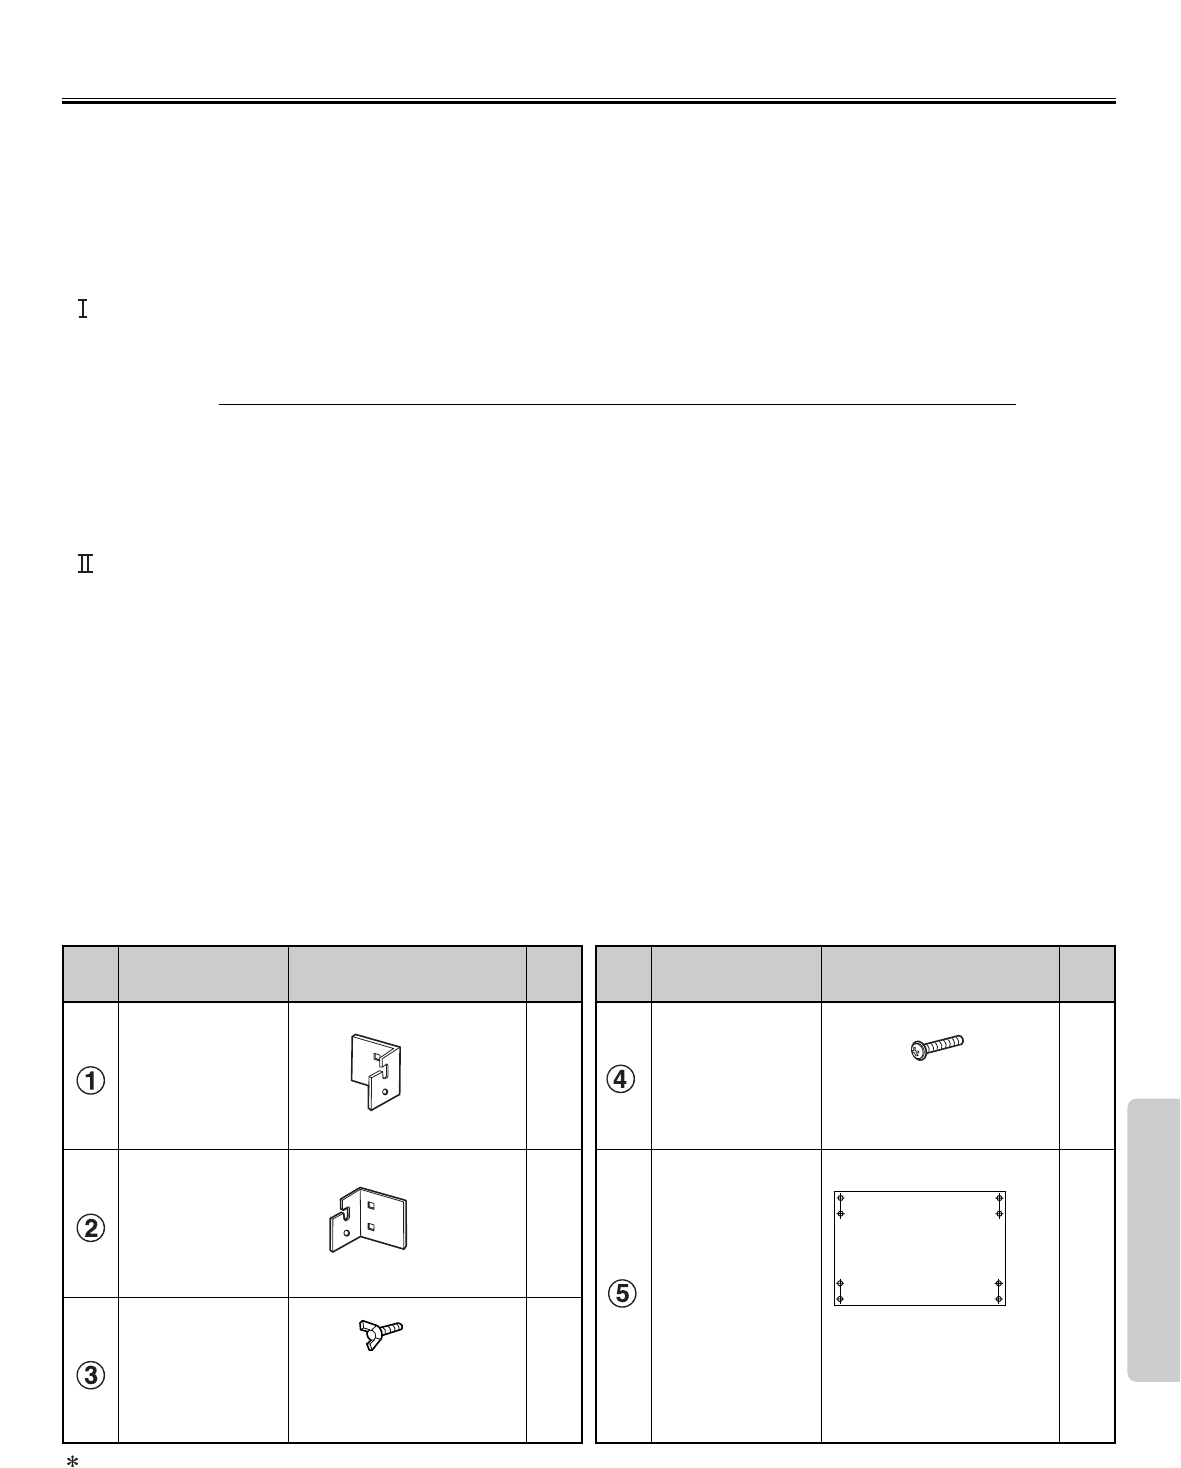
The package includes the parts noted below ; please confirm that all parts are present before beginning installation.
Eight screws for mounting the fixtures on the wall are not provided. Please purchase the appropriate wall-mounting
hardware (sold in stores). Refer to pages 83 and 84.
No. Part name
Part illustration, Q'ty
L
Order
of use
No. Part name
Part illustration, Q'ty
Order
of use
Wall-mounting
fixture L
3
2
Wall-mounting
template
R
Wall-mounting
fixture R
3
Wing bolt
✕2
✕2
✕2
M5✕12 mm (
15
/
32
")
No use*
No use*
Use the wall-mounting
template provided with
KX-BP800.
These are used for other models.
✕1
Screw
✕4
M4✕16 mm
No use*


