


82
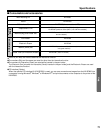
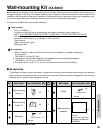
Wall-mounting Kit (KX-B063)
■ Wall-mounting procedure
1
Confirm that the wall is strong enough to support the weight of the print board.
(Please refer to page 81.)
2
Tape the wall-mounting template to the wall.
BDo not use the template included in the wall-mounting kit (KX-B063), but rather the one included
with the electronic print board (KX-BP800).
BWhen taping the template to the wall, make sure it is level.
Caution:
The wall must be capable of supporting at least
1,005N [ 103 kgf (227 Ibs) ] for KX-BP800.
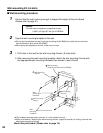
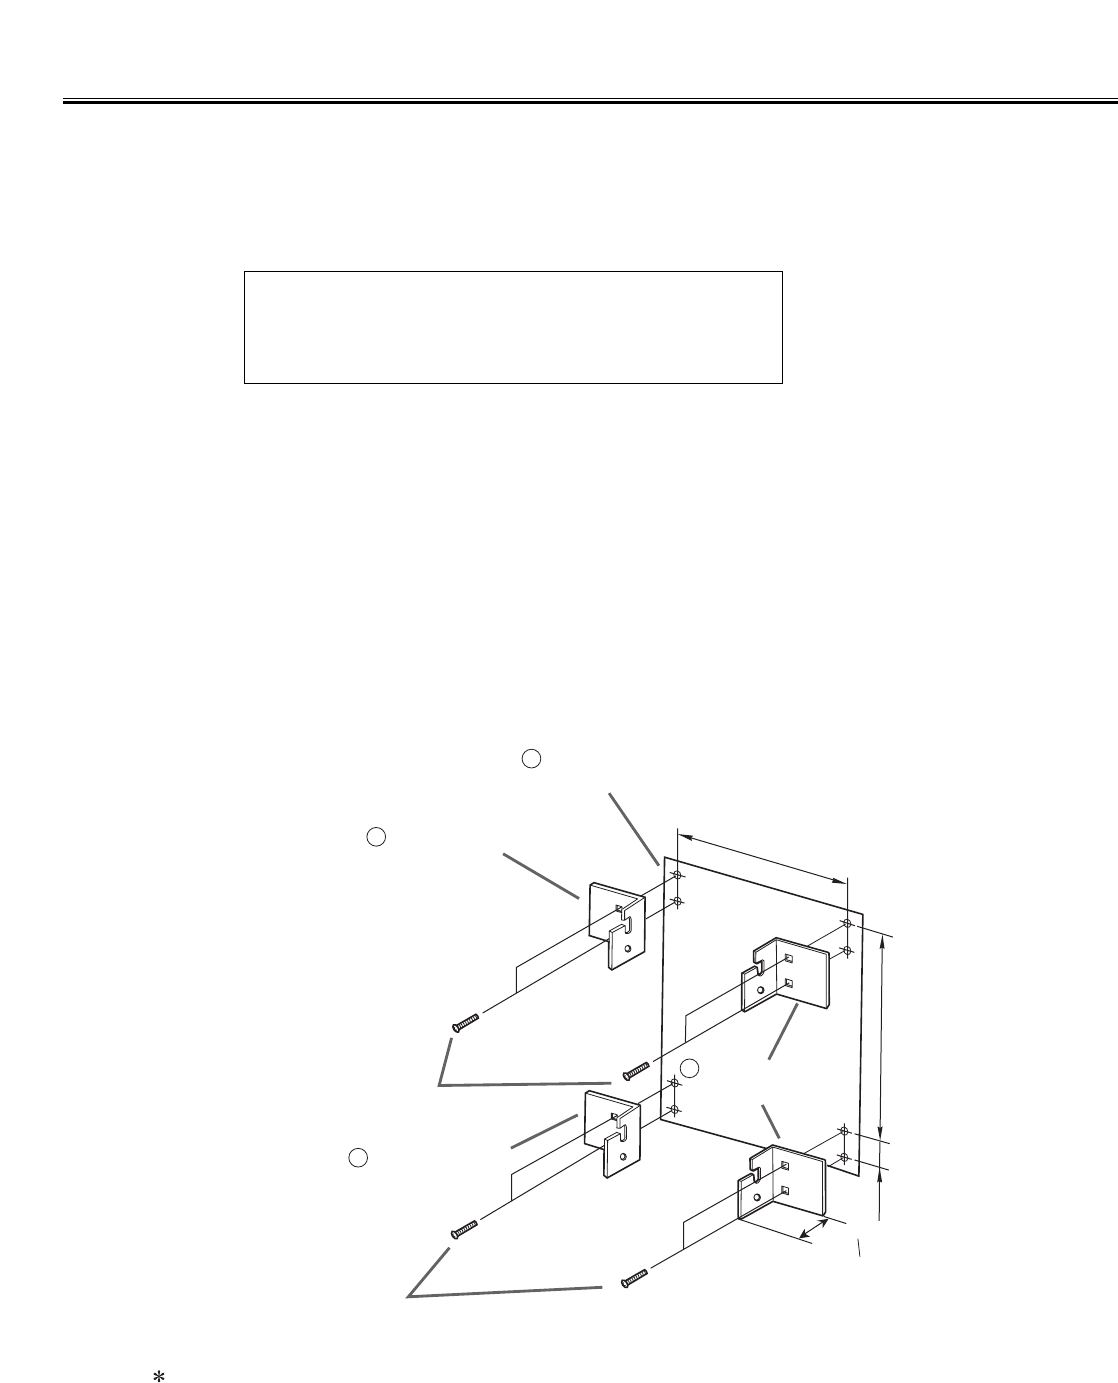
3
1. Drill holes in the wall for the wall-mounting fixtures. (8 holes total)
2. After removing the wall-mounting template, attach the wall-mounting fixtures with
the appropriate wall-mounting hardware (two screws in each fixture).
This hardware must be locally procured, it is not included in the kit.
BRefer to the section "Attaching the wall-mounting fixtures" (pages 83 and 84) for drilling in the wall and
attaching the mounting fixtures.
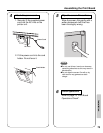
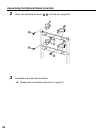
Mount the print board. (Please refer to page 74.)
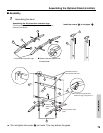
1
5
Wall-mounting
fixture L
Wall-mounting
template (provided with KX-BP800)
Wall-
mounting
hardware*
Wall-mounting
fixture L
Wall-mounting
fixture R
Wall-
mounting
hardware*
812.8mm (2' 8")
70 mm
(2 ")
3
4
50mm
(2")
762mm (2'6")
2
1
L
L
R
R