


4 Switch the AV source to “Off”.
= For detailsof theoperations, refer to Dis-
playing the AVoperation screen on page 74.
5 Set the video setting for the rear dis-
play to “Mirror AV”.
= For detailsof theoperations, refer to Select-
ing the video for rear display on page 176.
6 Display the “AV System Settings”
screen.
= For details,refer to Displaying the screen for
AV system settings on page 177.
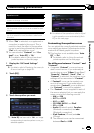
7 Touch [Auto EQ Meas.].
The “Auto EQ Measurement” screen ap-
pears.
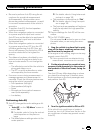
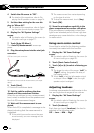
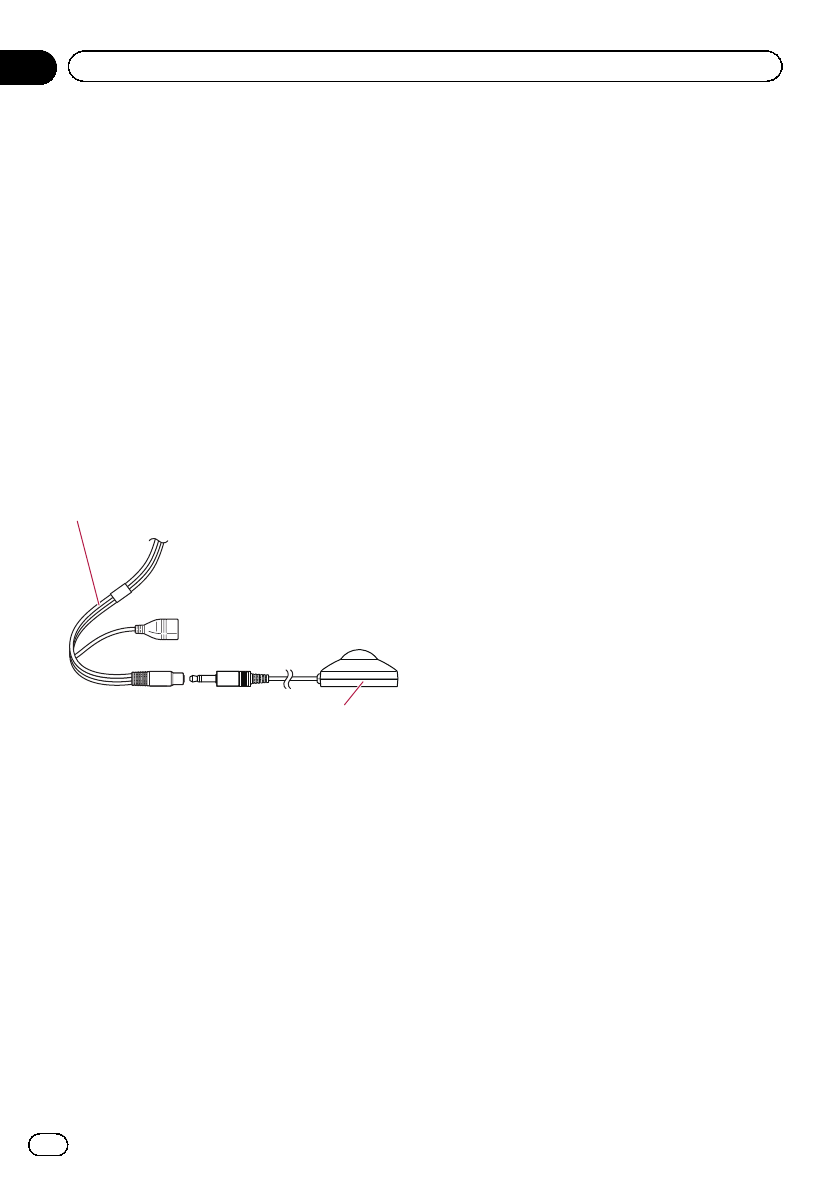
8 Plug the microphone into the mini-jack
connector.
USB andmini-jack connector
Microphone for acousticalmeasurement (sold sepa-
rately)
9 Touch [Start].
A 10-second countdown starts.
10 Exit the vehicle and keep the door
closed until the countdown finishes.
When the countdown is over, a measurement
tone (noise) is emitted from the speakers and
the Auto EQ measurement begins.
11 Wait until the measurement is com-
pleted.
When Auto EQ is completed, a message is dis-
played indicating that the measurement is
completed.
p If the vehicle’s acoustics cannot be mea-
sured correctly, an errormessage will be
displayed.
p The measurement time varies depending
on the type of vehicle.
p To stop the measurement, touch [Stop].
12 Touch [OK].
13 Store the microphone carefully in the
glove compartment or another safe place.
If the microphone is subjected to direct sun-
light for an extended period of time, high tem-
peratures may cause distortion, color change
or malfunction.
Using sonic center control
Sound that is suited for the listening position
can easily be created with this function.
1 Display the “AV Sound Settings”
screen.
= For details,refer to Displaying the screen for
AV sound settings on page 181.
2 Touch [Sonic Center Control].
3 Touch [c]or[d] to select a listening po-
sition.
p The larger the value of therange: “Left7” to
“Right7” setting, the greater the delay of
the speaker output.
p When “Left” is set, the left speaker output
is delayed. When “Right” is set, the right
speaker output is delayed.
Adjusting loudness
Loudness compensates for deficiencies in the
low- and high-sound ranges at low volume.
1 Display the “AV Sound Settings”
screen.
= For details,refer to Displaying the screen for
AV sound settings on page 181.
2 Touch [Loudness].
Each time you touch [Loudness], the level is
selected in the following order:
Off — Low — Mid — High
En
186
Chapter
31
Customizing preferences