Advanced Operations
En-63
Operating
procedure
(➔ page 61)
■ Resolution
`Through:
Select this to pass video through the AV receiver
at the same resolution and with no conversion.
`Auto
:
Select this to have the AV receiver automatically
convert video at resolutions supported by your
TV.
`480p (480p/576p), 720p, 1080i, 1080p
*1
:
Select the desired output resolution.
`4K:
Select this for an output resolution four times
that of 1080p. Depending on the resolution
supported by your TV, it will result in either 3840
× 2160 or 4096 × 2160 pixels.
`Source:
Select this for an output following the resolution
level set in “Picture Adjust” (➔ page 74).
You can specify the output resolution for HDMI OUT
MAIN and have the AV receiver upconvert the picture
resolution as necessary to match the resolution
supported by your TV.
Tip
• You can see the picture by pressing ENTER to check the
“Resolution” setting for HDMI OUT MAIN (excluding
“NET”, “USB” and “BLUETOOTH” input source).
Note
• With some TVs, video signals are processed in the same
way as “Through” when this setting is set to “4K”.
• If the “Monitor Out” setting is set to “Sub”, this setting is
fixed to “Through”.
• If the “Monitor Out” setting is set to “Both”, this setting is
fixed to “Auto”.
• For optimum video performance, THX recommends using
the HDMI output and setting the video resolution to
“Through”.
*1
When signal is 1080p input at 24 frames per second, it
will be 1080p output at 24 frames per second.
HDMI Input
If you connect a video component to an HDMI input,
you must assign that input to an input selector. For
example, if you connect your Blu-ray Disc/DVD player
to HDMI IN 2, you must assign “HDMI2” to the
“BD/DVD” input selector.
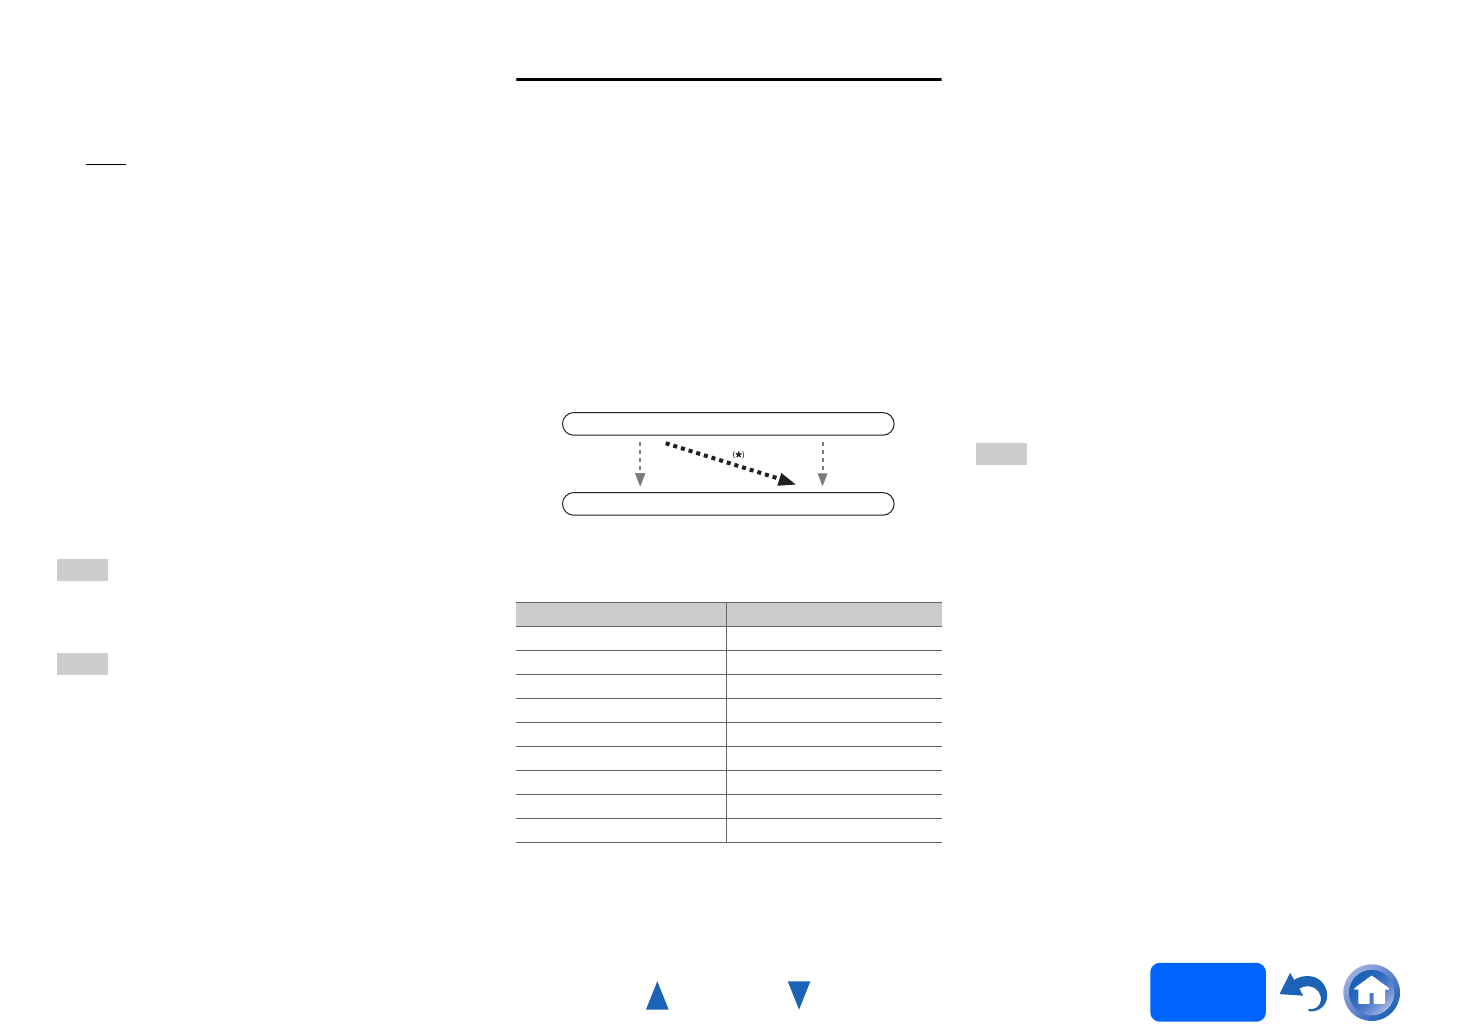
If you’ve connected your TV to the AV receiver with
an HDMI cable, composite video and component
video sources can be upconverted
*
and output by the
HDMI output. You can set this for each input selector
by selecting the “-----” option. See “The video and
audio signal flow” for more information on video
signal flow and upconversion (➔ page 21).
Here are the default assignments.
*1
If you connect your personal computer to PC IN (Analog
RGB), you must assign “-----” to the “PC” input
selector.
■ BD/DVD, CBL/SAT, STB/DVR, GAME1, GAME2,
PC, TV/CD, PHONO
`HDMI1, HDMI2, HDMI3, HDMI4, HDMI5, HDMI6,
HDMI7, HDMI8:
Select the input to which the component has
been connected.
`-----:
Output composite video and component video
sources from the HDMI output. The video output
signal from the HDMI output is the one
configured in “Component Video Input”.
Each HDMI input cannot be assigned to two input
selectors or more. When HDMI1 - HDMI8 have
already been assigned, you must first set any
unused input selectors to “-----” or you will be
unable to assign HDMI1 - HDMI8 to other input
selectors.
Note
• The assignment of input selector selected for Zone 2
cannot be changed when the “Zone 2 Monitor Out” is set
to “Use” (➔ page 62).
• If no video component is connected to the HDMI input (even
if the HDMI input is assigned), the AV receiver selects the
video source based on the setting of “Component Video
Input”.
• When an HDMI IN is assigned to an input selector as
explained here, the same HDMI IN will be set as a priority
in the “Digital Audio Input”. In this case, if you want to use
the coaxial or optical audio input, make the appropriate
selection in the “Audio Selector” setting (➔ page 76).
• Do not assign an HDMI IN to the TV/CD selector while
“HDMI CEC (RIHD)” is set to “On” (➔ page 78), otherwise
appropriate CEC (Consumer Electronics Control) operation
will not be guaranteed.
• If you assign “-----” to an input selector that is currently
selected in “HDMI Through” (➔ page 78), the “HDMI
Through” setting will be automatically switched to “Off”.
•“AUX” is used only for input from the front panel.
Input selector Default assignment
BD/DVD HDMI1
CBL/SAT HDMI2
STB/DVR HDMI3
GAME1 HDMI4
GAME2 HDMI5
PC
HDMI6
*1
AUX Front/MHL (Fixed)
TV/CD -----
PHONO -----
IN
OUT
Composite video,
component video
HDMI
HDMI
Composite video,
component video
