Advanced Operations
En-73
Operating
procedure
(➔ page 61)
IntelliVolume
■ IntelliVolume
`–12dB to 0dB
to +12dB in 1 dB steps
With IntelliVolume, you can set the input level for
each input selector individually. This is useful if one of
your source components is louder or quieter than the
others.
Use / to set the level.
If a component is noticeably louder than the others,
use to reduce its input level. If it’s noticeably
quieter, use to increase its input level.
Note
• IntelliVolume does not work for Zone 2/3.
A/V Sync
■ A/V Sync
`0msec
to 800msec in 5 msec steps
When using progressive scanning on your Blu-ray
Disc/DVD player, you may find that the picture and
sound are out of sync. With this setting, you can
correct this by delaying the audio signals.
Press ENTER to view the TV picture while setting the
delay when the video source is output to HDMI OUT
MAIN.
To return to the previous screen, press RETURN.
The range of values you can adjust will depend on
whether your TV or display supports HDMI Lip Sync
and if the “Lip Sync” setting is set to “On” or not
(➔ page 79).
Note
• This setting is not available in either of the following cases:
–The “Audio TV Out (Main)” setting is set to “On”
(➔ page 79) or “Audio TV Out (Sub)” setting is set to
“On” (➔ page 79) and you’re listening through your TV
speakers.
–“HDMI CEC (RIHD)” is set to “On” (➔ page 78) and
you’re listening through your TV speakers.
• A/V Sync is disabled when the Pure Audio or Direct
listening mode is used with an analog input source.
• This setting cannot be used with the “NET”, “USB” and
“BLUETOOTH” input selectors.
Name Edit
You can enter a custom name for each individual
input selector and radio preset for easy identification.
When entered, the custom name will appear on the
display.
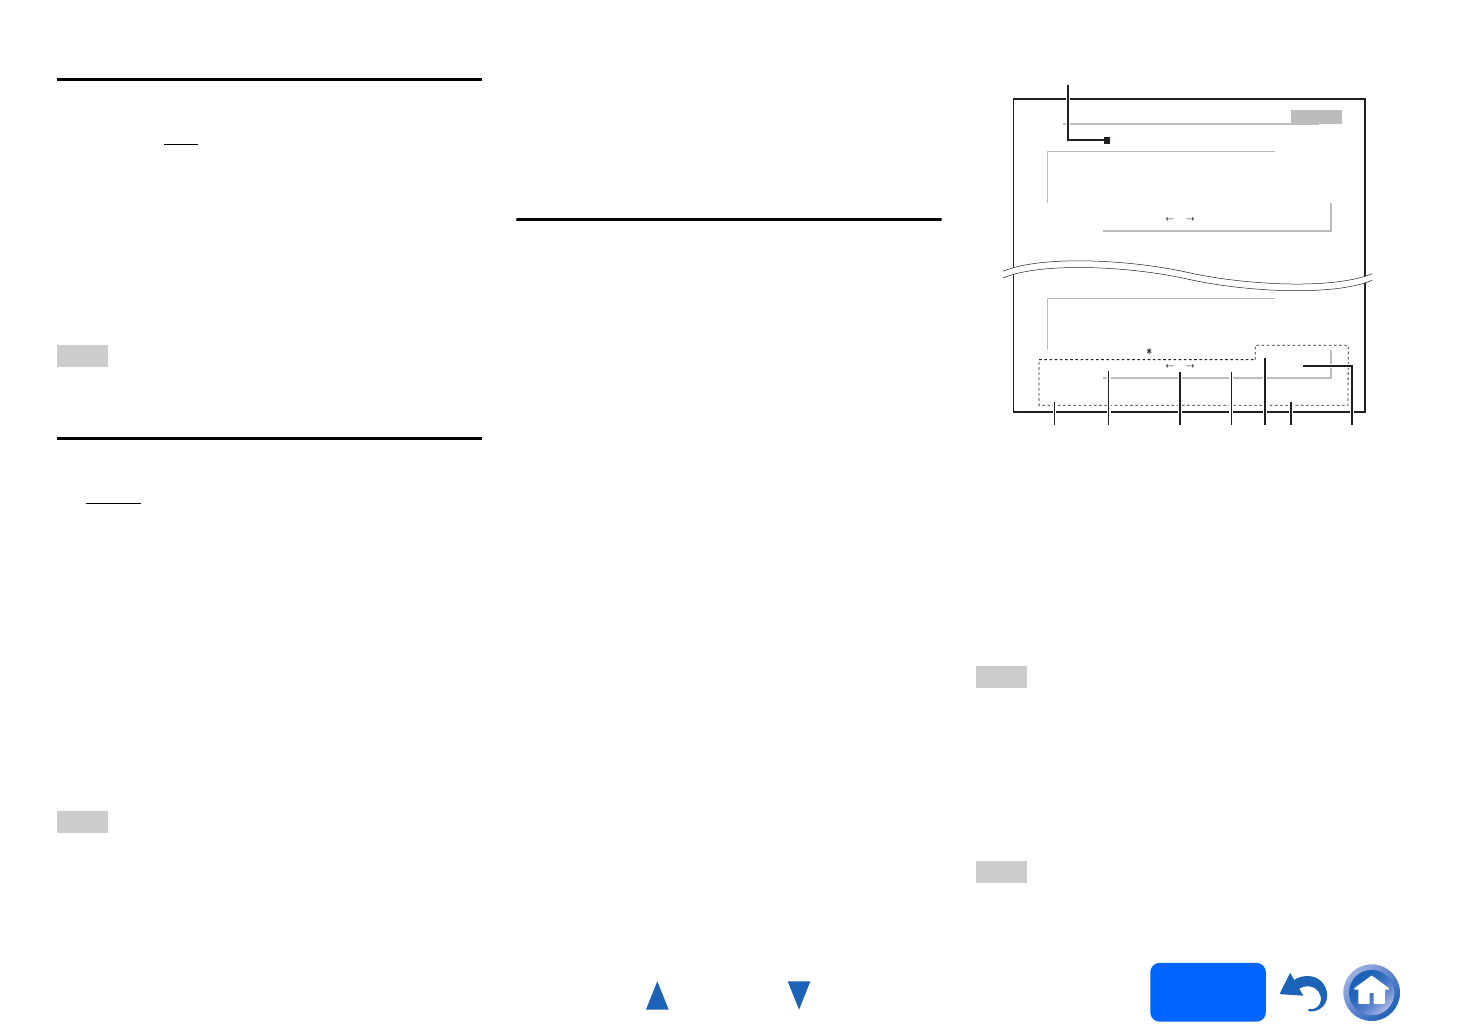
The custom name is edited using the keyboard
screen.
■ Name
Toggles between lower and upper case
characters.
*1
Moves the cursor left or right in the Name input
area.
Moves the cursor backward and deletes one
character.
*2
Enters a space character.
Confirms your entry.
Tip
• To name a radio preset, use TUNER to select AM or FM,
and then select the preset (➔ page 42).
• To restore a name to its default, erase all characters with
CLR, select “OK” and then press ENTER.
*1
This can also be performed by using +10 on the remote
controller.
*2
Press CLR on the remote controller to delete all the
characters you have input.
Note
• This setting cannot be used for the “NET”, “USB” and
“BLUETOOTH” input selectors.
1
Use / / / to select a character, and then
press ENTER.
Repeat this step to enter up to 10 characters.
2
To store a name when you’re done, be sure to
select “OK” by using / / / , and then press
ENTER.
BD/DVD
4 - 4. Name Edit
Name
+10 CLR
abcdefghijklm
nopqrstuvwxyz
1234567890–^\
Space
Back Space
Shift OK
,./;:@[]
Shift All Erase
ABCDEFGHI JKLM
NOPQRSTUVWXYZ
+?
`{}<>
!˝#$%&’
)(_=|˜
Shift All Erase
+10 CLR
Space
Back Space
Shift OK
Name input area
*1 *2
