


Tuner, PC, & Dock Controls Lexicon
5-6
DOCK FUNCTIONALITY
The optional D-1 iPod Docking Station allows you to enter a new
world of listening enjoyment made possible by combining the
storage capacity and playback flexibility of an iPod® (not included)
with the sonic power of your RV-5 Receiver. Operation is easy, you
can use your RV-5 remote control or the front panel buttons to
access and control your iPod selections. Just one simple connection
and you’re ready to go!
Note: This functionality is ONLY available if you have purchased the optional
D-1 iPod Docking Station. Refer to Section 1: Getting Started for ordering
details.
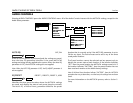
CONNECTING THE DOCK TO THE RV-5
Before connecting the Dock, turn the RV-5 off using either the main
power switch or the Standby button.
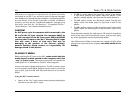
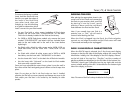
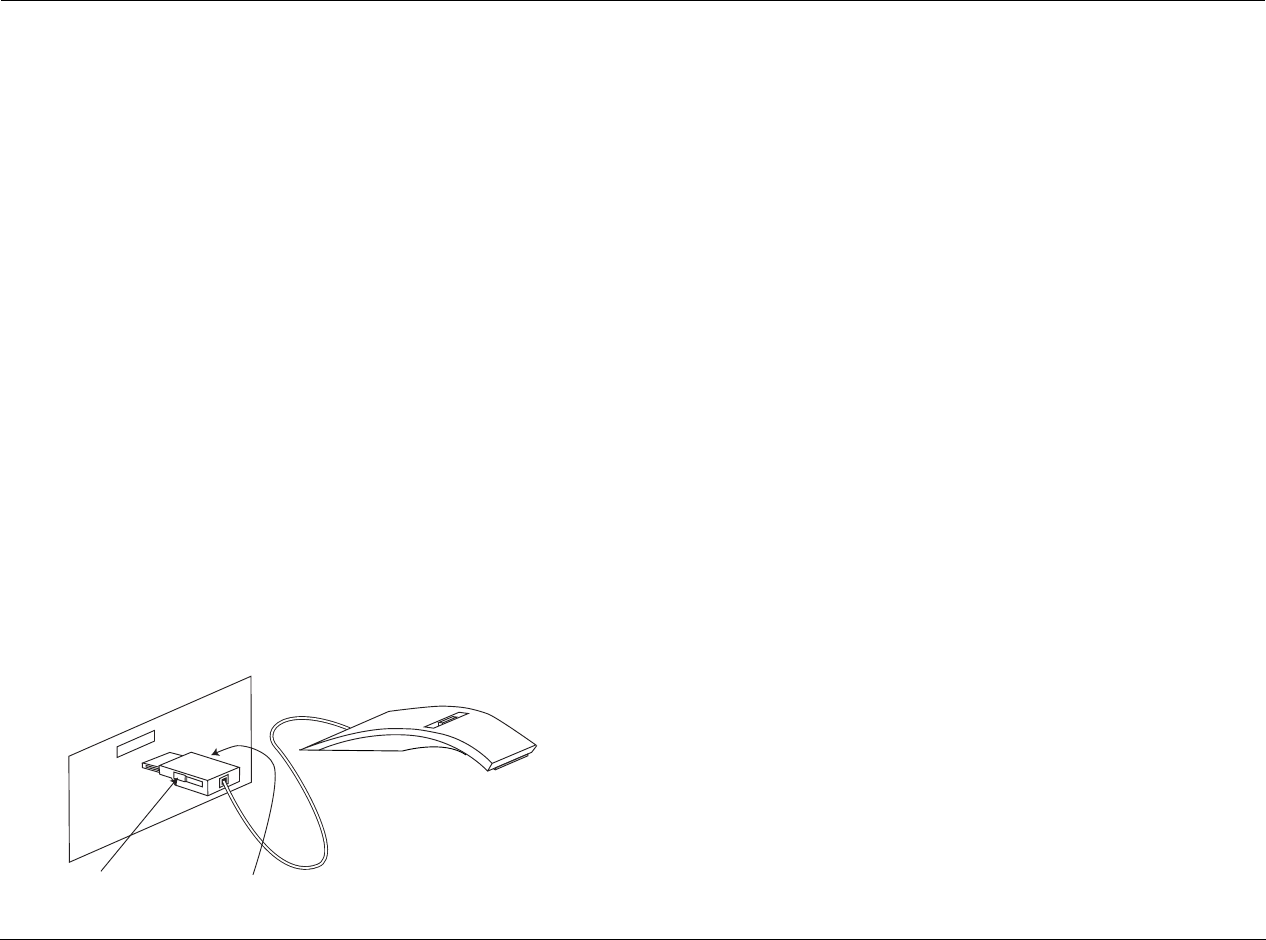
With the RV-5 off, press the button on each side of the connector at
the end of the Dock cable and insert this plug into the DOCK
connector on the rear panel of the RV-5. The connector is keyed to
only connect in one way. If you inadvertently try to plug the
connector in the wrong way, do not force it. Simply invert the
connector and try again.
Once the DOCK connector is attached to the D-1 Dock accessory,
select the DOCK input. The RV-5 front panel 2-line front panel
display indicates that the input is “UNPLUGGED...”. The status
remains as “UNPLUGGED” until an iPod is actually docked.
Note: The DOCK Input setup displays Digital Audio as NONE, Analog Audio
as DOCK (or “UNPLUGGED” if there is no iPod connected to the RV-5), and
the Dig/Anlg Auto parameter is dashed out. These three parameters cannot
be changed for the DOCK Input.
When the iPod is initially plugged into the RV-5, the iPod goes to
the top of its music menu. When the iPod is removed, the iPod
menu goes to the root menu.
If the RV-5 is in Standby mode with the DOCK AUTO POWER
parameter set to ON and the iPod currently playing a track when it
is plugged into the Dock, the track will continue to play and the
2-line front panel display will show the current track information.
SELECTING THE CORRECT iPOD INSERT
Each iPod model is a slightly different size, making it necessary to
use an insert that matches your specific iPod to the Dock. The Dock
is shipped with the insert for the color screen and photo models
already installed; if you own one of those models, no further
changes are necessary.
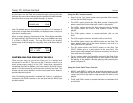
If you own a different iPod, first select the insert that matches your
model. The model identification is printed on the back of each of
the four extra inserts supplied with the Dock.
Note: The iPod Shuffle is not supported by the optional D-1 iPod Docking
Station.
Press buttons when inserting or removing the plug.