Black plate (39,1)
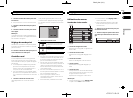
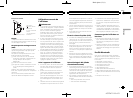
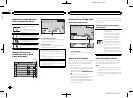
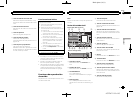
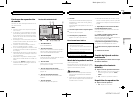
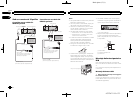
Adjusting the response
positions of the touch panels
(Touch Panel Calibration)
If you feel thatthe touch panel keys onthe
screen deviate fromthe actual positions that re-
spond to yourtouch, adjust the response posi-
tions of the touchpanel. There are two
adjustment methods: four-point adjustment, in
which you touchfour corners of the screen; and
16-point adjustment, inwhich you make fine-ad-
justments on theentire screen.
! Park your car in asafe place and use this
function. Do notoperate it while driving.
! Touch the screen gently foradjustment.
Forcefullypressing the touch panel may
damage the touchpanel. Do not use asharp
pointed tool suchas a ballpoint pen orme-
chanical pen.Doing so may damage the
screen.
! Ifthe touch panelcannot be adjusted prop-
erly,consult your local Pioneer dealer.
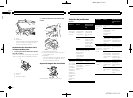
1 Turn the sourceoff.
Refer to Turning the source ON/OFFon page 7.
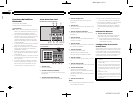
2 Press and holdthe home button tostart
TouchPanel Calibration.
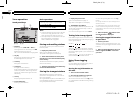
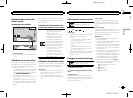
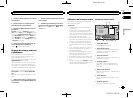
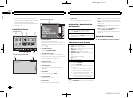
The four-point touchpanel adjustment screen
appears. When two-pointappears at once,
touch both.
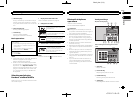
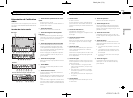
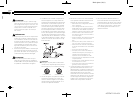
3 Toucheach of the arrows onthe four cor-
ners of thescreen.
# Tocancel theadjustment, pressand hold the
home button.
4 Press the homebutton to complete four-
point adjustment.
Data for the adjustedposition is saved.
# Donot turnoff the enginewhile thedata is being
saved.
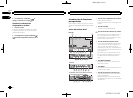
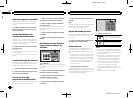
5 Press the homebutton to proceed to16-
point adjustment.
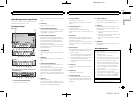
The 16-point touchpanel adjustment screen ap-
pears.
# Tocancel theadjustment, pressand hold the
home button.
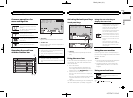
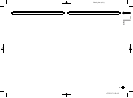
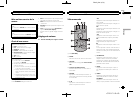
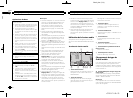
6 Gently touchthe center ofthe + mark dis-
played on thescreen.
After you touch all the marks,the data for the
adjusted position issaved.
# Donot turnoff the enginewhile thedata is being
saved.
7 Press and holdthe home button tocom-
plete the adjustment.
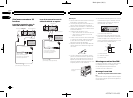
Using an AUX source
An auxiliary device or portabledevice sold sepa-
rately can beconnected to this unit.
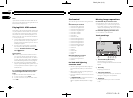
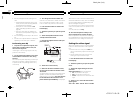
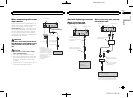
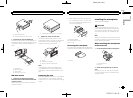
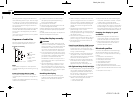
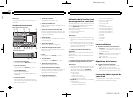
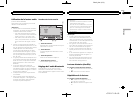
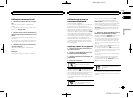
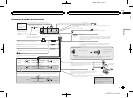
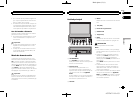
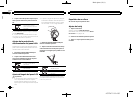
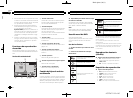
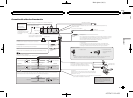
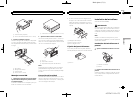
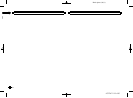
About AUX connection methods
You can connect auxiliary devicesto this unit.
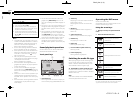
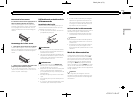
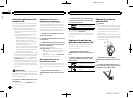
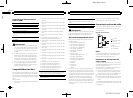
Mini pin plug cable (AUX)
When connecting anauxiliary device using a mini
plug cable
iPodsand portable audio/video players canbe
connected to thisunit via mini plug cable.
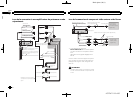
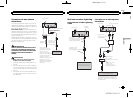
! Ifan iPod with video capabilitiesis con-
nected to thisunit via 3.5mm plug (four
pole) cable (suchas the CD-V150M),you can
enjoy the videocontents of the connected
iPod.
! Aportable audio/videoplayer can be con-
nected by usinga 3.5mm plug (fourpole)
with an RCAcable (sold separately). How-
ever, dependingon the cable, a reversecon-
nection between thered (right side audio)
cable and yellow(video) cable may be re-
quired in order for thesound and video
image to bereproduced correctly.
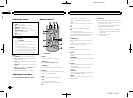
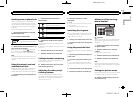
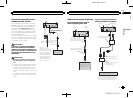
% Insertthe stereo mini pluginto the AUX
input jack onthis unit.
Refer to Connectionon page 41.
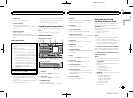
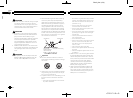
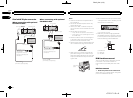
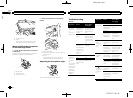
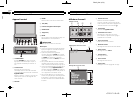
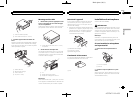
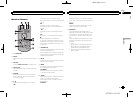
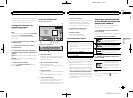
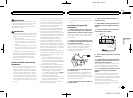
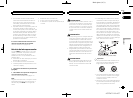
Resetting the microprocessor
By pressing RESET, you canreset the microproc-
essor to itsinitial settings without changing the
bookmark information.
The microprocessor mustbe reset in the follow-
ing situations:
! Beforeusing this unitfor the first time after
installation
! Ifthe unit fails tooperate properly
! Whenstrange orincorrect messages appear
on the display
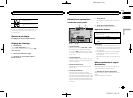
1 Turn the ignitionswitch OFF.
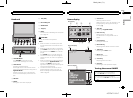
2 Press RESET witha pen tip orother
pointed instrument.
Refer to What’s what on page 7.
Note
Switch your engineON or set the ignitionswitch
to ACC ONbefore pressing RESET in thefollow-
ing situations:
! Aftercompleting connections
! Whenerasing allstored settings
! Whenresetting theunit toits initial (factory) set-
tings
English
Other functions
39
Section
Other functions
En
22
<CRD4711-B>39