Remove and Replace
WFM90D and WFM91D Service Manual
6-31
Bottom Cover Assembly
The bottom cover assembly contains replaceable subparts. Procedures for
removing and installing the subparts are included below.
Remove. To remove the bottom cover:
1. Remove any installed batteries. R efer to Batteries on page 6--28.
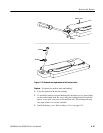
2. Remove the six Torx screws from the bottom cover.
3. Carefully remove the bottom cover and place it beside the top cover.
CAUTION. To pr event damage to the battery-power wires soldered to the bottom
cover, carefully remove the bottom cover
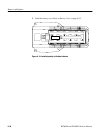
4. Lift the Bottom board slightly out of the top cover so that you can pull the
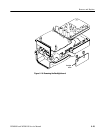
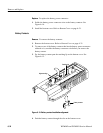
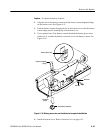
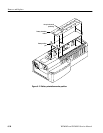
battery-power wires from jumper J21 of the Bottom board. See Figure 6--16.
Replace. To replace the bottom cover:
1. Lift the Bottom board slightly out of the top cover so that you can connect
the battery-power wires onto jumper J21 of the Bottom board.
2. Carefully place the bottom cover onto the top cover.
CAUTION. To pr event damage to the battery-power or backlight wires, carefully
replace the bottom cover. The bottom cover has slots in the molded plastic to
hold both the Backlight board and Input board in place.
3. Install the six Torx screws into the bottom cover.
4. Install your removed batteries. Refer to Batteries on page 6--28.
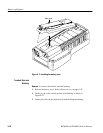
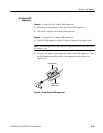
Remove. To remove the battery power connector:
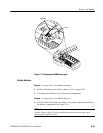
1. Remove the bottom cover. Refer to Bottom C over on page 6--31.
2. Unsolder the battery connector wires from the battery contacts.
Bottom Cover
Battery Power C onnector


