Troubleshooting Procedures
WFM90D and WFM91D Service Manual
6-45
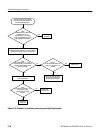
Is the
Backlight broken?
(The Display module
will have a rattle
inside.)
Press the front
panel ON button
and then the PIX
mode button.
Is the
Backlight on?
(Look in the end of
the Display module
where the high
voltage is
attached.)
Replace the Top board.
Replace the Display module. (For
instruments with serial numbers below
BO20100, replace the Backlight board.)
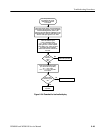
Test the Backlight power supply:
Disconnect the AC Adapter. Remove the Display
module. Attach a 10 kΩ ≥ 2 W resistor between
the high voltage connectors using a pair of
jumper wires. Attach an oscilloscope probe to the
end of the resistor attached to the orange
connector. Connect the oscilloscope ground lead
to the GND test point on the Bottom board. Set
the oscilloscope to 50 V/div. Reconnect the AC
adapter and power up the instrument.
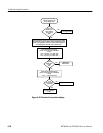
Check Backlight power supply inputs:
J20-1 = Ground
J20-2 = 12 VDC Vin (1 Vpp ripple)
J20-3 = 5 VDC (Backlight Enable)
J20-4 = 1.25 VDC (1.25-1.75 VDC as the
Backlight brightness is changed using the
CONFIGURE menu)
Replace the Bottom
board.
Use this procedure if
there is no display after
pressing the front panel
ON button.
Yes
No
No
Yes
Is the
VIDEO OUT
signal good?
Is there
400 VAC as
measured on
the
oscilloscope?
Yes
No
Are all of the
Backlight power
supply inputs
good?
Replace the Display
module. (For
instruments with
serial numbers below
BO20100, replace
the Backlight board.)
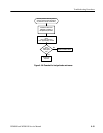
Check the Display drive signals:
(Probe J16 from the back of the Bottom
board.)
J16-9=1VDCto3VDCasVIEWis
adjusted in the CONFIGURE menu.
J16-10 = (DSYNC) 0 to +600 mV
compsync
J16-14 = (SEL_EXVID) +5 VDC in PIX
mode and 0 VDC in Waveform mode
Select PIX Mode, No
Menu,
(Use 100% flat field test signal.)
J16-6 = (B) 2 VDC blanking level/2.5 V
peak video
J16-7 = (G) 2 VDC blanking level/2.5 V
peak video
J16-8 = (R) 2 VDC blanking level/2.5 V
peak video
Select WFM Mode + MENU
(Use 75% color bar signal.)
J16-2 = (B) 0 to +1.3 V
J16-3=(G)0to+1.3V
J16-4 = (R) 0 to +1.3 V
Remove the AC adapter
and then remove the
Display module and the
Backlight board. Reattach
the AC adapter and leave
the VIDEO IN and VIDEO
OUT cables attached.
Power up the instrument.
Check for bad or
misaligned Display
module interface cable.
If cable is ok, replace
the Display module.
If the DISP BRT s ignal is bad, replace the
Bottom board.
If the DSYNC signal is bad, replace the Top
board.
If the SEL_EXVID signal is bad, replace the
Top board.
If the RGB video is bad, replace the Bottom
board.
If the Raster Drive signals are bad, replace
the Top board.
Are all of these
signals correct?
Yes
No
Yes
No
No
Yes
Replace the Display module.
(For instruments with serial
numbers below BO20100,
replace the Backlight in the
Display module.)
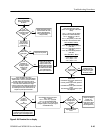
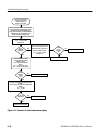
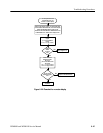
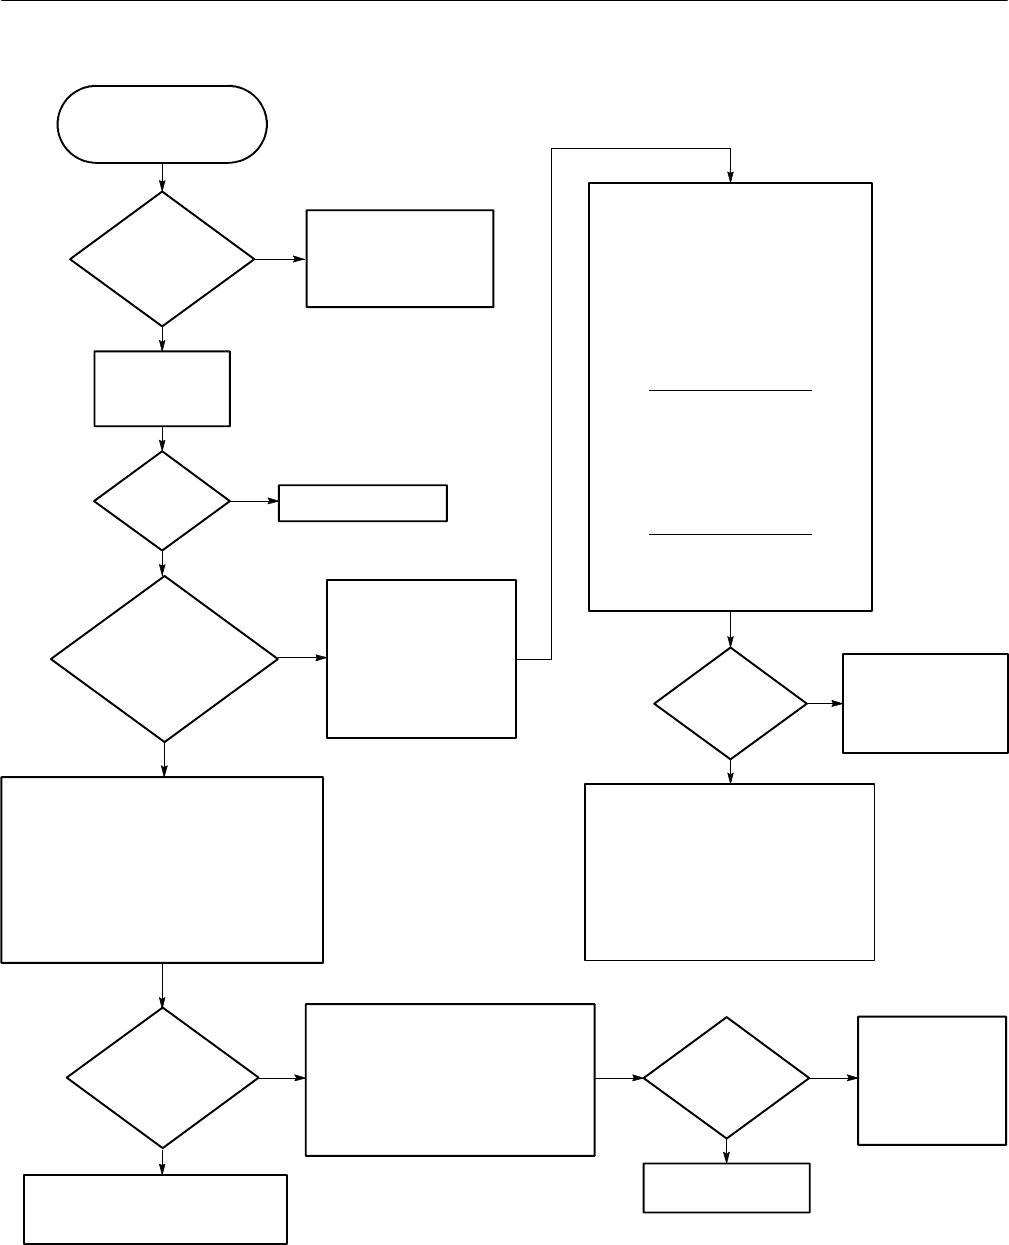
Figure 6- 20: Flowchart for no display


