


63230-300-212 Chapter 3—Operation
April 2001 Performing a Wiring Check
45
© 2001 Schneider Electric All Rights Reserved
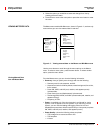
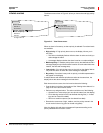
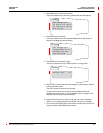
If you are viewing a metered value, such as voltage, the circuit monitor
updates the displayed value as the register contents change. Note that
scale factors are not taken into account automatically when viewing
register contents.
4. To scroll through the register numbers, use the arrow buttons.
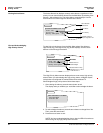
5. To change the value in the register, press the enter button.
The Hex and Dec values begin to blink. Use the arrow buttons to scroll
through the numeric values available.
NOTE: Some circuit monitor registers are read/write,someareread
only. You can write to read/write registers only.
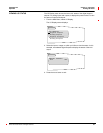
6. When you are finished making changes to that register, press the enter
button to continue to the next register or press the menu button to save
the changes.
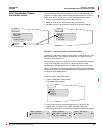
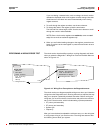
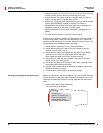
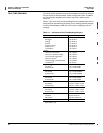
The circuit monitor has the ability to perform a wiring diagnostic self-check
when you select the Diagnostic > Wiring Error Test from the Main Menu as
showninFigure3–10.
Figure 3–10: Wiring Error Test option on the Diagnostics menu.
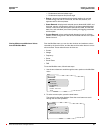
The circuit monitor can diagnose possible wiring errors when you initiate the
wiring test on the Diagnostics menu. Running the test is not required, but may
help you to pinpoint a potentially miswired connection. Before running the
wiring test, you must first wire the circuit monitor and perform the minimum
set up of the circuit monitor, which includes setting up these parameters:
• CT primary and secondary
• PT primary and secondary
• System type
• Frequency
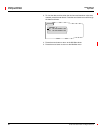
After you have wired and completed the minimum set up, run the wiring test
to verify proper wiring of your circuit monitor. The wiring test assumes that
the following is true about your system:
PERFORMING A WIRING ERROR TEST
MAIN MENU
Meters
Min/Max
View Alarms
I/O Display
Resets
Setup
Diagnostics
DIAGNOSTICS
Meter Information
CVM Information
Read/Write Regs
Wiring Error Test